Blackout Chocolate Buttermilk Cake
This post may contain affiliate links. Please read our disclosure policy.
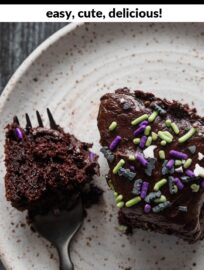
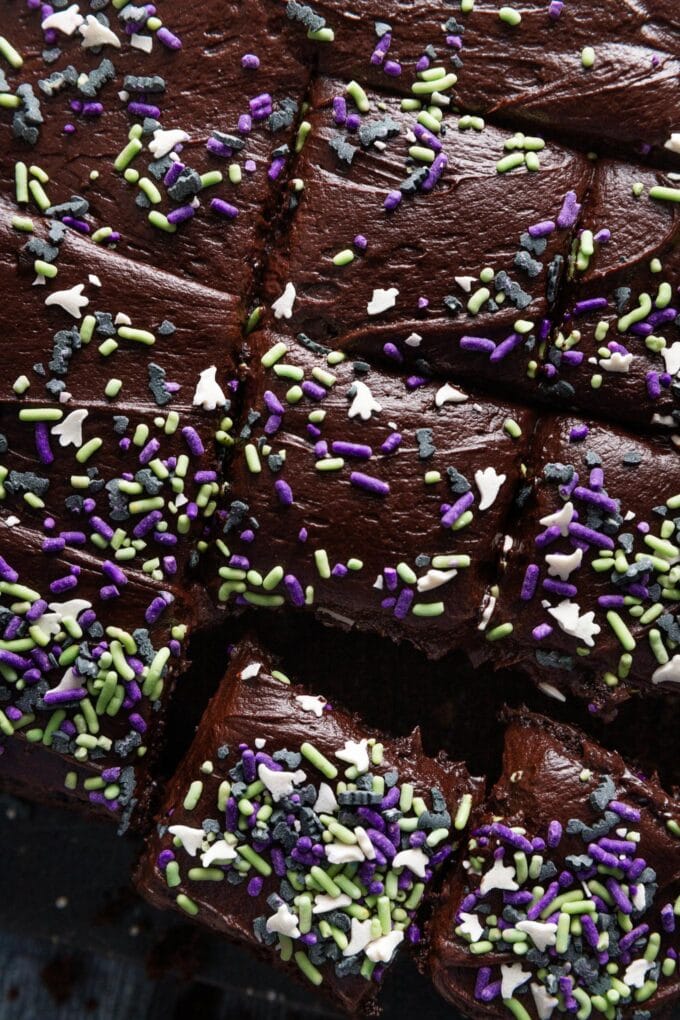
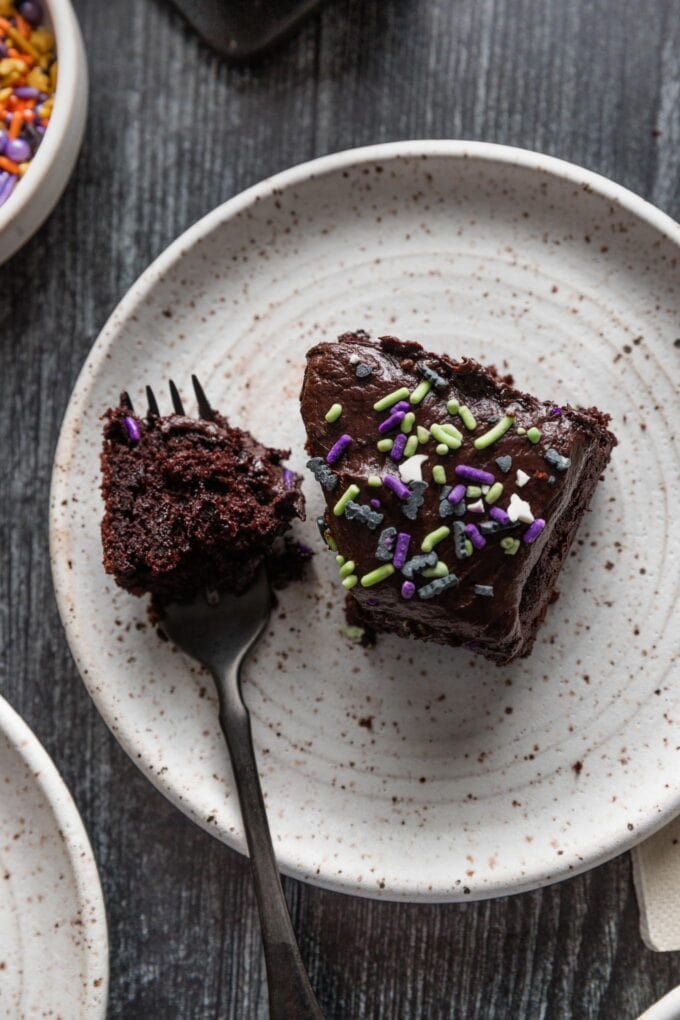
Our family’s all-time favorite Chocolate Buttermilk Cake gets dressed up for Halloween with blackout cocoa, blackout frosting, and a generous dusting of spooky sprinkles. Whip this up for a pre-Halloween party but beware: I find it devilishly hard to put down the fork.
One quick, easy, and boo-tiful cake.
Corny, I know, but that sums it up! This blackout chocolate buttermilk cake is a very simple adaptation of our tried-and-true birthday cake to make it perfectly spooky. It’s quick and easy to make — no more than 20 minutes to whip up the batter, and about 30 minutes in the oven — and easily frosted with an equally moody dark chocolate frosting, then topped with festive sprinkles. Of course you could go all out and decorate this with frosted or candy pumpkins, candy corn, goblins or ghouls — all so cute and fun!
Make this as a quick and easy sheet cake, then cut small slices and it’s perfectly suited for any pre-Halloween costume party or gathering. I’d say it’s suited for Halloween itself, but most of us don’t actually need more dessert on the table by the time this particular holiday is all said and done.
Ingredient Notes & Substitutions
Be sure to scroll to the printable recipe card at the bottom of this post for quantities and instructions.
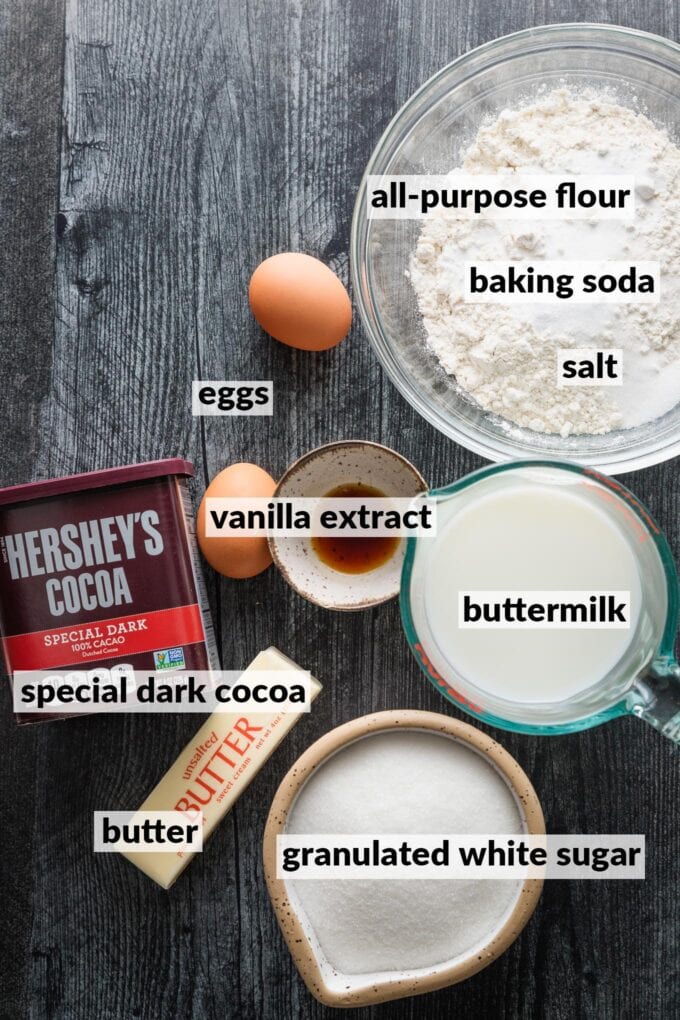
- Baking basics: all-purpose flour, white granulated sugar, baking soda, salt, and vanilla extract.
- Special Dark cocoa powder: this is a widely-available short-cut to dark color and rich flavor in your favorite chocolate cakes and cupcakes. I find it at Target and my neighborhood big-box grocery stores.
- Eggs: a common critical element of adding structure to cakes and other baked goods.
- Butter: this recipe relies on real, genuine butter for flavor and creaminess. I typically use unsalted but salted is fine.
- Buttermilk: use full-fat or reduced-fat, as you wish. Either way buttermilk is the key to keeping this cake super tender and giving the richly sweet batter a subtle yet irresistible tang!
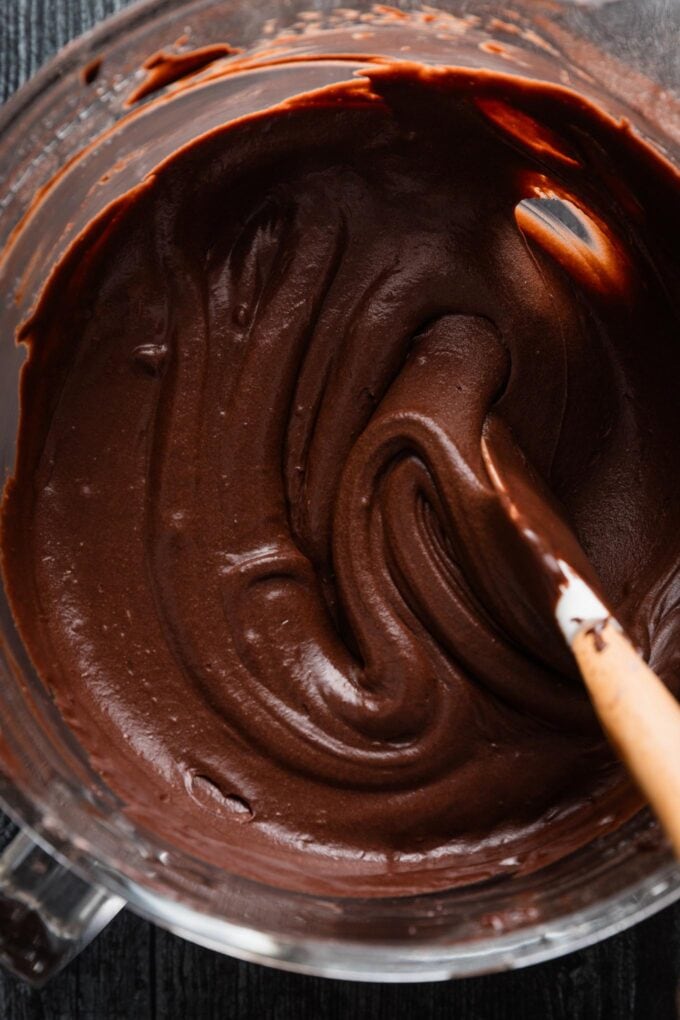
What is a good substitute for buttermilk?
In a pinch? Make a quick buttermilk substitute using lemon juice or white vinegar. The standard ratio for making a buttermilk substitute is 1 Tablespoon of white vinegar or lemon juice to 1 cup of milk. Either whole or 2% milk will work well.
Because this recipe calls for 1 and 1/2 cups of buttermilk, I would recommend that you measure 1 and 1/2 Tablespoons of lemon juice or white vinegar into a large liquid measuring cup, then pour milk on top until you reach the 1 and 1/2 cups line. Allow the mixture to stand for 5-10 minutes, stir briefly, and use as you would true buttermilk.
At the end of the day, choose real buttermilk if possible, or go with a quality substitute such as this. That is what will give you this incredibly moist, tender crumb on the inside of the cake.
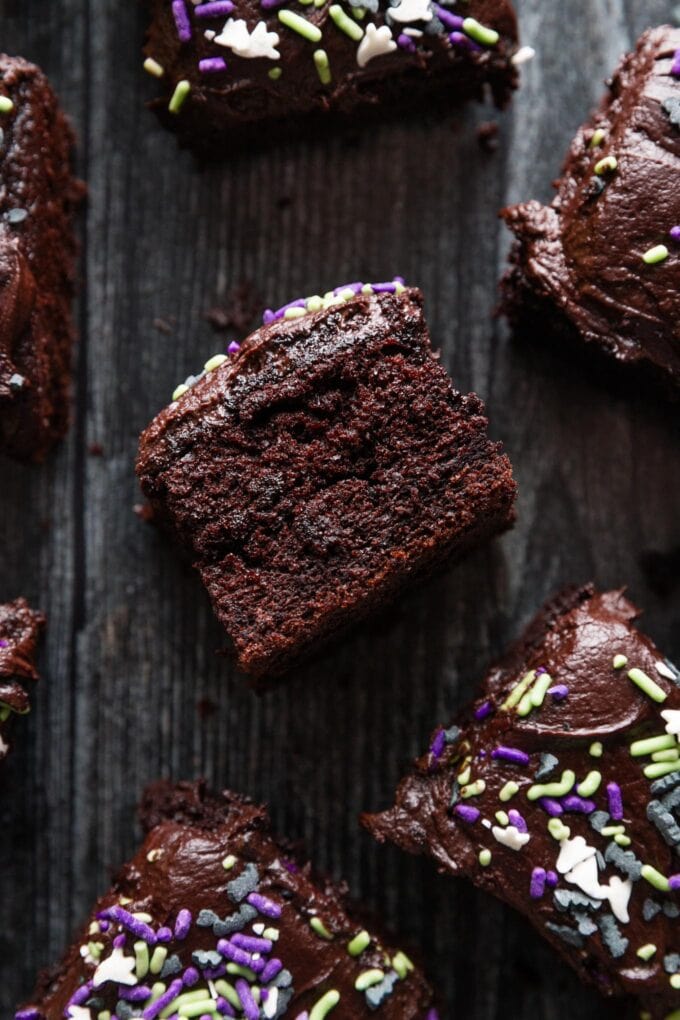
Top Tips for Success
- Ensure butter starts out at room temperature or very close. This is an oft-overlooked step but really is necessary to ensure the butter and sugar can cream together properly into a fluffy, light mixture.
- Line the baking pan for easy removal. You certainly can serve this sheet cake straight from the pan, but if you want to remove it for ease of decorating, cutting, or serving, be sure to line the pan with parchment paper before pouring in the batter. This makes it easy to lift the baked, cooled cake out onto a cake board or platter.
- Test for doneness. The best way to be sure this cake is baked through is the time-tested trick of inserting a toothpick or paring knife into the center. It should come out clean or with a few moist crumbs, but no streaks of wet batter.
- Check your oven temperature. If your baked goods are slightly off, a mis-calibrated oven could explain why. A very inexpensive oven thermometer will tell you for sure and allow you to make informed adjustments.
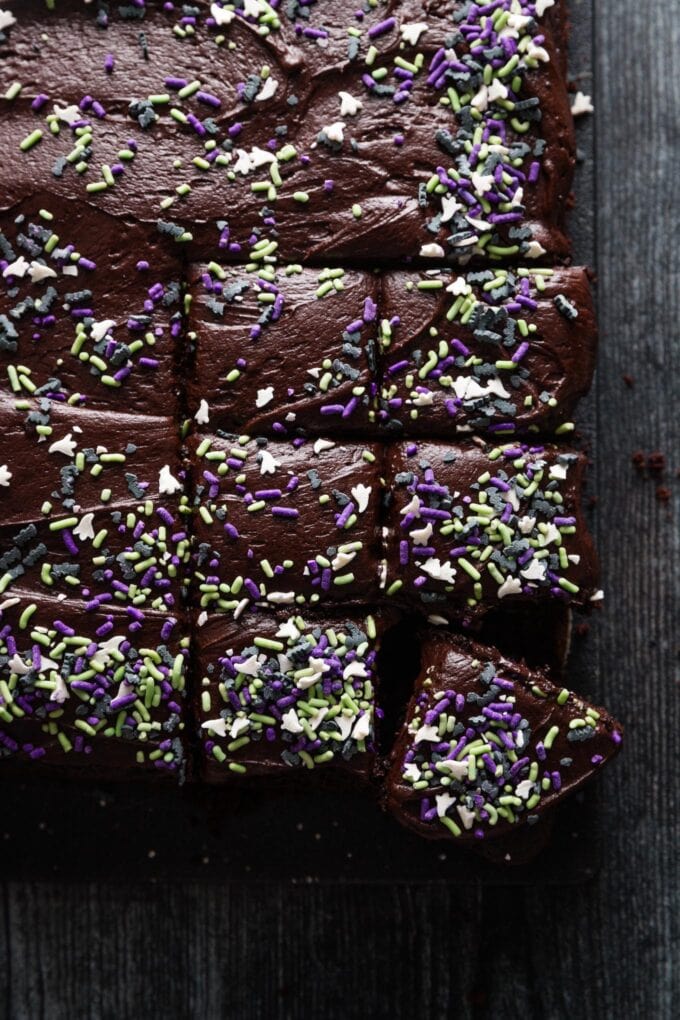
Serving Notes
This is a rich and very delicious cake and typically works well for a crowd; I recommend slicing small squares and letting it go a long way.
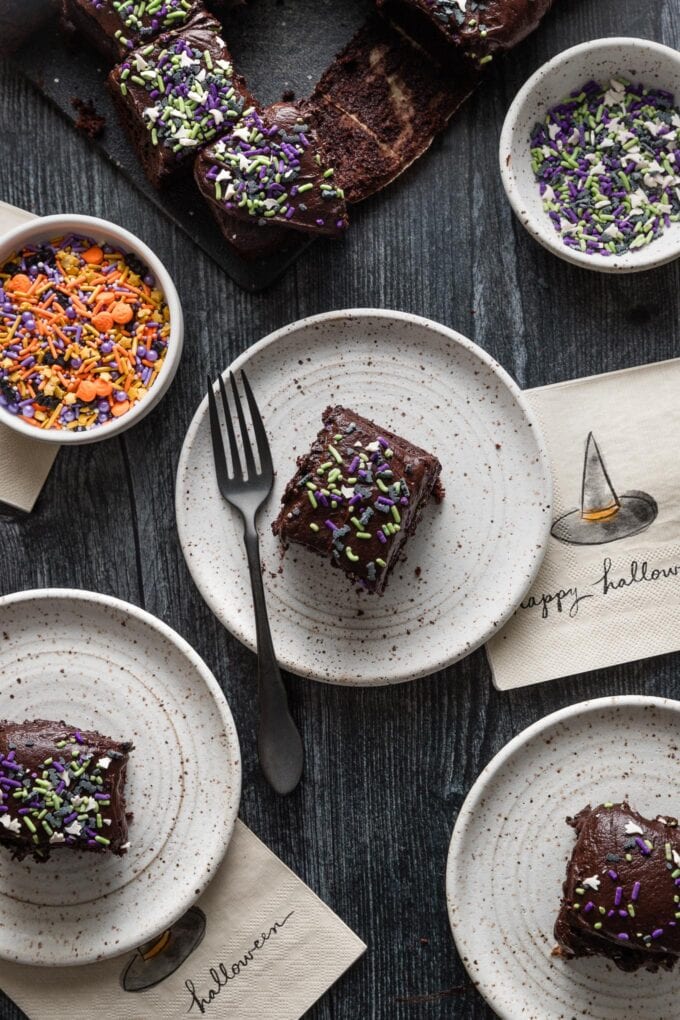
Storage Notes
If tightly sealed, this cake keeps very well at room temperature for 3-4 days. If you bake often, a rectangular cake keeper is an affordable and highly-valuable investment; clipping this lid on is so much easier and more effective than struggling with plastic cling wrap!
Related Recipes
Looking for more Halloween recipe inspiration? Try these recipes next, or browse my full collection of spooky eats here.
- Caramel Apple Cheesecake Dip
- Boo Bark
- Milano Mummies
- Ghoulish Black Bean Dip
- Spooky Ghost Cupcakes
- Chewy Candy Bar Blondies
- Spooky Chocolate Linzer Cookies
If you try this Blackout Chocolate Buttermilk Cake, don’t forget to rate the recipe and leave a comment below. I love hearing how recipes turn out in your kitchen, and it helps other readers, too.
You can also FOLLOW me on PINTEREST, INSTAGRAM, and FACEBOOK for more great recipes and ideas!
Blackout Chocolate Buttermilk Cake
Ingredients
For the Cake
- 1 and 1/2 cups buttermilk
- 1/2 cup (8 Tablespoons, 113 grams) unsalted butter at room temperature
- 1 and 1/2 cups granulated sugar
- 2 large eggs at room temperature
- 1 teaspoon vanilla extract
- 1 and 2/3 cups all-purpose flour
- 2/3 cup Hershey's Special Dark cocoa powder see note
- 1 and 1/2 teaspoons baking soda
- 1 teaspoon table salt
For the Frosting
- 1/2 cup (8 Tablespoons) unsalted butter
- 2/3 cup Hershey's Special Dark cocoa powder
- 3 cups powdered sugar
- 1/4 cup milk any kind
- 1 teaspoon vanilla extract
- spooky sprinkles for fun!
Instructions
- Measure buttermilk and set out at room temperature while you mix the other ingredients. (The butter should already be softened to room temperature before you start.)
- Preheat oven to 350 degrees F. Lightly coat a cake pan with cooking spray and set aside. (This can be baked as a 9”x13” sheet cake or in two 8” or 9” round cake pans. If using round pans to assemble as a layer cake, I cut and place a round of parchment on top of the cooking spray to be extra sure that the cake will fall out of the pan cleanly.)
- In a large bowl, using an electric mixer if you have one, cream together the butter and sugar until they are fluffy and thoroughly mixed. Add eggs and vanilla extract, scrape down the sides of the bowl, and blend well again.
- In a separate bowl, whisk together the flour, cocoa powder, baking soda, and salt.
- With the mixer running on low speed, add half of the flour mixture to the butter-sugar blend. (If mixing by hand, just add half the flour, then gently fold it in.) Pour in the buttermilk, beat to incorporate, then add the rest of the flour mixture.
- Continue to mix on low speed for about 30 seconds, then increase speed to medium-high, or mix as rapidly as you can by hand, to get a smooth and silky cake batter.
- Pour batter into cake pans and bake for about 30 minutes, until a toothpick inserted into the center comes out clean or with moist crumbs. (See note below for estimated bake times.) Let cake cool all the way to room temperature before frosting.
- To make the frosting, melt the butter, then pour into a large mixing bowl and stir in cocoa powder. Add powdered sugar 1 cup at a time, alternating with portions of the milk and beating rapidly by hand or with an electric mixer. Scrape down the sides of the bowl and add vanilla extract and salt. Beat very rapidly until the frosting is smooth, even, and easy to spread.
- Frost sheet cake or layers and add sprinkles as desired. (This frosting makes enough to generously frost a 9”x13” sheet cake or a two-layer 8” or 9” round cake.) Enjoy!
Notes
- Cocoa Powder: You can use regular cocoa powder with no other substitutions; the cake just literally won’t be as dark in color.
-
Baking Times: I find 9” cake layers bake in about 28 minutes; 8” cake layers take 31-32 minutes; and a sheet cake takes about 30 minutes exactly. This will vary depending on your oven, however, so it’s really best to test with a toothpick or a paring knife a few minutes before you think it might be done.
- Storage: If tightly sealed, this cake keeps very well at room temperature for 3-4 days. If you bake often, a rectangular cake keeper is an affordable and highly-valuable investment; clipping this lid on is so much easier and more effective than struggling with plastic cling wrap!
Nutrition Estimate
This post was originally published on October 31, 2017, and has been updated with new photos, more specific instructions, and more relevant ingredient details.

