Thick, Chewy Carmelita Bars
This post may contain affiliate links. Please read our disclosure policy.
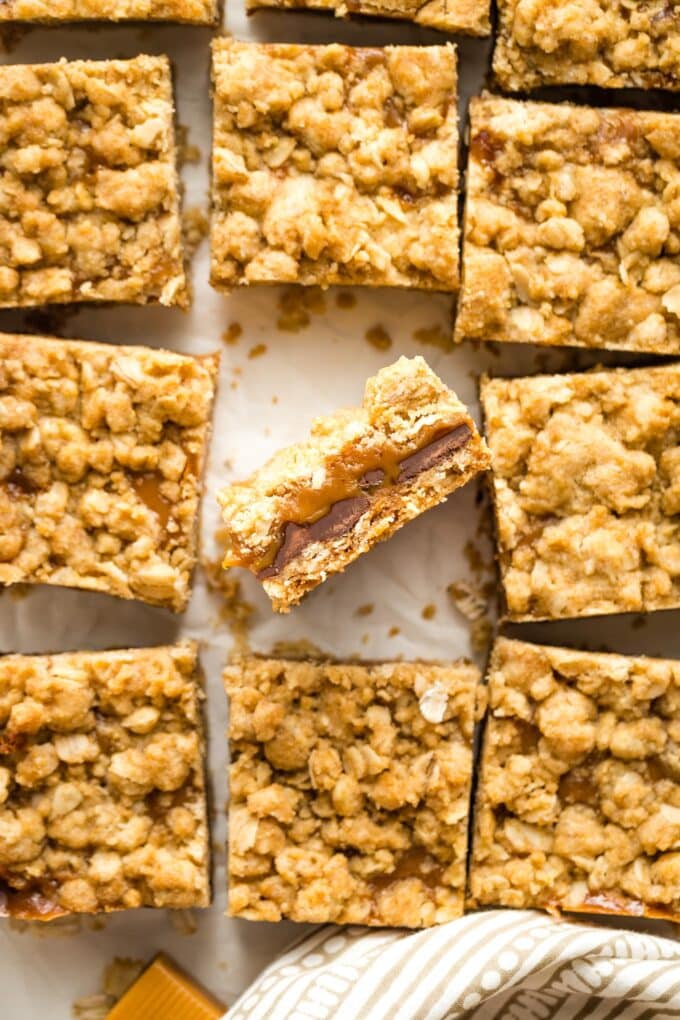
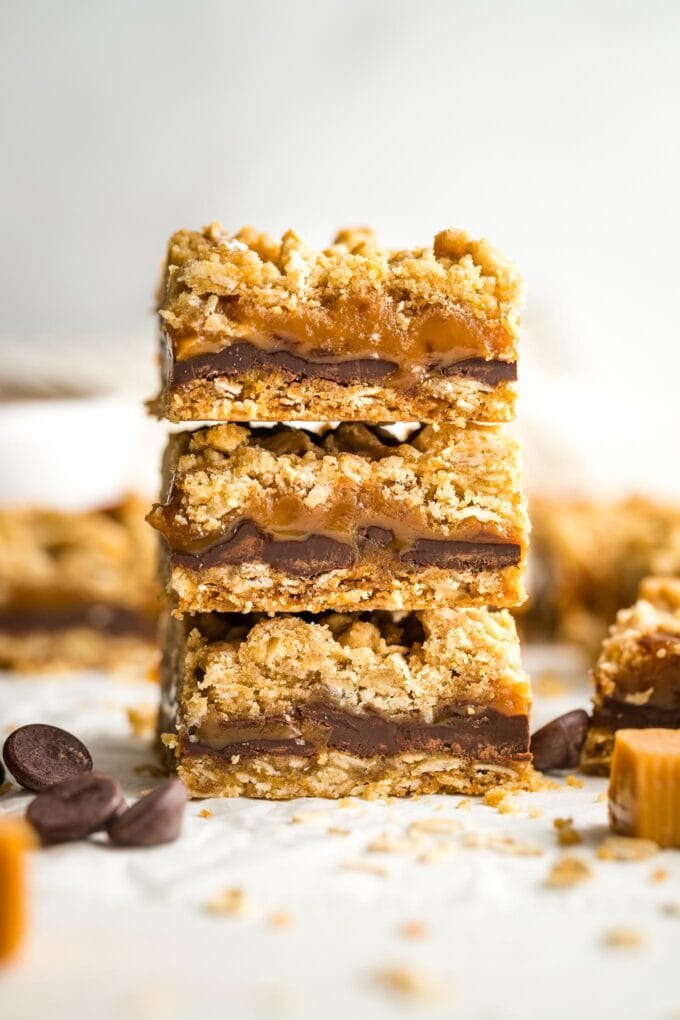
This is the fool-proof recipe for carmelita bars! AKA the most amazing bar cookies, with layers of soft caramel and chocolate sandwiched in an oat cookie crust. Guaranteed to earn rave reviews from everyone, every time!
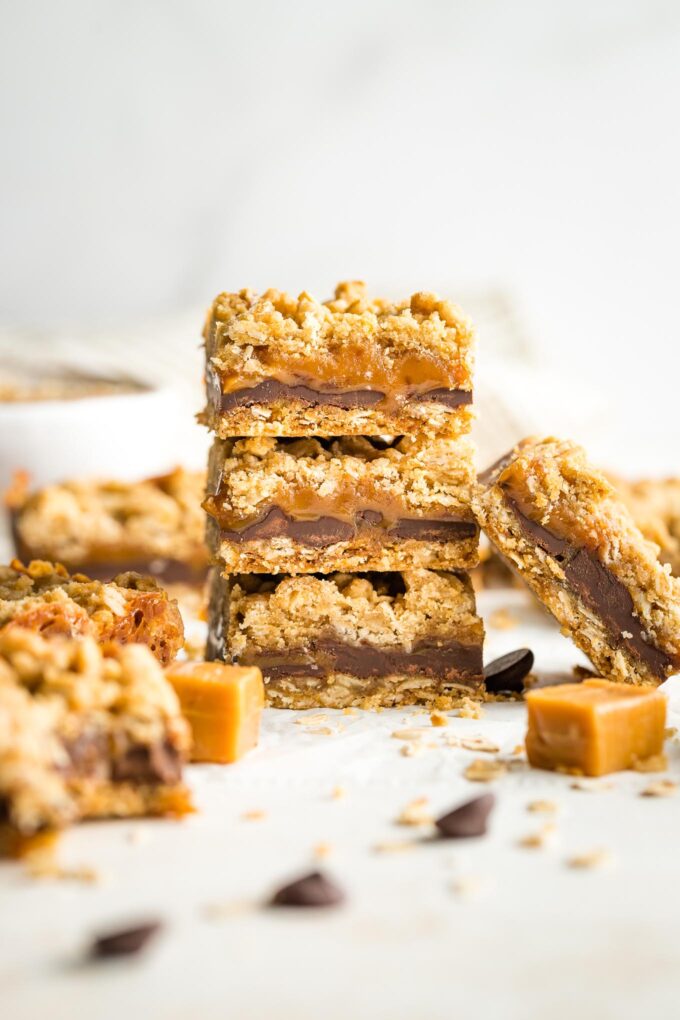
Carmelitas. If a cookie bar can change lives, this might be the one. I know it sounds like hyperbole, but most people who try these are inclined to agree. They’re just that good.
Let’s examine the evidence:
- Chewy, buttery oat cookie crust;
- Soft, gooey caramel;
- A generous layer of semisweet chocolate;
- Easy to make, no mixer required.
Case closed? Case closed.
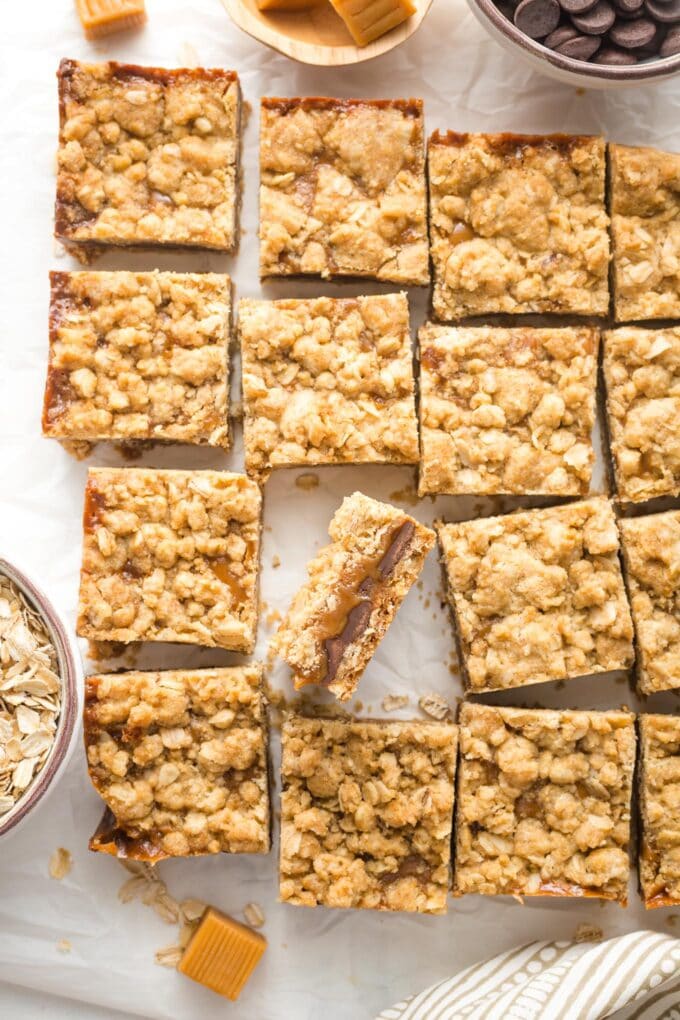
I try to share these widely whenever we make a batch, because it’s just too dangerous to have a large quantity sitting on the countertop here.
Fortunately, they are quite sweet and rich, so you can slice the bars fairly small and distribute them widely. This is very likely to make you very popular. 😉
What you’ll need to make carmelita bars
Here is the rundown of ingredients you’ll need:
- Flour: I usually use all-purpose but a mix of all-purpose and whole wheat also works well.
- Old-fashioned rolled oats: don’t sub instant or quick-cooking oats, they will break down in the dough and lend a completely different texture.
- Brown sugar: light or dark is fine.
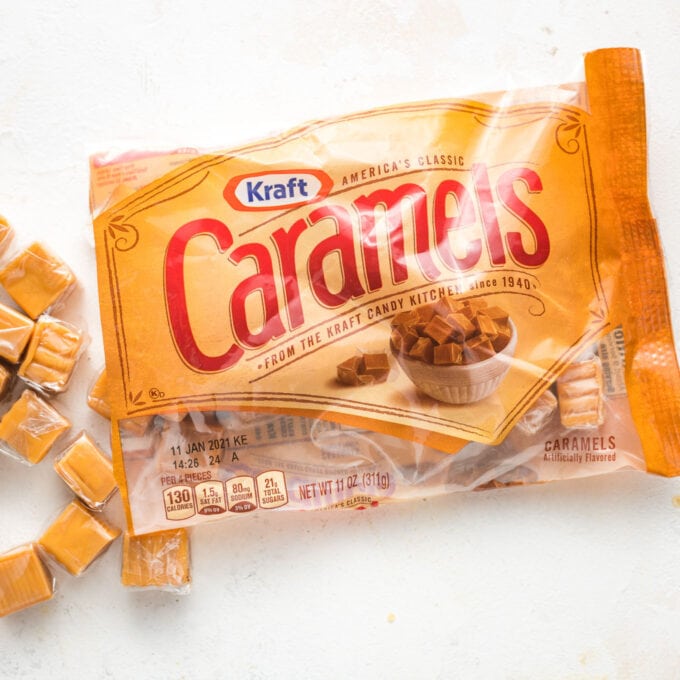
- Soft candy caramels: I usually use one full bag of Kraft candy caramels for this recipe. They’re a minor pain to unwrap but melt well and have a nice consistency when baked inside the bars — soft and chewy but not impossible to slice.
Shopping tip: Kraft caramels can typically found in the grocery store near other candies — M&Ms, peppermint patties, that kind of thing — often on a bottom shelf. Werther’s makes a similar soft caramel that also works well, but do not use the hard candy caramels. They will re-solidify once the bars cool and be impossible to eat! - Chocolate chips: semisweet is my go-to, but carmelitas are amazing with dark chocolate, as well. The bars are very rich to begin with, so I don’t recommend using milk chocolate unless you really want to emphasize the sweet factor!
- Butter: I usually use unsalted, but salted is fine if you prefer and keep it on hand.
- Heavy cream.
- Baking soda, salt, vanilla extract.
How to make carmelitas
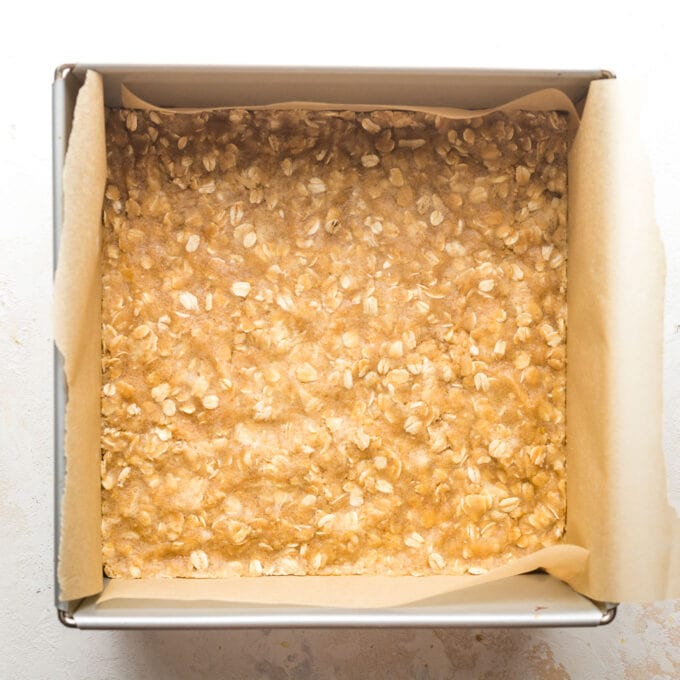
- First, prepare the crust. Stir together a buttery oat mixture and press about half of it into a square baking pan, packing it tightly. I highly recommend lining the pan with parchment or foil. This makes the bars exponentially easier to remove, and the pan so much easier to clean. Bake for 8-10 minutes.
- While the bottom cookie layer bakes, start the caramel sauce by melting the unwrapped caramels together with cream in a small saucepan.
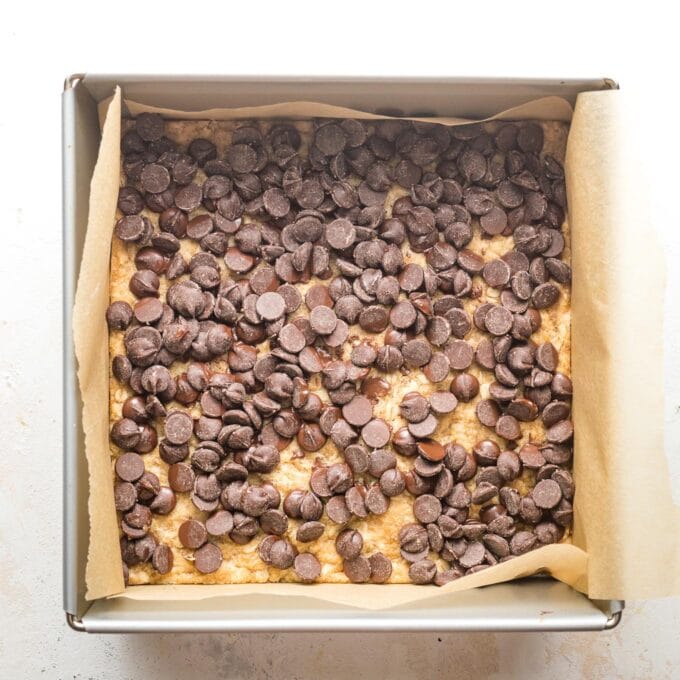
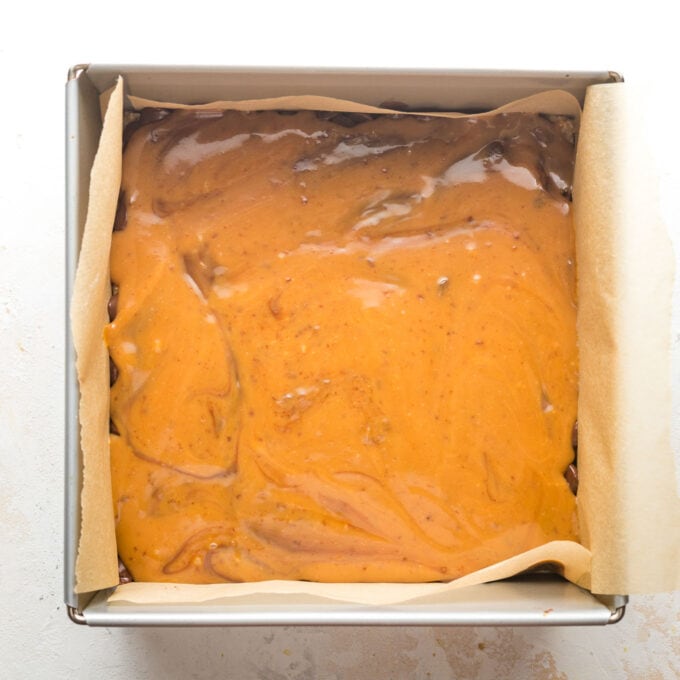
- When the crust comes out, sprinkle chocolate chips on top, then drizzle the caramel sauce over the chips. Things are looking tasty!
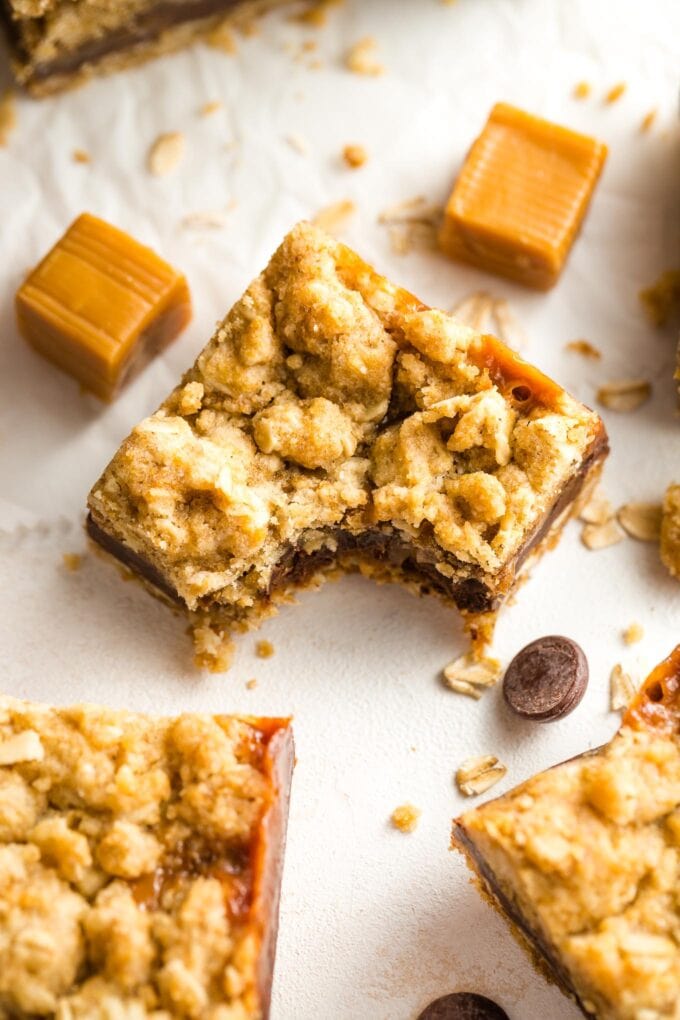
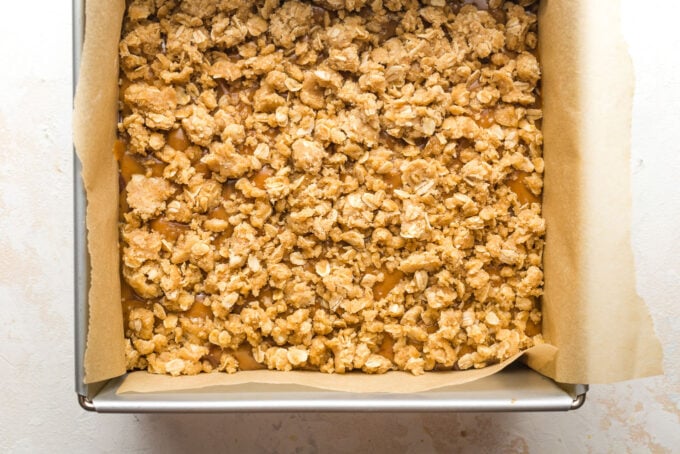
- Sprinkle the remaining oat mixture on top of the caramel. Don’t worry about some gaps — it’s normal, as you can see below.
- Finally, bake for 18-20 minutes, until the crust is golden and the caramel is hot and bubbling.
Patience is a virtue
Be very sure to let the bars cool fully before trying to remove them from the pan, slice, and serve. This can take up to 4 hours at room temperature, or 1-2 hours if you speed up the process by popping the pan in the fridge.
Waiting this long can be painful, yes, but so is slicing into the bars and having hot, molten caramel ooze out everywhere. They’ll taste fine but be a literal hot mess. Best avoided.
How to store carmelita bars
Carmelitas keep well tightly covered at room temperature for at least 3-4 days. (I’ve never had a batch last longer than that.) They can also be kept in the fridge, and some people prefer the texture slightly chilled, so feel free to experiment.
Once fully cooled and sliced, they can be stacked if necessary.
Can you freeze carmelitas? Yes! Carmelita bars can be frozen. Be sure the bars have cooled completely, then stack as needed with sheets of parchment between each layer and store in an airtight container or zip-top bag, tightly sealed, for up to 2 months.
More easy caramel desserts
- Caramel-Stuffed Molasses Cookies
- Salted Caramel Chocolate Chip Cookies
- Salted Caramel Pretzel Ice Cream
If you try these carmelita bars, don’t forget to rate the recipe and leave a comment below. I love hearing how recipes turn out in your kitchen, and it helps other readers, too.
You can also FOLLOW me on PINTEREST, INSTAGRAM, and FACEBOOK for more great recipes and ideas!
Thick and Chewy Carmelita Bars
Ingredients
- 3/4 cup butter
- 1 teaspoon vanilla extract
- 1 and 1/4 cups all-purpose flour
- 1 cup old-fashioned rolled oats
- 3/4 cup packed brown sugar light or dark
- 1/2 teaspoon baking soda
- 3/4 teaspoon salt divided
- 35 small candy caramels such as Kraft or soft Werther’s
- 1/2 cup heavy cream
- 1 and 1/4 cups semisweet chocolate chips
Instructions
- Preheat oven to 350 degrees F. Line a 9×9” baking pan with parchment or foil, if possible, for easy removal and clean-up. Set aside.
- Melt butter in a medium bowl or saucepan. Stir in the vanilla, then sprinkle the flour, oats, brown sugar, baking soda, and 1/2 teaspoon salt on top. Stir well until the mixture is even. Scoop roughly half of this mixture out into the prepared baking pan, and press it firmly into a thin, even layer that covers the bottom of the pan, corner to corner. Bake for 8-10 minutes, just until lightly golden.
- Meanwhile, unwrap caramels and combine them with the cream in a small saucepan over medium-low heat. Stir frequently until the caramels are completely melted and smooth, then stir in remaining 1/4 teaspoon salt and remove from heat.
- After removing the crust from the oven, sprinkle it with chocolate chips, then pour melted caramel evenly over the chocolate. Sprinkle the remaining oat mixture evenly on top. Don’t worry if there are some gaps where the caramel peeks through.
- Bake for another 18-20 minutes. The top should be light golden brown, and the caramel will be very hot and bubbling. Remove and allow to cool completely, 3-4 hours at room temperature, or 1-2 hours in the fridge, before lifting out the bars, slicing, and serving.
Notes
- Caramels: I usually use one full bag of Kraft candy caramels for this recipe. They’re a minor pain to unwrap but melt well and have a nice consistency when baked inside the bars — soft and chewy but not impossible to slice. Kraft caramels can typically found in the grocery store in the same aisle with other candies — M&Ms, peppermint patties, that kind of thing — often on a bottom shelf.
- Yield: The photos here show bars that were sliced from a 9×9” pan into 16 squares. The bars are rich and a bit decadent, so you can definitely cut them into smaller pieces to stretch the serving size.
- Storage: Bars keep well tightly covered at room temperature for 3-4 days.




These are delicious, have made many, many times and am always asked for the recipe.
Made these earlier this evening for a party in 2 days. I plan to let them cool overnight at room temp, but should I refrigerate them uncut afterwards? Should I freeze them? What are your thoughts? They smell amazing and I CANNOT WAIT to try them.
If the party is in 2 days, yup, I would go ahead and refrigerate them – cut or uncut, I don’t think that will matter. I would cut them just to sample one 🙂 then store the rest in the fridge until a little while before party time. Enjoy, I really hope they are a hit!
Can you double this and bake in a 9×13 pan
Yes that should work fine!
I made two different Caramelitas recipes this year and I have to say that this one was my favorite! Very easy recipe and I found that there was a perfect amount of dough! One tip is to make sure that your parchment paper or whatever you line your pan with isn’t in the way of the chocolate chips and caramel.
So happy to hear that – thank you for leaving this note! And totally agree about the parchment – a great tip I recently read for that is to use a clothespin or chip clip to attach the parchment to the side of the pan while you’re adding layers!
Wasted 3/4 c butter plus other ingredients to make these bars. They are lacking an additional cup of flour and a cup of oatmeal. They also work out well with quick cooking oatmeal Very disappointed with this recipe. Wasting products, time and energy The bars were like bricks!
Hi Esther, so sorry you had a bad experience. Can you clarify: did you try them twice, and they *did* work with quick cooking oatmeal? What type of oatmeal caused the poor result? Also, I’m curious, adding more flour and oatmeal would make the bars *more* thick and dense. Were the not so good bars too soft or too hard (brick-like)? I’d love to help you troubleshoot!
Caramelita bars are one of my most favorite bars. Love how thick and chewy these look, I am so going to try them out!
Your images are stunning and this recipe is delectable. It’s on my to do list for the week.
This is a fantastic recipe indeed! We love it here and also love that it’s easy to make. I sometimes use dulce de leche instead of caramel because it’s easily available where I live. Thanks for sharing it!
These carmelita bars have so many layers of yumminess in them! The perfect dessert for cookouts too.
These are amazing! Easy to make and delicious.
You have me drooling here. I’ve been searching for a bar to make for our Labor Day gathering. Everyone that’s coming loves caramel — these bars I know will be a hit. The chocolate chips just is a further guarantee I won’t have any left.
These bars are incredible! Love the caramel chewiness, love the oats, love the chocolate. Great recipe. Something we all loved!
Annnnnd I’m drooling right now! Your pictures are gorgeous and I’m crushing hard on these carmelita bars!!! I cannot wait to make these this weekend! Thank you so much for sharing!
Oh, Monica! I’m so excited about these! My son is a college freshman (tough year to be a new college kid, that’s for sure!), and I’ve been on the lookout for yummy, indulgent little treats to mail to him – both for him to enjoy, but also for him to share with his dorm friends as he tries to meet new people in the somewhat restricted circumstances they’re dealing with right now. These lovely Carmelita Bars will be so perfect! Thanks for the little tip that they stack well – I was actually wondering if it would be ok to stack them for shipping – and as I read along, you answered that for me already! 🙂
Hi Shelley! Oh my goodness, what a tough year to start college! My heart goes out to you and to him. Here’s hoping these bars can bring a smile to all!
Hi, Monica! I just wanted to update you on how absolutely wonderful these turned out for me! I made two batches last weekend, and got them mailed off. Here at home, we LOVED them, and I was so excited for my son to receive his shipment. Not surprisingly, he and his college buddies were crazy for these, too – huge, huge raves. Possibly the biggest compliment of all, though? My son actually texted me last night because his friends had asked for the recipe!! College kids?!? Wanted a RECIPE!?! That’s about the best praise I can imagine. I sent him the link to your recipe ASAP. Thanks a million for this HUGE win! 🙂
Aah, that’s so fantastic, Shelley! Totally agreed – college kids asking for a recipe is pretty much the best compliment ever, haha! Thank you so much for leaving this nice review!