Creamy Baked Mac and Cheese
This post may contain affiliate links. Please read our disclosure policy.
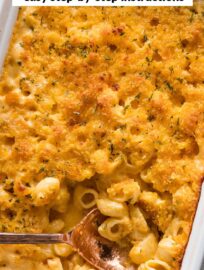
This Creamy Baked Mac and Cheese is comfort food at its most luxurious, a family favorite my kids request at every holiday and for countless family dinners when we all want something cozy. It’s got a combination of cheeses melted into a rich, creamy sauce and tucked under a crisp breadcrumb topping. I love the super easy make ahead option, as well.
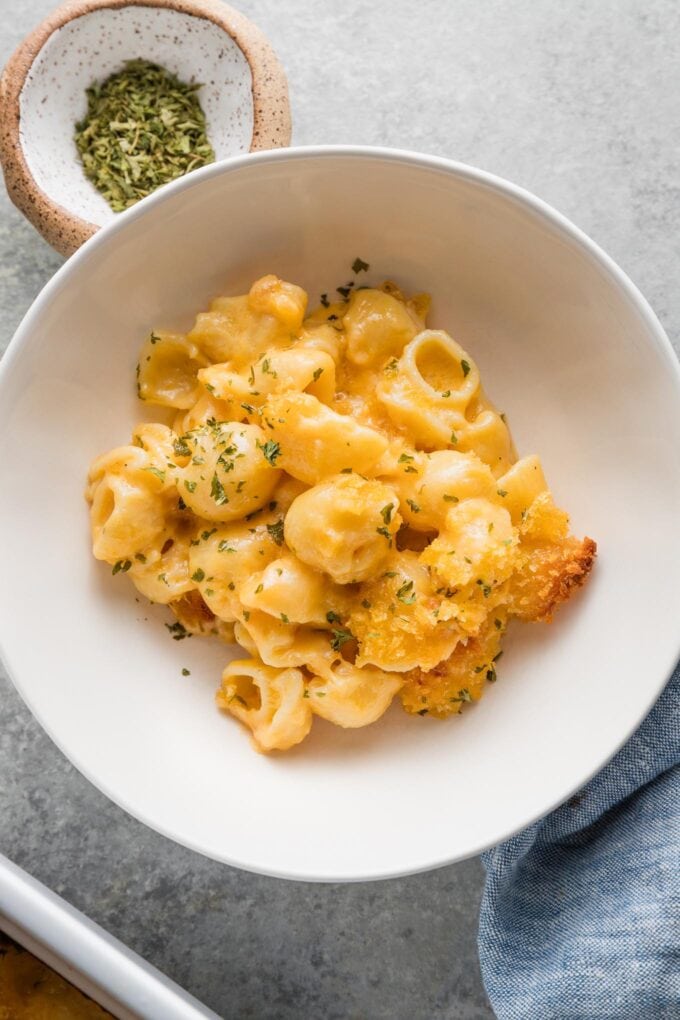
The mac and cheese my family really loves.
Here’s the secret: my family just tolerates the other mac and cheese recipes I use. This is the one they really love. My kids fully expect this at every holiday, and I am happy to oblige because I know they’ll eat it and that’s better than one dinner roll + dessert. It’s everything a classic baked mac and cheese should be: creamy, rich, and packed with toothsome pasta and an almost-but-not-quite overwhelming amount of cheese sauce. Give all of this a crispy breadcrumb lid, bake it for good measure, and belly up to a table of comfort food heaven.
This is satisfying, to put it mildly, so it definitely works as a side dish that doubles as a vegetarian main. For your average family dinner, serve this as the main dish and pair it with steamed green beans, steamed broccoli, salad greens with a whisper of Italian dressing, or another light vegetable side.
Ingredient & Substitution Notes
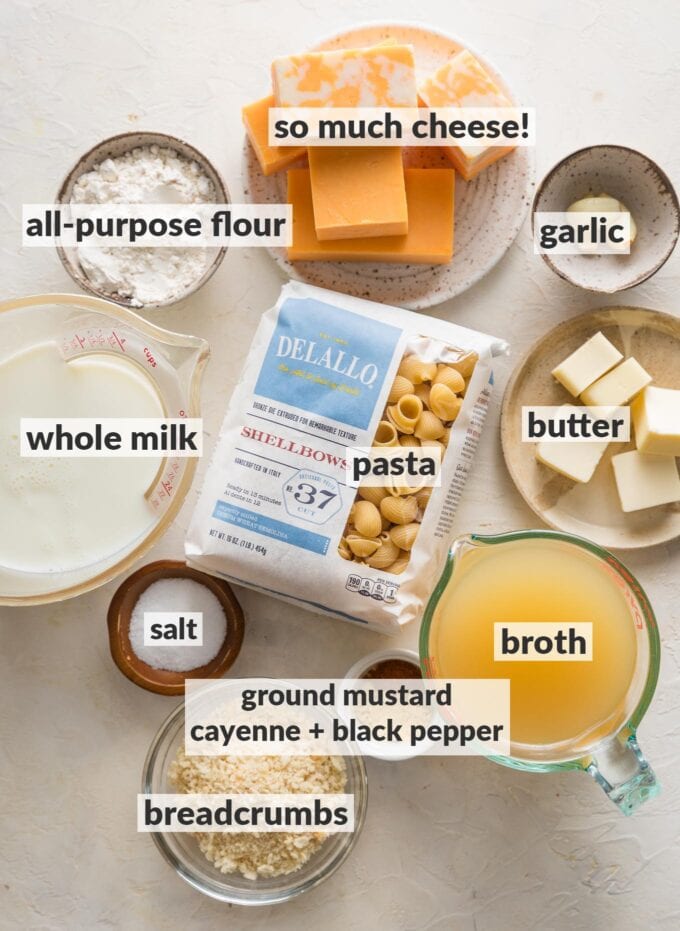
Here’s a quick overview of the key ingredients involved in this meal. As always, find the full printable recipe with measurements below.
- Pasta. You can use any type of pasta: shells, spirals, or cavatappi work especially well. You want something with ridges, nooks, or crannies to hold lots of delicious cheese sauce!
- Lots of Cheese. You will need 1.5 pounds of cheese total. Yes, this is a lot. No, you will not regret it. Buy blocks of cheese and grate them yourself, it’s worthwhile here. I like to use a combination of medium-sharp cheddar and Colby Jack. You can elevate your mac with a combination of Gouda and Swiss and instead, or get creative and mix in some Gruyere or Parmesan. Have fun!
- Broth and Milk for the Sauce. The broth can be chicken or veggie, just keep it low-sodium so the sauce doesn’t get overpowering. I prefer whole milk for the thickest sauce but 2% milk is totally fine.
- Breadcrumbs and, optionally, herbs for topping.
- Fresh minced garlic.
- Staples and Spices: butter, all-purpose flour, kosher salt, black pepper, ground mustard, cayenne pepper. The cayenne definitely doesn’t make this spicy — if it did I can assure you my kids would not eat it — it just adds a smidge of oomph, if that makes sense.
Why shred cheese yourself?
The reason many recipes recommend starting with whole blocks of cheese is that their pre-shredded cousins typically include stabilizers and other ingredients that prevent the cheese from clumping inside of the package. This achieves its intended purpose but makes it difficult for the cheese to melt smoothly into a dish. For some recipes this doesn’t matter too much. When you’re looking for smooth, creamy mac and cheese, however, it makes a difference!
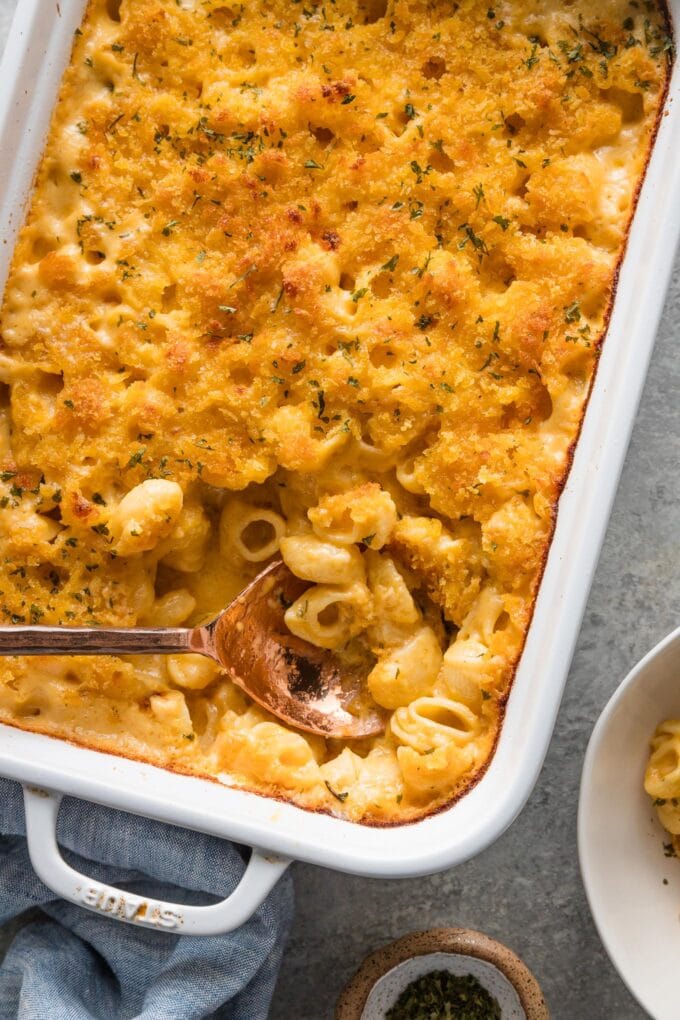
How To Make Baked Mac and Cheese
This is a narrative overview with a few photos to help you visualize the consistency of the sauce as you assemble the dish. As always, find the full printable recipe with detailed steps below.
Soften the Pasta. Cook the pasta in boiling, well-salted water, but not all the way according to package directions, even to al dente. You want it to still have a toothsome bite so that it is not too mushy after it absorbs cheese sauce in the oven. Drain and set aside.
Start the Sauce. Begin with a roux — just a fancy term for all-purpose flour whisked into melted butter — then SLOWLY whisk in milk and chicken or veggie broth. I have found over years of experimentation that the first key to a smooth cheese sauce is to slowly add the liquid and, for the first few additions especially, whisk it in thoroughly as you go. This is as opposed to pouring it all into the roux at once.
Pro Tip
To help the sauce get next next level creamy, set the milk, broth, and cheese out on the counter so that they come to room temperature, or close to it, prior to being incorporated into the sauce. This is another small thing that helps the sauce meld quickly and with ease.
Thicken the Sauce. The second key to a smooth cheese sauce is to let the sauce thicken gently over medium heat. It should bubble but gently and for 10-15 minutes. Rushing this by turning up the heat can be another culprit for grainy cheese sauce. Still delicious, just marginally less attractive.
Melt the Cheese and Stir in Pasta. This is pretty straightforward, but again you’ll want to add the cheese just a handful or two at a time and stir each addition until smooth. Finally, stir in the drained pasta and stir to loosen any clumps.
Pour the mixture out into a deep 9×13-inch baking pan.
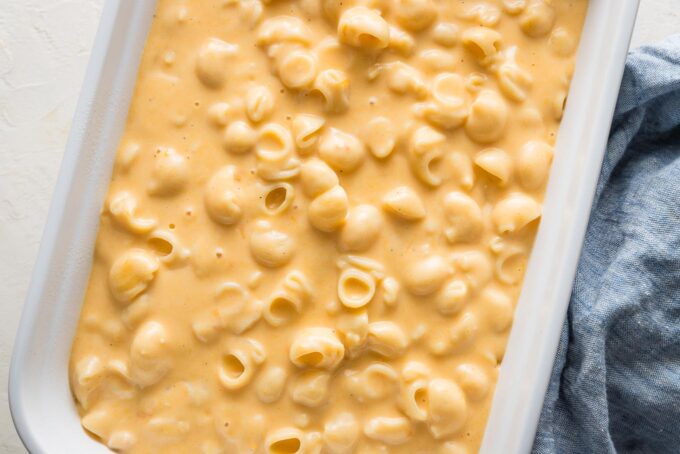
Sprinkle the breadcrumbs evenly on top.
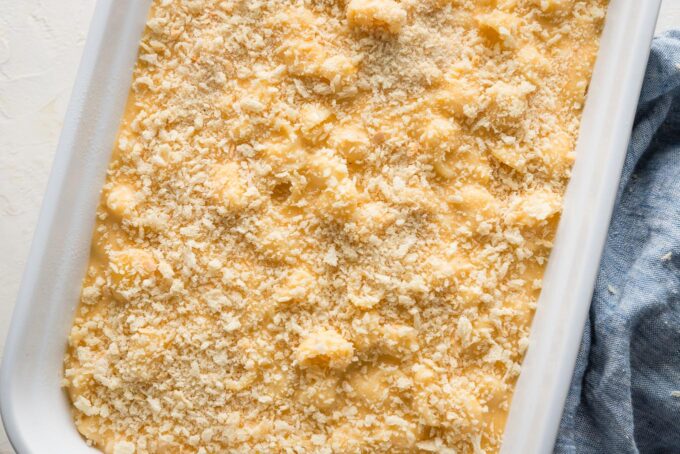
Make Ahead Instructions
At this point you can either put the mac and cheese directly into the oven and bake for roughly 30 minutes at 400 degrees F, or cover it tightly with aluminum foil and store in the fridge for up to two days.
When ready to bake, remove the pan from the refrigerator and place in a 400 degree F oven, still covered with aluminum foil, and bake for 35-40 minutes. Remove the foil and bake for an additional 15 minutes or so, until the breadcrumbs are golden and crisp. I do this every year for Thanksgiving and it works like a charm.
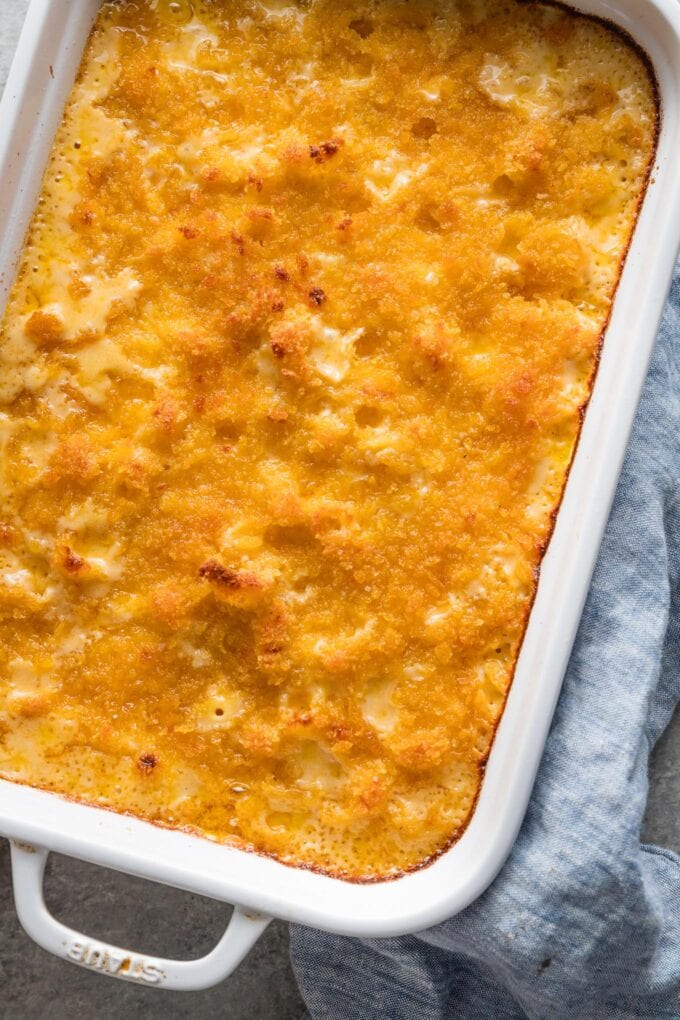
Storage & Reheating
Leftover mac and cheese keeps well in the refrigerator, tightly-sealed of course, for 3-4 days. Probably longer, but we’ve never found out. 🙂
Reheat in the microwave for speed or covered in a 250 degree oven for a large amount. Ideally the sauce will start to bubble again to cue that it’s fully warmed through.
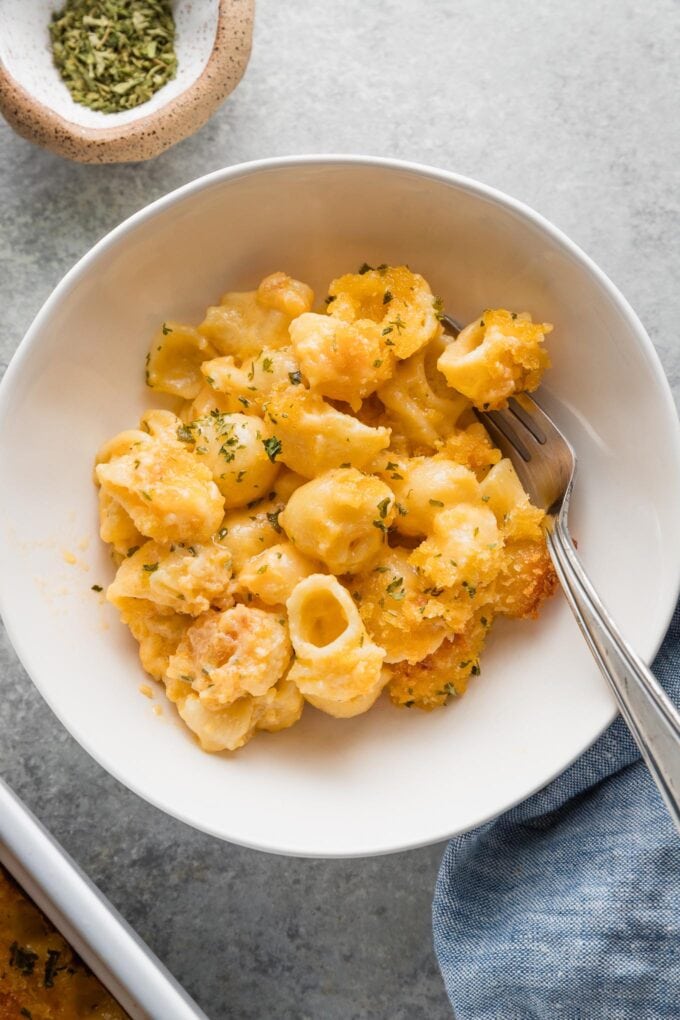
Related Recipes
- Baked Broccoli Mac and Cheese
- Magic One-Pot Stovetop Mac and Cheese
- Creamy Instant Pot Mac and Cheese
If you try this Creamy Baked Mac and Cheese, don’t forget to rate the recipe and leave a comment below. I love hearing how recipes turn out in your kitchen, and it helps other readers, too.
You can also FOLLOW me on PINTEREST, INSTAGRAM, and FACEBOOK for more great recipes and ideas!
Creamy Baked Mac and Cheese
Ingredients
- 1 Tablespoon kosher salt plus more to taste
- 16 ounces pasta shells rotini, cavatappi, or another medium shape
- 6 Tablespoons butter
- 3 medium garlic cloves minced or pressed
- 1 teaspoon ground mustard powder
- 1/4 teaspoon cayenne pepper
- 6 Tablespoons all-purpose flour
- 2 and 1/4 cups low-sodium chicken or vegetable broth
- 3 cups milk I prefer whole but 2% also works
- 16 ounces cheddar cheese shredded
- 8 ounces Colby Jack cheese shredded
- black pepper
- 1 cup Italian breadcrumbs or panko
Instructions
- Preheat oven to 400 degrees F (200 C) and set aside a deep 9×13-inch baking dish.
- Bring a large pot of water to a rapid boil, then stir in 1 Tablespoon kosher salt followed by the pasta. Cook, stirring occasionally, for just about 5 minutes, until the pasta has begun to soften but is not fully cooked according to package instructions. Drain pasta and set aside.1 Tablespoon kosher salt, 16 ounces pasta shells
- Return the pot to medium heat and add the butter. When butter has melted, add the minced garlic, ground mustard, and cayenne. Cook until fragrant, about 30 seconds. Whisk in the flour and cook, stirring constantly, about 1 minute, until the mixture is thick and the flour takes on a lightly golden color.6 Tablespoons butter, 3 medium garlic cloves, 1 teaspoon ground mustard powder, 1/4 teaspoon cayenne pepper, 6 Tablespoons all-purpose flour
- Pour in the broth a little bit at a time, followed by the milk, whisking well after each addition. Once all the liquid is added and smooth, bring the mixture to a simmer and let it bubble gently for 10-15 minutes, continuing to whisk frequently. Resist the temptation to pour in all the liquid at once or increase the heat to speed this up — doing either will increase the odds of your sauce becoming grainy. While you wait for the sauce to thicken is a great time to shred the cheese.2 and 1/4 cups low-sodium chicken or vegetable broth, 3 cups milk
- Once the sauce has thickened enough to coat the back of a spoon, turn off the heat. Add the shredded cheese a handful at a time, stirring each addition until melted and smooth. Season the cheese sauce with salt and pepper to taste. (I usually add about 1/2 teaspoon kosher salt and 8-10 cracks of fresh-ground black pepper, but this can vary a lot by family.)16 ounces cheddar cheese, 8 ounces Colby Jack cheese, black pepper
- Mix the drained pasta into the sauce, stirring to break up any clumps. Pour mixture into the baking dish and sprinkle the top evenly with breadcrumbs.1 cup Italian breadcrumbs
- Bake uncovered for 25-35 minutes, until the sauce is bubbling and the breadcrumbs are crisp. For a deeper golden effect on the top, broil for 1-2 minutes at the end. Remove from the oven and sprinkle with parsley or other herbs as desired. Allow to cool for 4-5 minutes, serve and enjoy!
Notes
- Make it Ahead. After pouring the pasta-cheese mixture into the baking dish and sprinkling with breadcrumbs, cover the entire pan tightly with aluminum foil and refrigerate for up to 2 days. When ready to proceed, bake the still-covered dish at 400 degrees F for 35-40 minutes, until the filling is hot throughout, then remove the foil and bake for an additional 15 minutes or so, until the breadcrumbs are golden and crisp. Let cool a bit, garnish with herbs, and enjoy.
- Pasta Choice. You can use any type of pasta: shells, spirals, or cavatappi work especially well. You want something with ridges, nooks, or crannies to hold lots of delicious cheese sauce!
- Cheese Swaps. To make this a more elevated mac, use a mix of Gouda and Emmenthal Swiss in place of the cheddar and Colby Jack. I used to do this more often when we lived in Belgium and good quality, affordable versions of these cheeses were available everywhere. I usually would do 16 ounces Gouda and 8 ounces Swiss but it’s really flexible.
- Recipe from Cook’s Illustrated via Pink Parsley.
Nutrition Estimate
This post was originally published here on March 22, 2017, and has been updated with new photos and more helpful tips to make the cheese sauce come together well. And yes, we’ve been making this regularly for nearly eight years and still absolutely love it!



Yup some days there’s just no answer other than a big bowl of mac n cheese, I’m drooling over this!
Every one need this in their cooking repertoire. Family comfort food at its finest 🙂
Mac and cheese is always comforting and the baked version looks even better!
I love using gouda in my mac! I’m so in love with your make ahead version of this.
Thanks, Brandi! I know – gouda melts so well and has such an amazing flavor!
I my gosh! I need to eat, I mean make this recipe now! I know this is “classic” mac and cheese but it looks a lot better than that! I must try this ASAP! Luci’s Morsels | fashion. food. frivolity.
Hi Luci! I hear you – it’s classic AND amazing, ha! 🙂