Creamy Banana Pudding with Cinnamon
This post may contain affiliate links. Please read our disclosure policy.
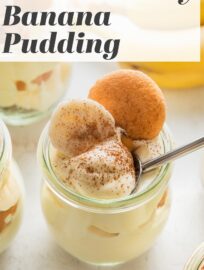
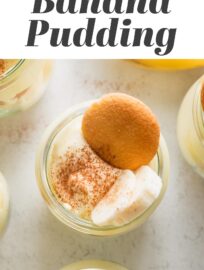
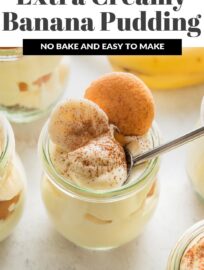
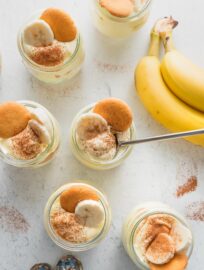
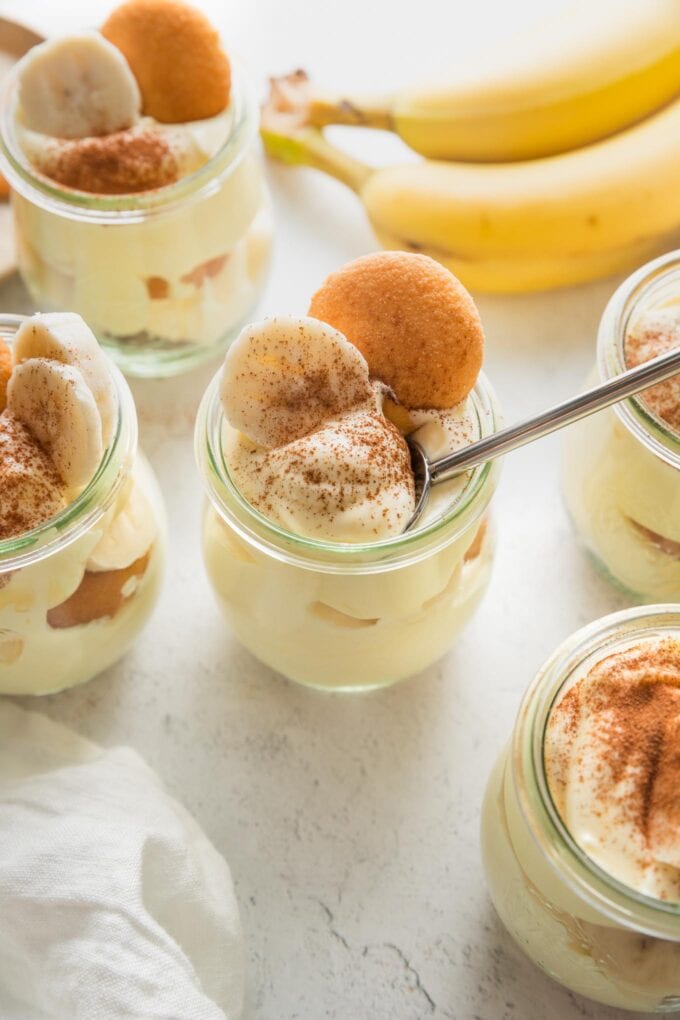
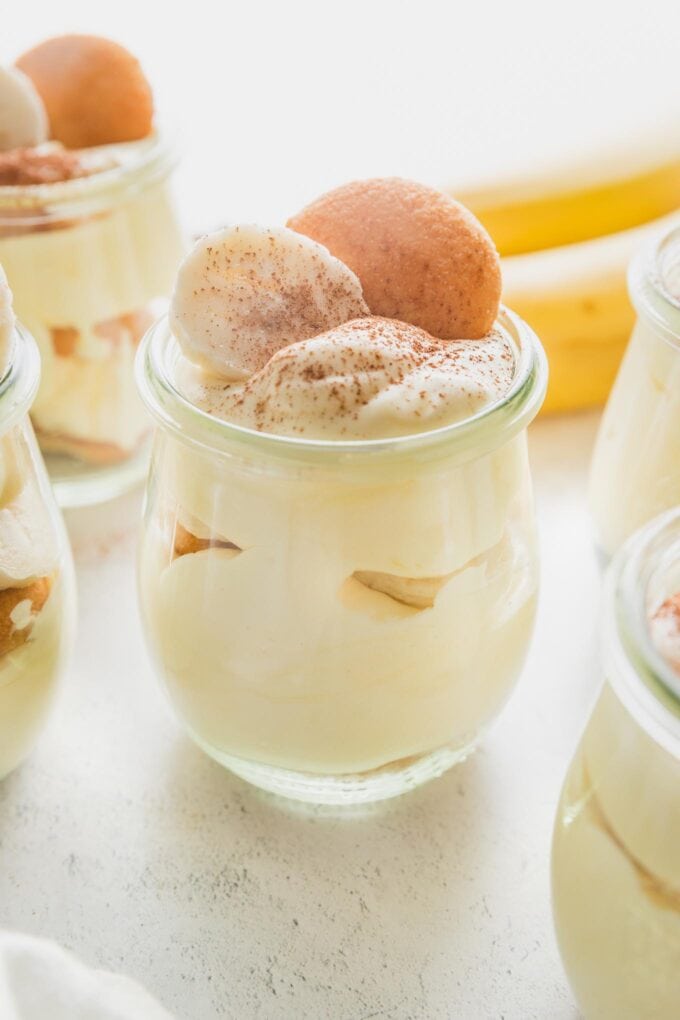
Extra creamy and dusted with a light sprinkle of cinnamon, this Banana Pudding is a favorite no-bake dessert. Vanilla wafers, thinly-sliced bananas, and creamy whipped pudding combine into a beautiful and delicious layered treat.
Why We Love It
No-bake desserts have an undeniable appeal in the summer — or any time you just don’t want to deal with firing up the oven — and this super easy, creamy, and delicious banana pudding is one to enjoy time and again. With layers of banana mixed with creamy pudding and tender vanilla wafers, you have a delightful mix of sweetness and textures.
Magnolia Bakery is especially famous for its banana pudding, the exact recipe for which the owners have published in their cookbook. The original bakery recipe is surprisingly simple, and of course it’s delicious!
Why, then, change it even a little bit? After making this several times at home, I confess I’ve messed with the original perfection as follows:
- Less heavy cream for a creamier pudding. I reduce the amount of cream from three cups to two. This is still quite a lot of heavy cream, but using a bit less actually dilutes the vanilla pudding slightly less, for a creamier overall effect. This is personal preference, of course — fluffy vs. creamy — but if you’re interested in the creamy effect, this is a great way to achieve it.
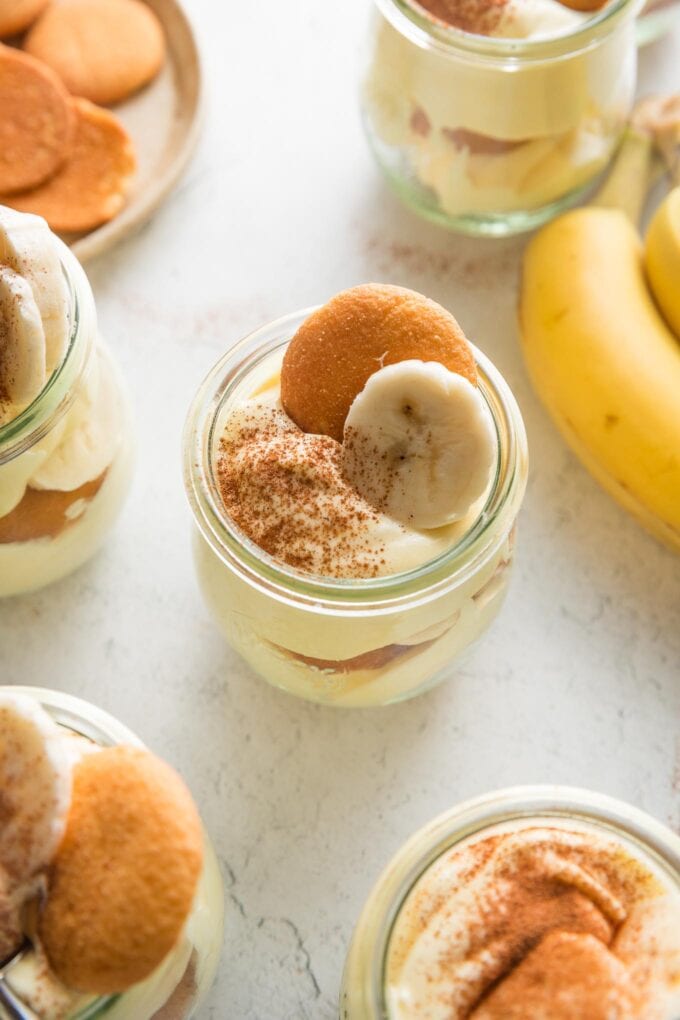
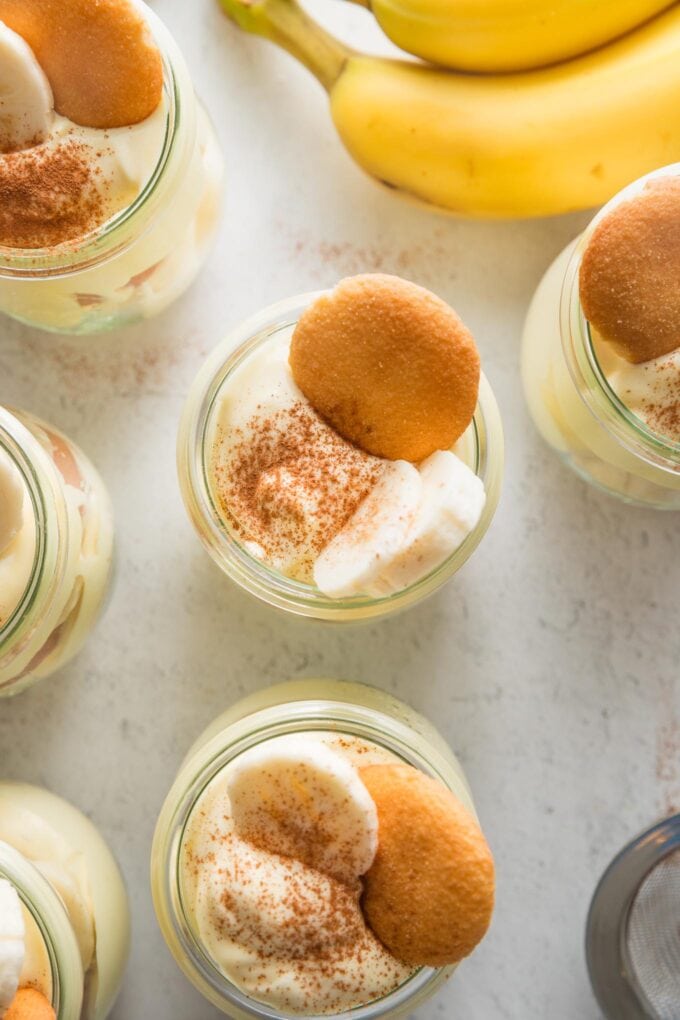
- Cinnamon dusted on top. A tiny sprinkling of cinnamon on top of the pudding just prior to serving is the perfect complementary flavor — and looks beautiful.
- More manageable yield. Slightly, anyway. As written, this still makes a pretty large amount of banana pudding — 16 servings — but using less cream also reduces the total volume.
Pro Tip
You can assemble banana pudding in individual dishes like the tulip jars shown here, a large baking pan, a trifle dish, or a large bowl. If using one large dish, I usually use up all of the pudding-cream mixture, but if making individual portions, I may not actually make all 16, and consequently have a good bit leftover. Extra pudding mixture is delicious just mixed with fresh berries and sprinkled with lemon zest!
Ingredient & Substitution Notes
A few notes and shopping tips about the ingredients you’ll need; find full amounts in the print-friendly recipe card below.
- Bananas, of course! Four medium-sized bananas work well for a full batch. Get the most “peak yellow” bananas you can — too green and they won’t taste sweet or soften up properly; too brown and ripe and they will instead turn to mush when mixed with the pudding.
- One can sweetened condensed milk. Do not substitute regular milk, evaporated milk, etc. It will not thicken the pudding in the same way.
- One box vanilla or French vanilla instant pudding mix. Be sure to grab the instant kind, and a small, 3.4 ounce box — not the family size.
- Heavy cream. Two cups of it. Go big or go home, I say in this case. It’s dessert, after all.
- Nilla wafers or similar vanilla wafer cookies. A big 12 ounce box. I figure people making banana pudding and similar desserts must be responsible for at least 75% of Nilla wafers sales, and I kind of love that.
- Ground cinnamon, for dusting. This is a tiny addition that I love so much!
How To Make Banana Pudding Extra Creamy
To start, you’ll make the instant pudding using sweetened condensed milk and cool water. Once smooth, chill the mixture for 4 hours or overnight.
Once the pudding is firmed up, you can whip the cream, then fold into the pudding to lighten it up. I don’t mind if a few streaks are left, as long as it’s mostly smooth. I’d rather a streak than keep folding and lose all the fluffiness.
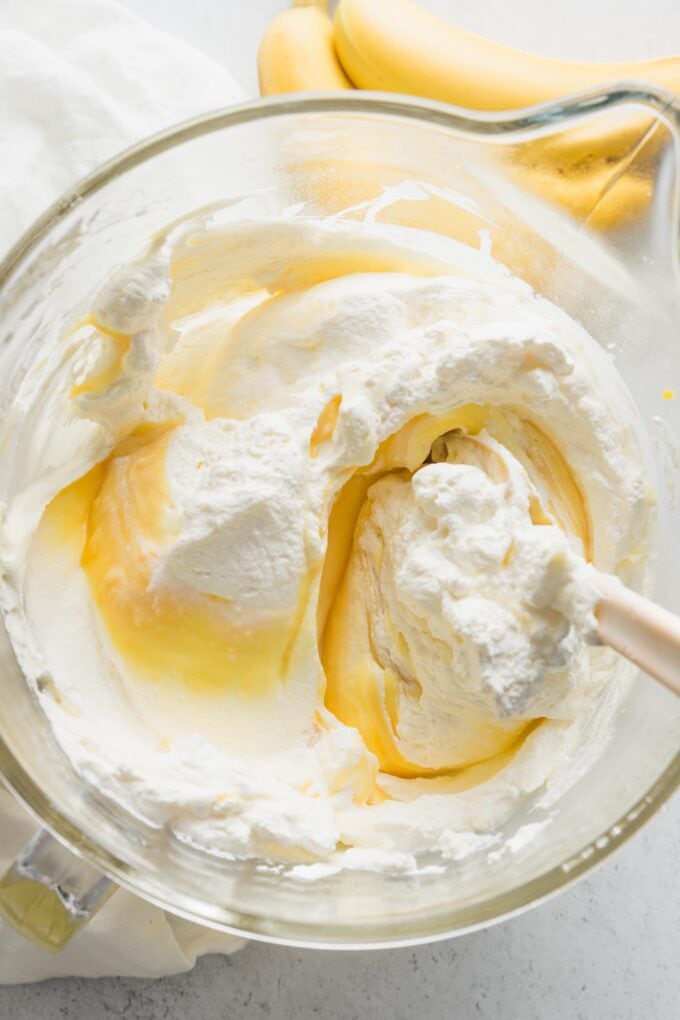
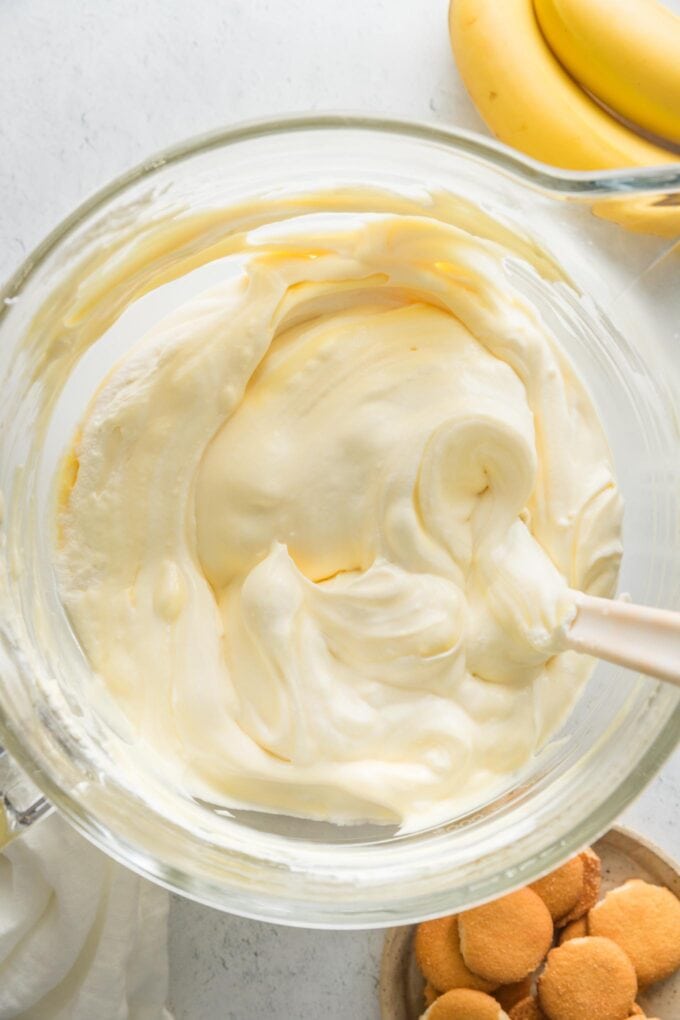
Assemble in layers: Nilla wafers, sliced banana, pudding-cream mixture, and repeat. Refrigerate again for 4-8 hours prior to serving.
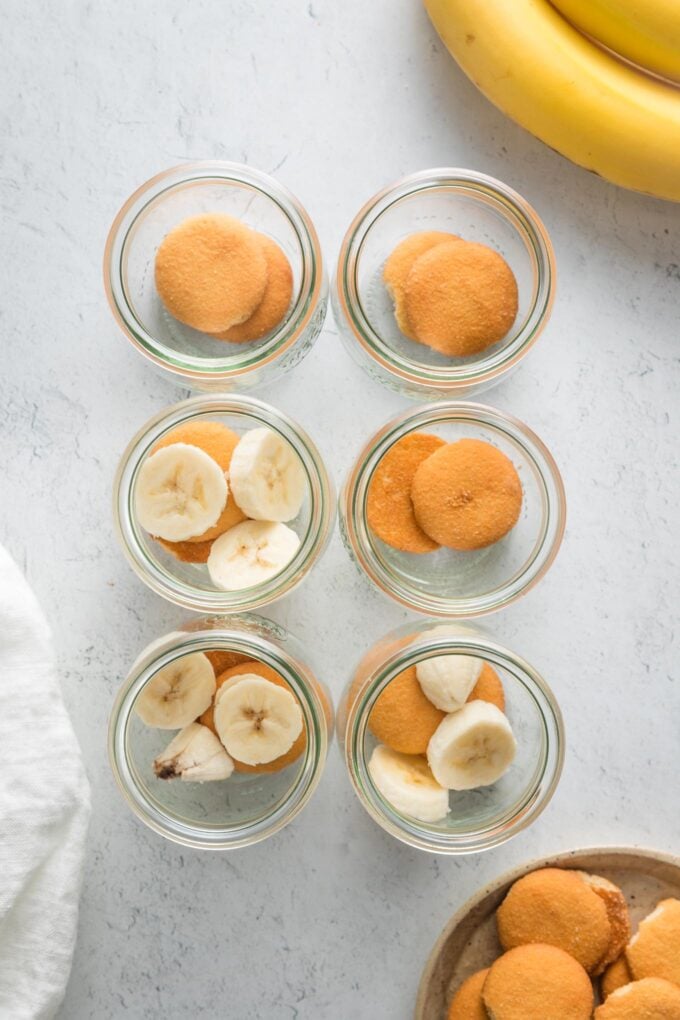
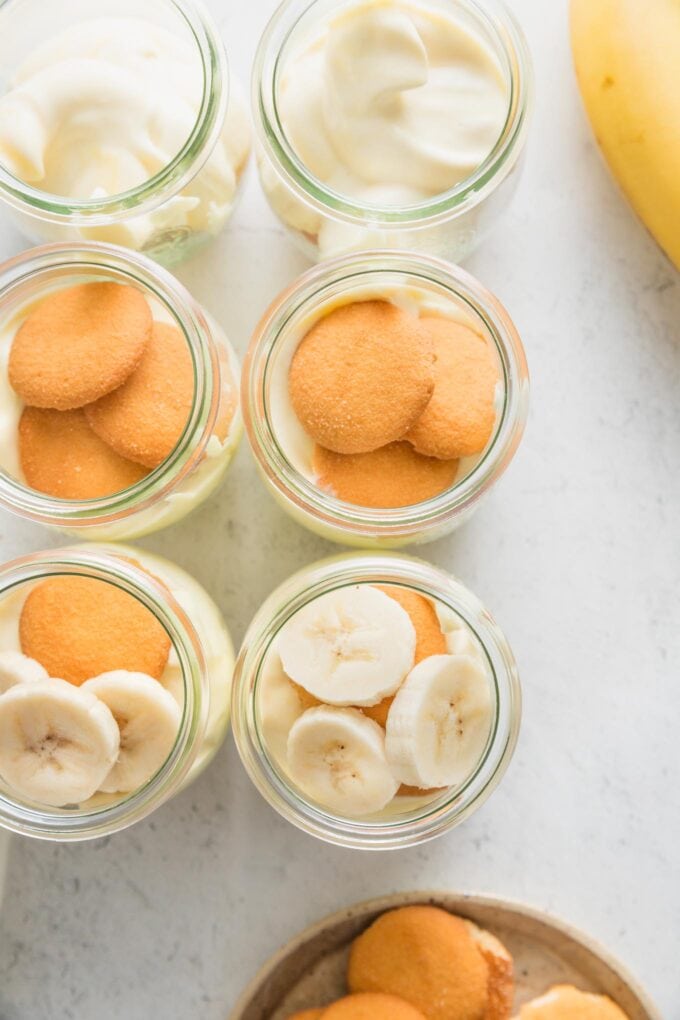
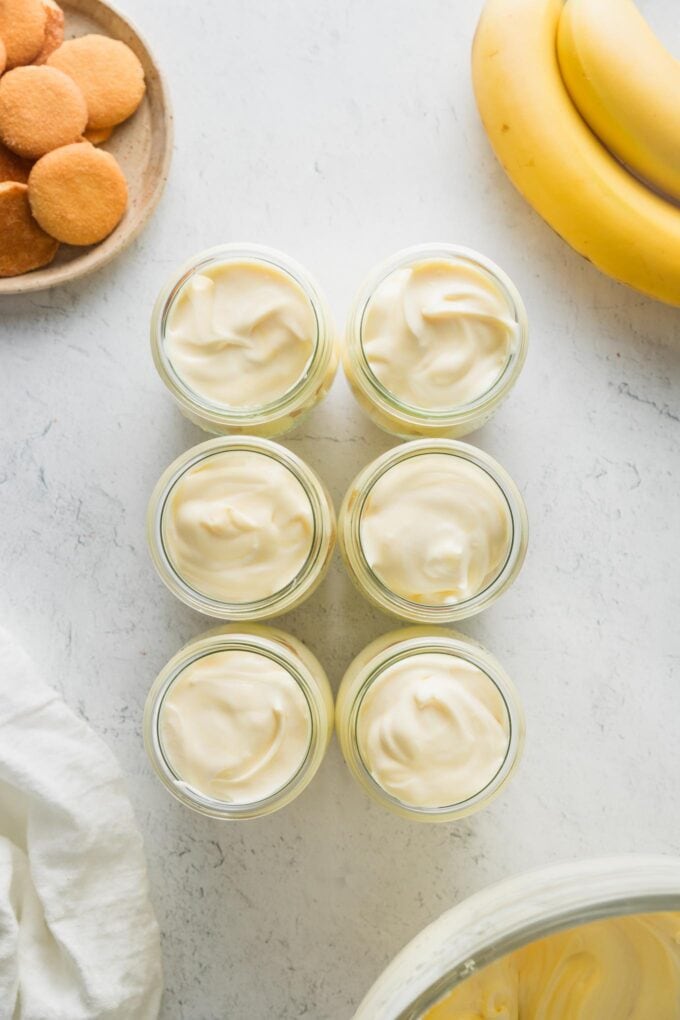
Top with more banana slices and wafers, dust with cinnamon, and dig in!
How far in advance can I make banana pudding?
Although this dessert is really easy, it does require advance planning. The pudding itself needs at least 4 hours or overnight in the refrigerator to firm up. Then you’ll want another 4-8 hour fridge rest after assembling the pudding and prior to serving. This gives enough time for the banana flavor to meld and for the wafers to soften to crumbly, tender perfection.
Say I’m serving banana pudding for dessert one night. My preferred strategy is to make the pudding any time the previous day. It will be ready to go whenever I’m ready to whip the cream and assemble the full dish late morning or early afternoon of the serving day. Slicing bananas and dusting cinnamon for the tops is quick, easy, and kind of fun to do after dinner dishes are cleared.
Full disclosure: I have eaten extra banana puddings, happily, more than 24 hours after assembly. Yes, the wafers are disintegrating by that point. But I don’t care. Still delicious. So the 4-8 hour guideline is really just about textural preference, not food safety or anything like that.
Bottom line: if there’s banana pudding in the fridge, I’m probably going to eat it. 🙂
Related Recipes
Other favorite no-bake desserts include lemon cheesecake mousse parfaits, brown butter Rice Krispie treats, s’mores fudge, and this irresistible Oreo ice cream layer cake.
If you try this Creamy Banana Pudding recipe, don’t forget to rate it and leave a comment below. I love hearing how recipes turn out in your kitchen, and it helps other readers, too.
You can also FOLLOW me on PINTEREST, INSTAGRAM, and FACEBOOK for more great recipes and ideas!
Creamy Banana Pudding with Cinnamon
Ingredients
- 1 (14 ounce) can sweetened condensed milk
- 1 (3.4 ounce) box vanilla or French vanilla instant pudding mix
- 1 and 1/4 cups cold water
- 2 cups heavy cream
- 1 (12 ounce) box Nilla wafers
- 4 bananas not too ripe
- 1-2 teaspoons ground cinnamon for dusting
Instructions
- In a large mixing bowl or the bowl of your stand mixer, combine sweetened condensed milk and pudding mix, beating on medium-high speed. Reduce speed to low and slowly pour in the water. When all the water is added, slowly increase the speed again until the mixture is thoroughly and evenly mixed. Cover and refrigerate for at least 4 hours or overnight, until the pudding is very thick.
- When the pudding is thickened, make the whipped cream by beating heavy cream with an electric mixer until stiff peaks form. Add whipped cream to the pudding and gently fold until the mixture is smooth.
- Assemble the pudding in either individual dishes, a large baking pan, a trifle dish, or a large bowl. Start with a base layer of Nilla wafers across the bottom of your dish or dishes. Slice bananas and scatter over the wafers, then add a generous dollop of the cream-pudding mixture. Repeat layers as needed until you reach the top.
- Cover and refrigerate for 4-8 hours. When ready to serve, top with extra banana slices and Nilla wafers, then sprinkle a small amount of cinnamon on top. Enjoy!
Notes
- Leftover pudding mixture? This makes a pretty big batch of the pudding-whipped cream mixture. If I’m making banana pudding in one large dish, I usually use up all of it, but if I’m just making individual dishes, I may not actually make all 16 servings and consequently have a good bit leftover. Extra pudding mixture is delicious just mixed with fresh berries and sprinkled with lemon zest!
- More cinnamon? To enhance the cinnamon effect, add a little dusting over the top of each pudding layer, not just at the end.
- How to dust cinnamon? The easiest way to dust cinnamon on top is to put a little bit in a small fine mesh strainer then gently use the palm of one hand to tap the side of the strainer while holding it over the pudding dish(es).
- Recipe? Adapted from The Magnolia Bakery Cookbook.

