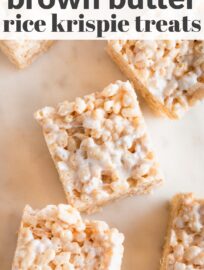
Brown Butter Rice Krispie Treats
This post may contain affiliate links. Please read our disclosure policy.
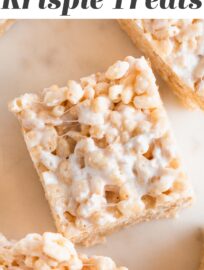
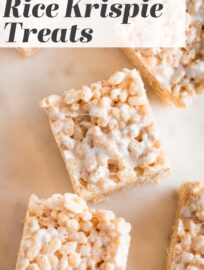
Better than the back-of-the-box, these Brown Butter Rice Krispie Treats are thick, chewy, and extra delicious, thanks to nutty browned butter, a pinch of sea salt, and bonus pockets of soft marshmallows swirled throughout. Don’t worry: they’re every bit as quick and easy to make as the original.
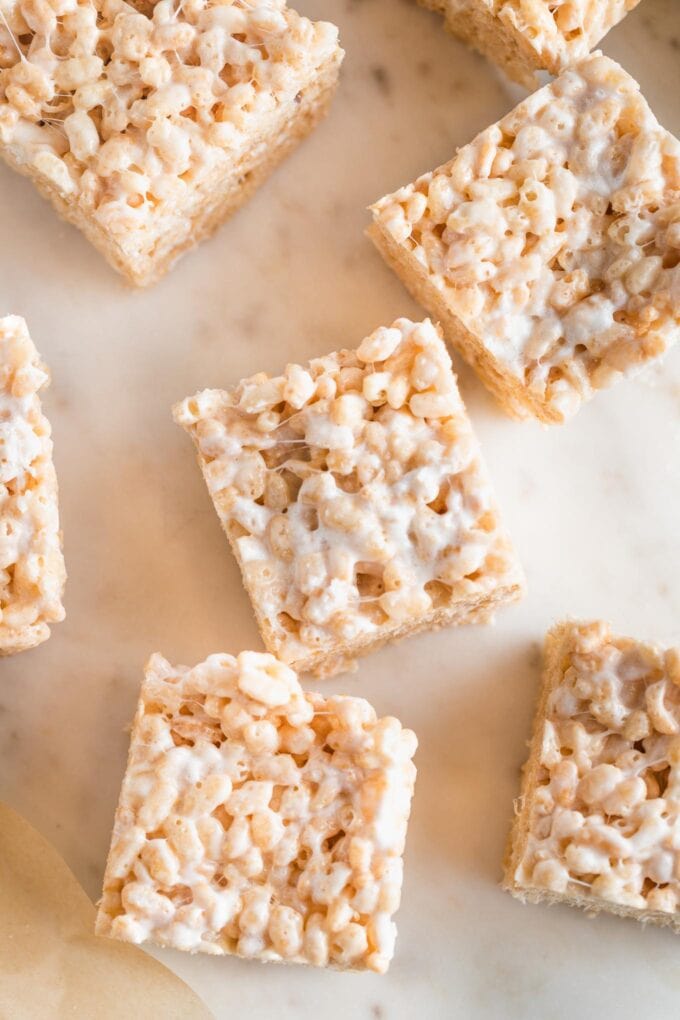
Say hello to the absolute best rice Krispie treats you’ve ever experienced. There’s so much to adore here, including the fact that they are incredibly easy to make and cause everyone to swoon.
Why You’ll Love Them
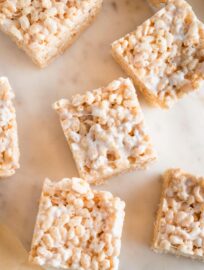
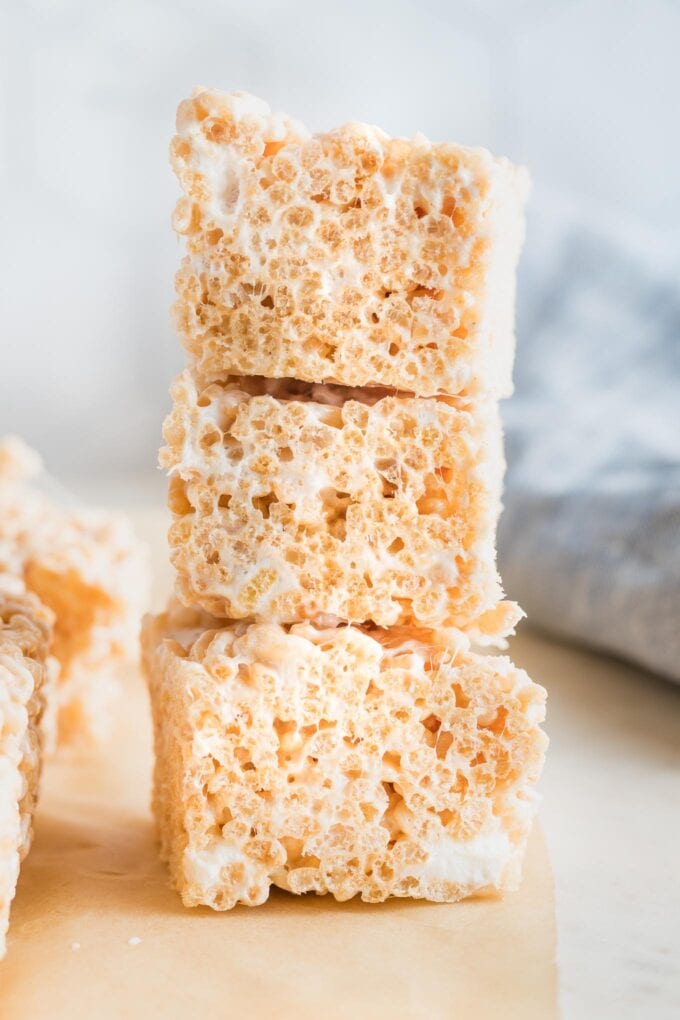
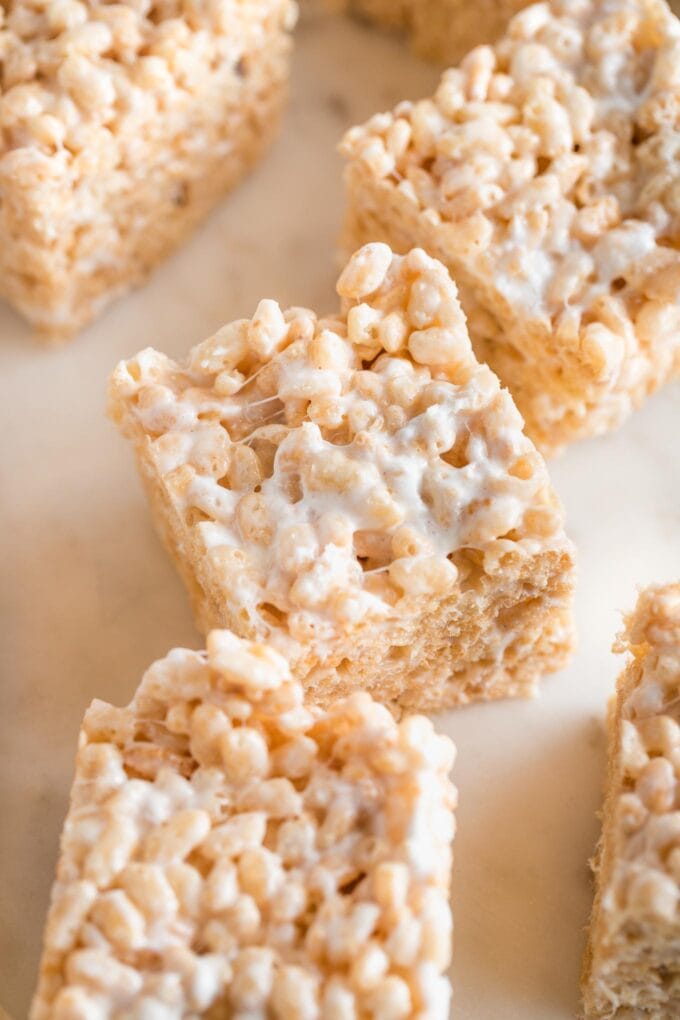
- Extra thick, chewy bars. A thin, flat rice Krispie treat is a little sad, honestly. These are substantial and maintain a tender, chewy texture because you’ll press the mixture gently into the pan.
- Balanced sweet & salty flavors. A little sea salt goes a long way to being sure these bars have a balanced taste, rather than overwhelming sweetness, while the nutty aroma and flavor of brown butter adds major depth of flavor.
- Easy to make. The simplest mixture and no baking required. Perfect for whipping up a quick treat with kids.
Brown butter rice Krispie treats are a feature of Deb Perelman‘s first cookbook, Smitten Kitchen, and became something of a sensation from there. They are, in her fine words, an improvement on something that was never broken.
After, ahem, quite a few taste tests and experiments, we’ve built on her recipe and crafted this forever family favorite. It has slightly less butter, slightly more cereal, substantially more marshmallows, incorporated in two stages, and vanilla for fun.
Ingredient Notes
The ingredients you’ll need are very straightforward, as of course most rice Krispie treats are.
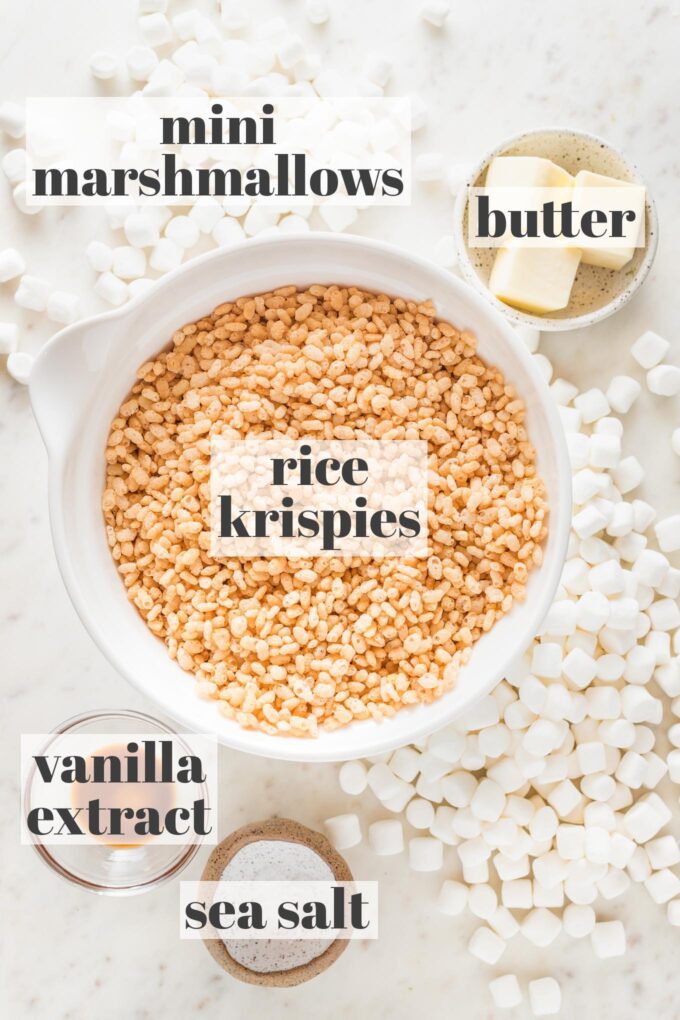
The back-of-the-box recipe calls for a mere three ingredients — cereal, butter, and marshmallows — but I think you’ll find the additions of vanilla extract and flaky sea salt to be extremely worthy.
Feeling extra fancy? Use vanilla bean paste in place of the extract to see the flecks mixed in.
Keep It Fresh: Any brand of puffed rice cereal is fine, just make sure it’s fresh! If you start with stale cereal, you’ll end up with noticeably stale crispy treats.
Unsalted or salted butter?
I prefer to use unsalted butter and add salt to taste, but you can certainly go either way here.
Are large or mini marshmallows better for Rice Krispie treats?
Traditional Rice Krispie treats work fine with either large or miniature marshmallows, but for an extra element of flavor and texture, use mini marshmallows and hold some back to mix in just before pressing the cereal mixture into the pan. This gives you pillowy pockets of marshmallow swirled in throughout the bars.
Tender marshmallow and nutty brown butter flavor in every bite? Yes please!
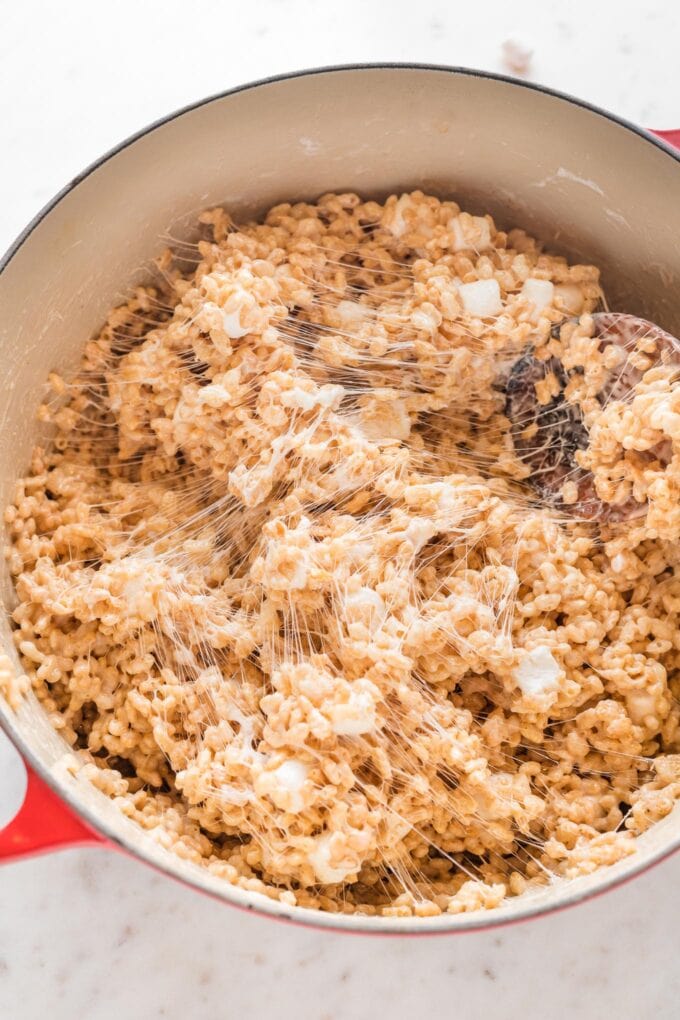
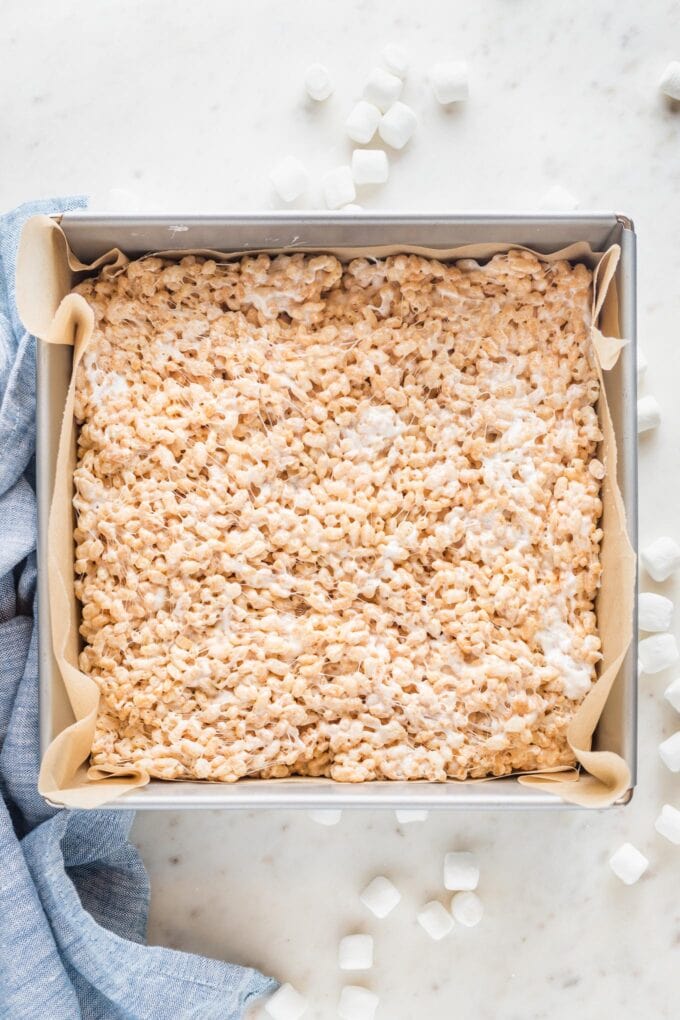
How To Make Brown Butter Rice Krispie Treats
These classic bars are the quintessential simple and fast kitchen project, making them extra recommendable if you’re looking for a manageable way to get kids involved in the kitchen. Here’s all it takes:
- Melt butter, then let it foam and develop golden brown flecks and a nutty aroma. Be sure to use a large pot.
- Mix in most of the marshmallows until smooth. Pour in vanilla and sea salt.
- Stir in cereal, then gently fold in another few handfuls of marshmallows. These ones will stay partially intact.
- Gently press the cereal-marshmallow mixture into a square baking pan. Cool, slice, and enjoy!
Pro Tip: Line your baking pan with compostable parchment paper so you can lift out and cut the bars into even squares with no fuss. The bars are very sticky, so it’s worth taking an extra second to lightly mist the parchment with cooking spray, too.
More Mix-Ins
Want to add even more window dressing? Not that they need it, in my opinion, but if you want to really go all out, mix in 2 tablerainbow sprinkles or jimmies. You can also mix 1/4 cup of peanut butter in with the cereal, or drizzle the top of the bars lightly with melted caramel or chocolate.
How To Store Them
To keep rice Krispie treats fresh, wrap them tightly with plastic wrap or stack in a tightly-sealing container and store at room temperature. They will stay soft for 2-3 days.
Can you freeze Rice Krispie treats?
Yes! To freeze rice Krispie treats, cool them completely then cut into squares. Wrap each square individually in a small piece of plastic wrap or wax paper, then place the squares together into a large freezer bag or airtight container. Freeze for up to 3 months. Defrost at room temperature and enjoy within 1-2 days.
More Easy Desserts
Need more shareable desserts that come together in a flash? Bar cookies are always easy to make and delicious, so try these ultimate one-bowl chocolate brownies, Nutella brownies, or gooey carmelita bars next. Prefer a traditional cookie? M&M chocolate chip cookies are a guaranteed hit.
If you try these Brown Butter Rice Krispie Treats, don’t forget to rate the recipe and leave a comment below. I love hearing how recipes turn out in your kitchen, and it helps other readers, too.
You can also FOLLOW me on PINTEREST, INSTAGRAM, and FACEBOOK for more great recipes and ideas!
Brown Butter Rice Krispie Treats
Ingredients
- 7 tablespoons unsalted butter
- 9 cups mini marshmallows divided (about 1 and 1/2 10 ounce bags)
- 1/2 teaspoon vanilla extract
- 1/4 teaspoon kosher or sea salt
- 6 cups Rice Krispies or another crispy rice cereal
Instructions
- Line an 8×8-inch baking pan with parchment paper and lightly mist the parchment with nonstick cooking spray. Set aside.
- Place butter in a large saucepan or Dutch oven set over medium heat. Stirring frequently, allow the butter to melt, then foam, then finally develop golden brown flecks and a nutty aroma. This should take 4-5 minutes. If it’s proceeding too quickly, reduce heat to medium-low.
- Once the butter is browned, reduce heat to its lowest setting. Using a wooden spoon or rubber spatula, stir in about 7 cups of the marshmallows. Mix gently until the marshmallows are melted and the mixture is mostly smooth. Turn off the heat, and stir in the vanilla and salt.
- Add cereal and fold gently, just until evenly coated, then gently stir in the remaining marshmallows.
- Scrape the mixture out into the prepared pan, and, using either a rubber spatula or a piece of parchment paper, gently spread into an even layer. Press lightly; you want it set in the pan, but not packed in densely or tight.
- Let the treats set at room temperature for 1 hour before slicing and serving.
Notes
- Storage: To keep rice Krispie treats fresh, wrap them tightly with plastic wrap or stack in a tightly-sealing container and store at room temperature. They will stay soft for 2-3 days.
- Freezing: Cool treats completely then cut into squares. Wrap each square individually in a small piece of plastic wrap or waxed paper, then place the squares together into a large freezer bag or airtight container. Freeze for up to 3 months. Defrost at room temperature and enjoy within 1-2 days.

