Instant Pot Chickpea Curry (Chana Masala)
This post may contain affiliate links. Please read our disclosure policy.
You’ll be amazed how simple it is to make this Instant Pot Chickpea Curry at home with a few basic veggies and pantry ingredients. Good for the body, good for the soul! Vegan and gluten-free.
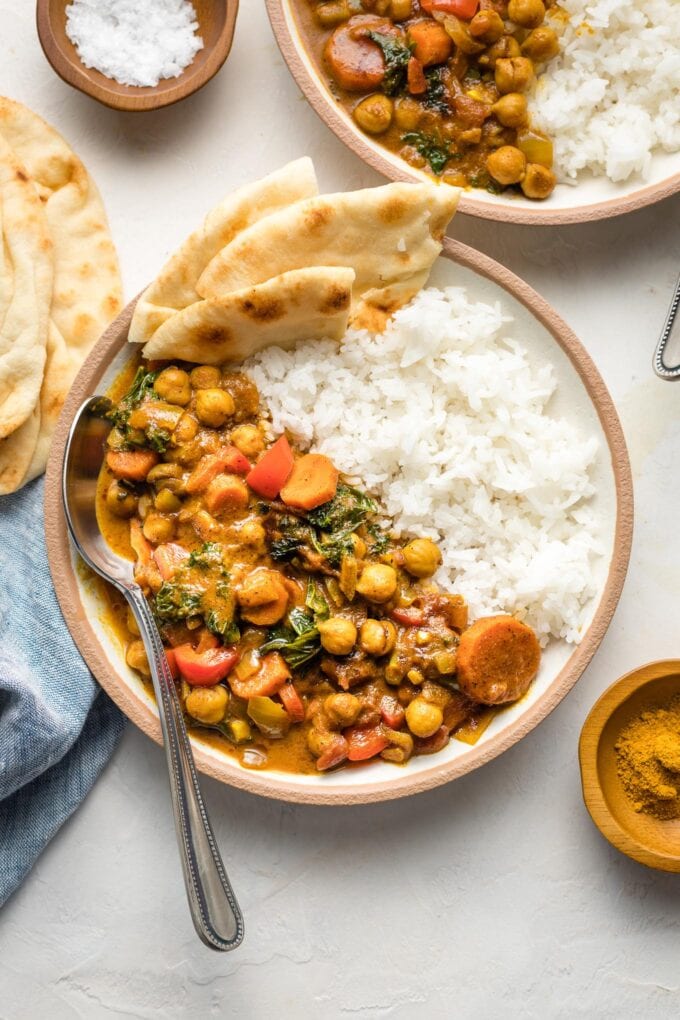
If you love Indian food but feel intimidated to make it at home, this recipe is for you! Instant Pot chickpea curry, AKA chana masala, is easy, quick, healthy, and full of flavor. A simple yet powerful blend of veggies, spices, and aromatics make it a stand out.
This curry quickly became one of our favorite meals, and I know you’ll enjoy it, too.
What is chana masala?
Chickpea curry, or chana masala, is a dish popular throughout India and Pakistan. Though recipes vary by region, it’s thought to have originated in northern India. “Chana” means chickpea and “masala” describes a blend of spices commonly used in Indian cooking.
Chana masala is an increasingly popular menu option at Indian restaurants around the world, and this version is modeled after some that we’ve tried. A traditional preparation, like this one from Swasthi’s Recipes, would almost certainly include more individual spices and cooking steps.
Fortunately for the average American home cook, you can adapt these same flavors into an approachable weeknight recipe — one perfectly suited to the Instant Pot.
Why you’ll love it
- Quick and easy. Not too much prep, everything cooks in the Instant Pot, and it’s done in less than 30 minutes — including the time it takes to come up to pressure.
- Nutritious. Veggie-packed. You definitely feel good about eating this!
- A meatless meal that carnivores love. Please everyone in one go: this chickpea curry is naturally vegan and gluten-free. It’s also very filling and tends to be a hit with eaters of all kinds.
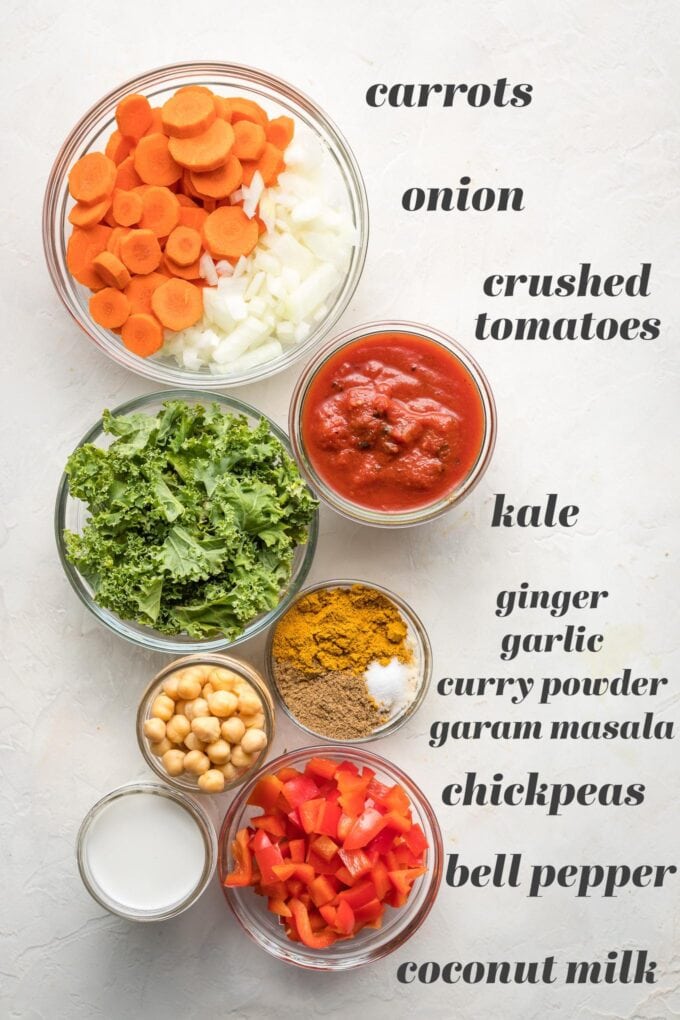
How to make chickpea curry in the Instant Pot
Be sure to scroll down for the full recipe!
- Sauté carrots and onion right in the Instant Pot, then add aromatics — ginger, garlic, curry powder, garam masala, and salt. Add liquids and chickpeas, stir well.
- Seal the lid and cook on high pressure for just 5 minutes.
- After releasing the pressure, stir in a few extra veggies — my favorites are red bell pepper and kale. Spinach works well, too. You don’t want to cook these together with the chickpeas, or they would almost totally break down!
- Season and serve. That’s it!
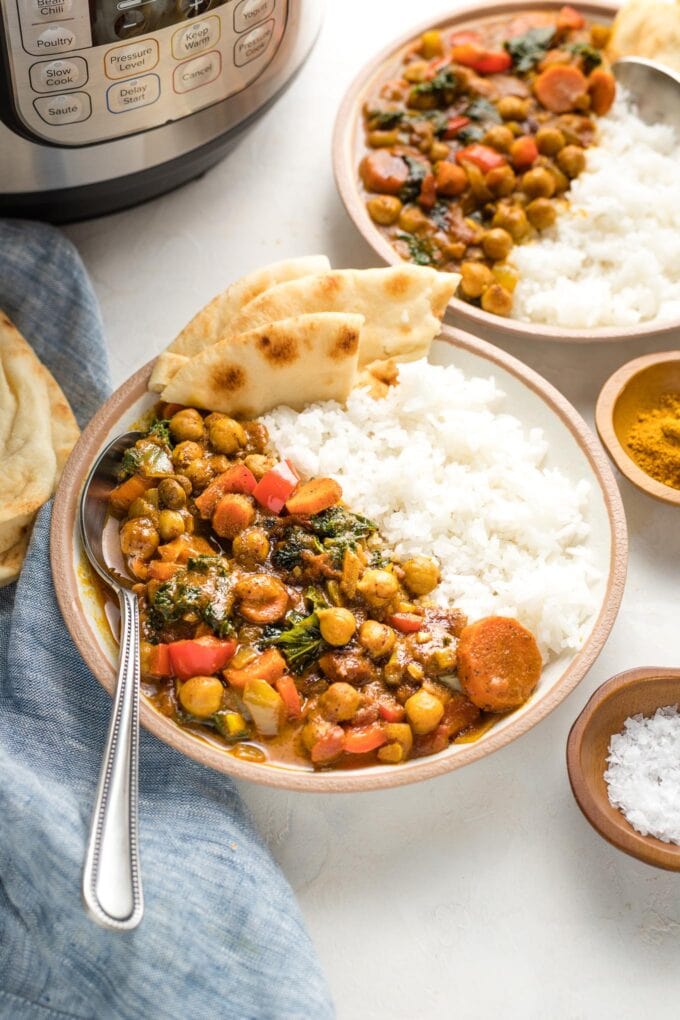
Tips and tricks
- Prep for no stress. This chickpea curry comes together fast, and a little strategic prep work makes it stress-free. Get your first three “sets” of ingredients ready up front — the chopped carrots and onions; the spices and aromatics; and the canned goods — so you can quickly and easily add these to the Instant Pot when needed. Then you’ll have time to prep the pepper and greens while the curry cooks.
- No burn, baby. Be sure to scrape the bottom of the pot after adding the tomatoes and coconut milk to loosen any small stuck-on bits and prevent a burn notice. This sauté tool is the best utensil I’ve ever found for this — super effective and no scratches!
My curry tastes bitter!
At times, this combination of spices can taste bitter, especially if you’re used to typical American fare. I’ve also read that a culprit of bitterness can be cooking the aromatics too long. Regardless, there’s an easy fix: a drizzle of honey!
Honey’s natural sweetness perfectly complements this chickpea curry and can be added to taste for individual palettes. I like to stir about 1 tablespoon straight into the dish, then drizzle on more to taste.
Bonus: seeing the honey go on is a good incentive to convince kids to try the curry!
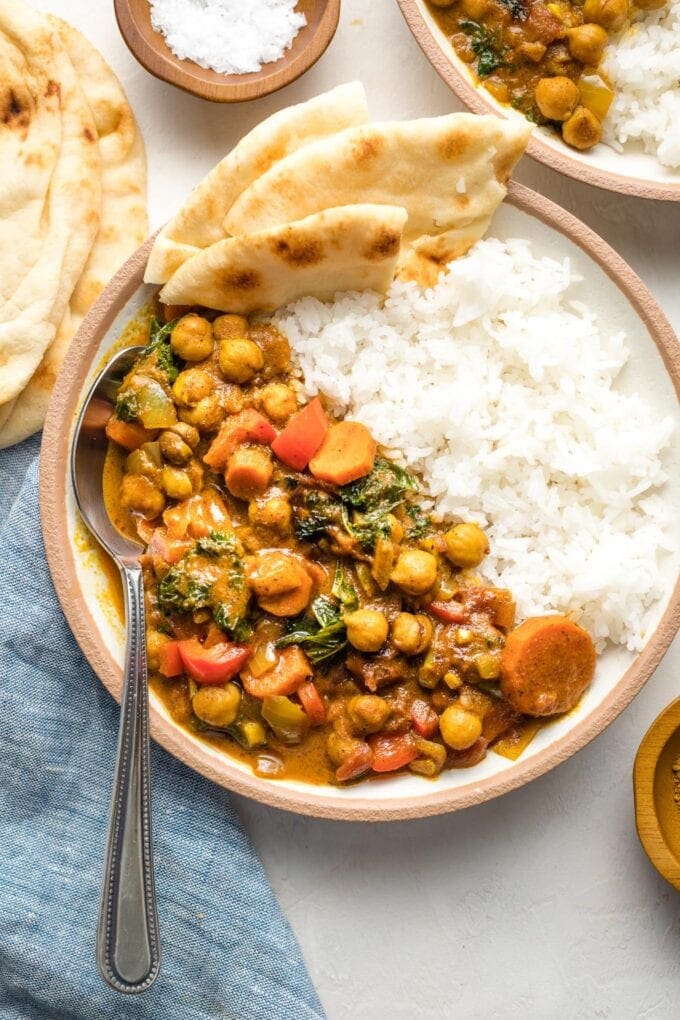
Variations
- Change up the protein. Add cooked chicken or paneer, or swap either in for the chickpeas.
- Add more veggies. Toss in some broccoli or cauliflower florets to boost the veggie quotient even more. You can also simply add an extra bell pepper, chopped, or more greens — the amounts here are completely adjustable to your taste.
- Use different tomatoes. My preference for this recipe is crushed, fire-roasted tomatoes, and I find Muir Glen to be of reliable quality. The recipe also works well either regular crushed tomatoes or fire-roasted diced tomatoes. Regular crushed will have a bit less heat and flavor, while diced tomatoes will deliver a different texture — more pieces of tomato than a smooth tomato-y sauce.
Storage and freezing
Making this chickpea curry for meal prep, or just have leftovers? Store in an airtight container and reheat as needed; it will keep for 4-5 days in the fridge.
Prefer to freeze it? Allow cooked curry to cool completely, then transfer to freezer-safe storage containers. Pro tip: Be sure to leave some space in the containers, because the curry will expand slightly when frozen. Curry will keep in the freezer for 3-4 months. For best results, thaw in the fridge overnight, then reheat in the microwave or on the stove.
If you try this Instant Pot Chickpea Curry, don’t forget to rate the recipe and leave a comment below. I love hearing how recipes turn out in your kitchen, and it helps other readers, too.
You can also FOLLOW me on PINTEREST, INSTAGRAM, and FACEBOOK for more great recipes and ideas!
Instant Pot Chickpea Curry
Ingredients
- 2 tablespoons olive or coconut oil
- 1 small yellow onion chopped
- 3 medium carrots peeled and chopped
- 2 teaspoons fresh ginger grated or minced, see note
- 3-4 medium cloves garlic minced
- 2 tablespoons curry powder
- 2 tablespoons garam masala
- 1/2 teaspoon salt
- 1 (14 ounce) can full-fat coconut milk
- 1 (14.5 ounce) can fire-roasted crushed tomatoes see note
- 1 (15 ounce) can chickpeas drained and rinsed
- 1 red bell pepper chopped
- 2 cups kale chopped
- honey to taste
- rice and/or naan to serve
Instructions
- Warm oil in the Instant Pot on the sauté setting, then add onion and carrots. Cook, stirring frequently, for 2-3 minutes. Add ginger, garlic, curry powder, garam masala, and salt. Cook for 30-60 seconds, stirring constantly. Stir in coconut milk, tomatoes, and chickpeas, scraping the bottom of the pot well to release any browned bits.
- Seal the lid and cook on high pressure for 5 minutes. Allow to naturally release for 5 minutes, then quick release the remaining pressure. Leave Instant Pot on the keep warm setting, open lid, and stir in the chopped pepper and kale, along with 1 tablespoon honey.
- Taste the curry; if you find it bitter, add an extra 1-2 tablespoons honey — or let individuals add it to taste with their portions. Serve with rice and/or warmed naan.
Notes
- On the Ginger. Fresh works great, but I usually use frozen cubes of crushed ginger, because they are so darn convenient! I buy Dorot brand, and use 2 cubes for this recipe, which is equivalent to about 2 teaspoons of the fresh grated stuff. Look for the cubes in the freezer section near other frozen veggies.
- On the Tomatoes. My preference for this recipe is hands-down crushed, fire-roasted tomatoes, as noted above. However, depending on your grocery store, these can be hard to find. The recipe also works well either regular crushed tomatoes or fire-roasted diced tomatoes, though regular crushed will have a bit less heat and flavor, and diced tomatoes will deliver a slightly different texture—more pieces of tomato than a smooth tomato-y sauce.
- Start Rice First. If serving the curry with rice, start it first so that everything will be done at about the same time—the curry comes together very quickly.








This recipe sounds lovely. Any suggestions on what to use in place of the coconut milk?
Thanks
It depends on your reason for avoiding coconut milk, but I would try first with regular old evaporated milk, and if that doesn’t work for your diet, I would try it with soy or almond milk – just reducing the amount slightly in any case to compensate for the fact that they’re not quite as creamy as coconut milk.
The spice combination is perfect and makes for a lovely melange of flavors. I like to add some chicken here as well to satisfy the growing teens in the house.
So so so good! I made this for dinner and it was even better as lunch the next day. I had some mushrooms on hand so I added those with the carrots and onions. I must have not scraped the bottom well enough though bc I did get a burn notice. It was perfectly fine though after a scrape and a bit longer under pressure. We added another tablespoon or so of honey at the end too, for the bitterness mentioned. Go now. Make this!
Thank you so much for sharing this feedback, Cathy – mushrooms sound like a great addition to me! So, so glad you enjoyed it!