Easy Homemade Lemon Curd
This post may contain affiliate links. Please read our disclosure policy.

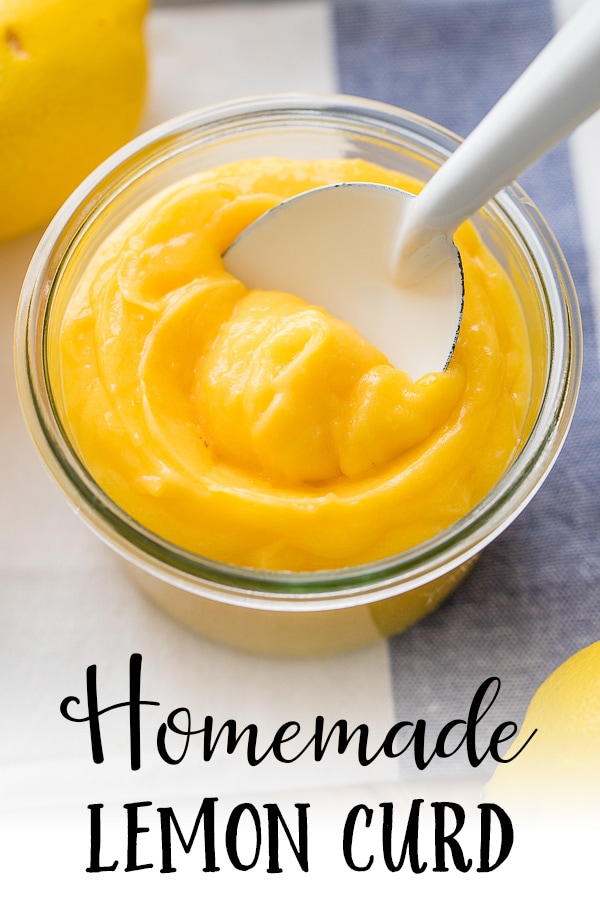
It’s so easy to make delicious homemade lemon curd – you need just four ingredients and less than 30 minutes to make this bright, creamy spread, which also happens to be the best filling for lemon or strawberry lemonade cupcakes!
It’s taken me many, many years to accept that any food with “curd” in its name was something I may actually want to eat, let alone go to the trouble of making from scratch. At last, however, I came around, and am grateful for it.
Perhaps it would have happened faster if this were known as something like smooth, sweet, creamy lemon spread. Because that, fundamentally, is what lemon curd is. And there’s an awful lot to like about it.
How To Make Easy Homemade Lemon Curd
The process is simple, and the ingredient list is even simpler: lemons, sugar, egg yolks, and butter.
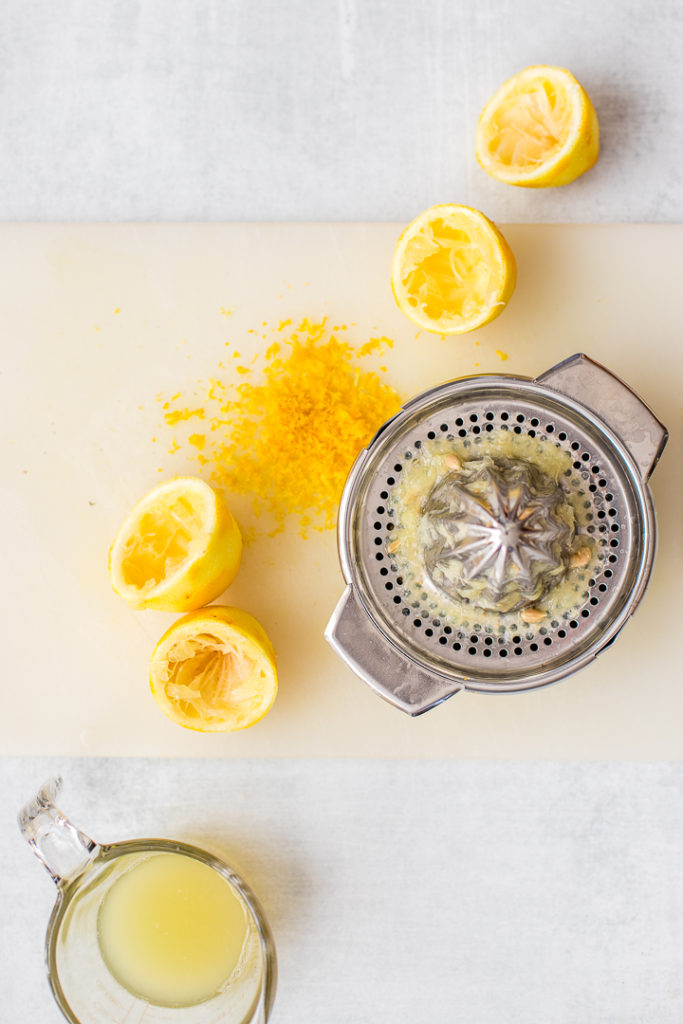
First you’ll whisk together the egg yolks and sugar. Zest and juice the lemons, and whisk in both of those, as well.
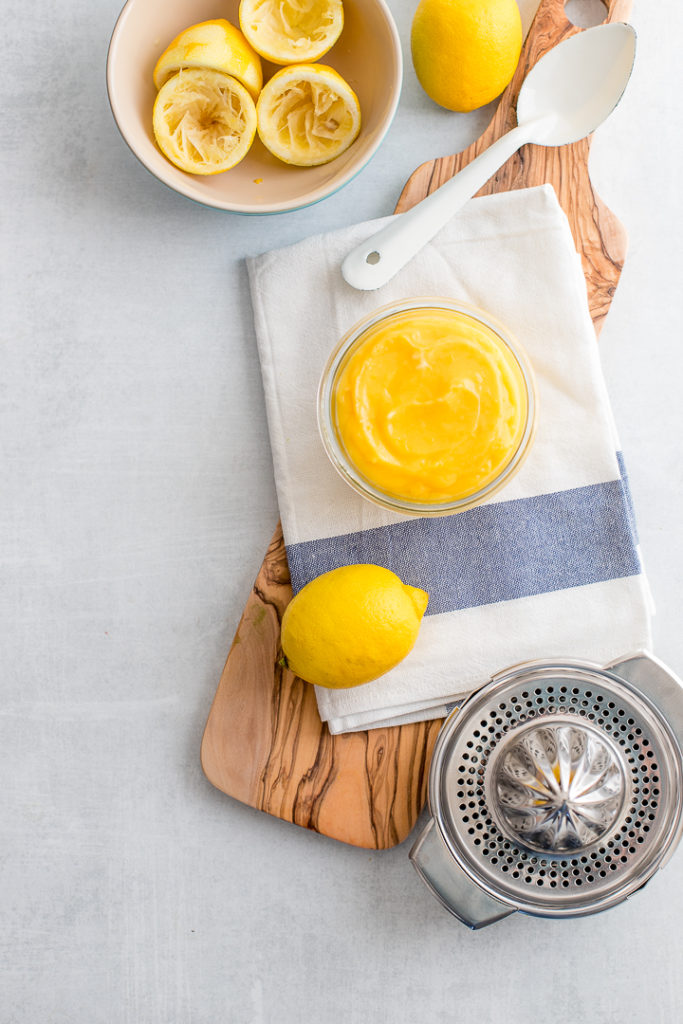
When it comes to zesting and juicing citrus, some very small and simple kitchen tools can make your life a lot easier. If you don’t already have at least a small hand juicer (mine is pictured above) and a microplane grater, do yourself a favor and add them to your next Target list or Amazon cart. For under $15 each, they will make these routine kitchen tasks easy and fast!
Be sure to zest the whole lemons first, then cut them in half and squeeze out the juice. This saves you the considerable awkwardness of zesting a half a lemon, which is at least twice as difficult as zesting one intact. Speaking from experience. 🙂
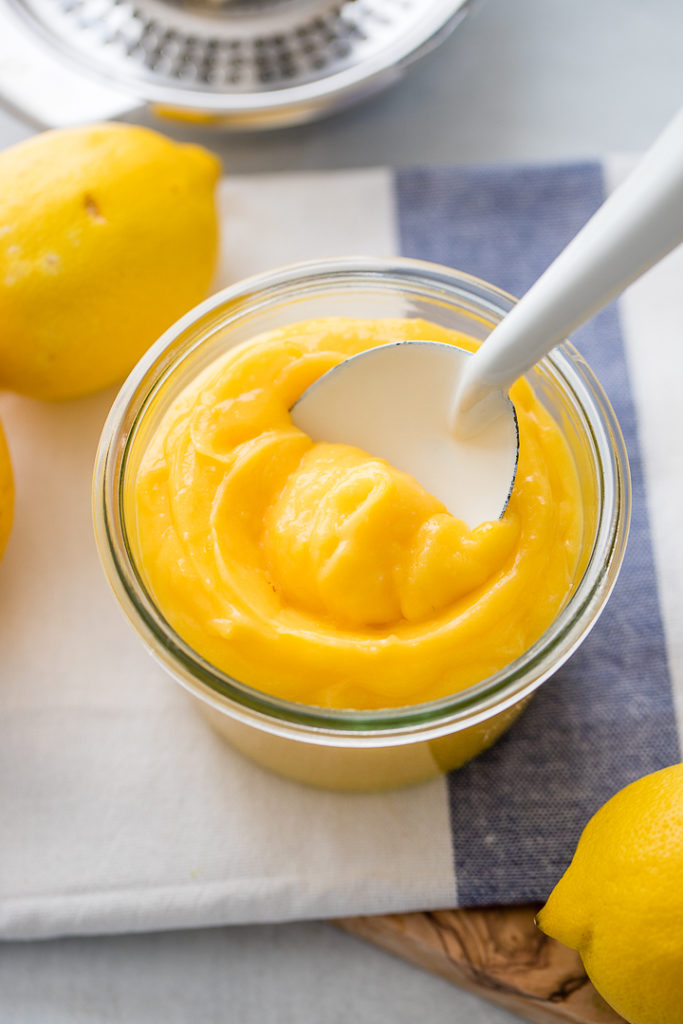
After whisking in the lemon zest and juice, it’s a simple matter of cooking the mixture over low heat until it thickens to a creamy consistency, then stirring in the butter.
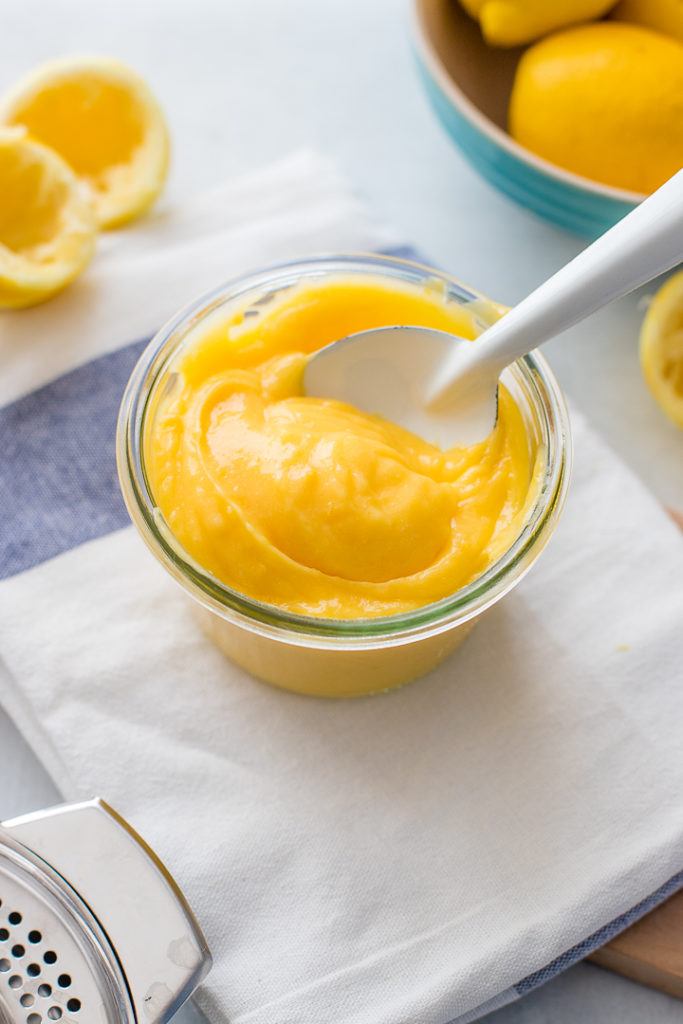
Let it cool, and you will be rewarded with a beautiful jar full of smooth, sweet, creamy lemon spread. Also known as, lemon curd.
What To Do With Lemon Curd?
The better question would be, what NOT to do with it? Lemon curd is delightfully sweet and custard-y, but of course with a bright citrus flavor. It’s very traditional as a spread on fresh muffins or scones. Go for a double lemon effect and spread a bit on a warm lemon poppy seed muffin straight from the oven!
I also love to mix a dollop into yogurt or oatmeal for breakfast. And, of course, my absolute favorite way to enjoy lemon curd is in the middle of a cupcake. 🙂 Lemon cupcakes with cream cheese poppy seed frosting are extra amazing with a spoonful of lemon curd in the middle. And filled strawberry lemonade cupcakes… well, the name speaks for itself.
Perhaps needless to say, it’s also quite delicious eaten straight from the fridge with a spoon. I’ll never even tell if you double dip.
If you could bear to give it away, lemon curd would also make a lovely gift from the kitchen.
Bottom line, you could buy lemon curd at the store, but, as always, the texture and flavor are likely to be so much better when made at home, not to mention you’ll be sparing yourself all the preservatives and added sugars, etc. that are in so many ingredients off the shelf.
Plus it’s a fun little project, very do-able in a short amount of time, even with “help” from kiddos. (Especially those that can be trusted to whisk or stir with some supervision.) So I hope you try this at home and love your results as much as I do!
Enjoy! ♥

Easy Homemade Lemon Curd
Ingredients
- 5 egg yolks
- 1/2 cup (99 grams) granulated sugar
- grated zest of 2 lemons
- 1/4 cup fresh lemon juice from about 2 lemons
- 6 tablespoons (3 ounces, 86 grams) unsalted butter
Instructions
- In a small Dutch oven or heavy saucepan, combine the egg yolks and sugar; whisk briskly for about 1 minute. Add the lemon zest and juice; whisk again for 1 minute to blend. Cut butter into small pieces, about 1 inch each.
- Set the pan over low heat and cook gently, stirring almost constantly, until the mixture visibly thickens, about 15 minutes. (See recipe note 1.)
- Remove pan from heat and add pieces of butter. Let cool, stirring occasionally, until butter is melted and mixture comes approximately to room temperature. Strain the curd through a fine mesh sieve, if desired. (See recipe note 2.)
- Cover tightly and store in the fridge.
Notes
- You may be tempted to turn up the heat, but don't do it! Cooking low and slow, and the near-constant stirring, is important to prevent the egg from "cooking" into little clumps, rather than forming the sweet custard that you want. Many recipes call for doing this in a double boiler, which would achieve the same effect, but I have never found the extra effort of setting up a double boiler to be necessary.
- Straining the curd through a fine mesh sieve is not strictly necessary - I actually don't do it most of the time - but it just depends on your personal preference. Straining it will obviously result in an even smoother finished product, as it will filter out any small pieces of lemon zest or other solids. IF you think some small pieces of egg may have cooked to a solid state, straining will help get those out!
- Curd will keep well in the fridge for 7-10 days.
- Recipe adapted from Williams-Sonoma.
Nutrition Estimate
This post was originally published on March 29, 2017, and updated on March 6, 2018 to include new photos and slightly more specific recipe instructions.
I made this recipe to add to the center of my strawberry cupcakes. They were a hit! Love, love, love this recipe. Super easy and 😋 delicious.
Hi! This recipe looks delightful and cant wait to try it out later…Thank you so much for all this help with the recipe…looks truly divine.
It is a pity that I don’t eat eggs, this would make a gorgeous gift for friends though, especially for Easter
Since I don’t eat eggs, I will make this and give it as a gift to one of my friends. She would love it!
We love lemon curd in our house! I love to spoon it over granola, yogurt, and biscuits or eat it right out of the container. Your recipe looks lovely!
I have to be honest here- i think i never tried curd before. I better hurry up making your recipe!
I’m with you…not eating anything with the name “curd”! But man, this recipe has changed my tune. I have recently become a bigger fan of using more lemons in recipes, and I’m going to have to give this one a try
I didn’t realize how many yolks go into lemon curd – I’d better stock up on eggs next time I go to the store so I can make this!
This lemon curd has me SERIOUSLY ready for spring! What a lovely, vibrant color. And that hand juicer is just gorgeous!
I’ve been wanting to try lemon curd! This looks like the perfect recipe!
I never realized how easy lemon curd is to make! I can’t wait to give this a try!
What a great idea and such simple recipe. Love how smooth this curd looks. I can’t wait to give it a try.
Oh my gosh, I absolutely love lemon curd, especially in tarts or cupcakes. Your recipe sounds just perfect. I think I may make some for Easter tarts.
This would be a fantastic filling for Easter tarts – and so easy, too! I love that idea. 🙂
If lemon curd is anything similar to a lemon pastry cream, I adore it! I never made it, but made the lemon pastry cream and I know the countless uses, including eating it right from the jar with a spoon. It looks beautiful like a sunny spring day!
Thank you so much, Nicoletta! I imagine the two are somewhat similar, perhaps with lemon curd being a little bit creamier? I’m not certain, but I would LOVE to do a taste test between them. Ha!
Oh this homemade Lemon curd looks so healhty and delicious…wish i had some right now!
Thanks so much, Monica!
Curd certainly isn’t an appealing name! But it looks and sounds beautiful!
Truly, making a homemade lemon curd has been on my list for a while. So happy to have found your recipe! I’m looking forward to trying it this weekend!
I so love lemon curd, can be used in so many ways, I specially like to use it to make lemon mousse, this is a great recipe you have provided for homemdae lemon curd 🙂
I had no idea how easy this was. It looks amazing.
Beautiful! I love using lemon curd on ciikies and scones!
I could slather this on just about anything!!! Yum!!
I love anything that has lemon. This curd looks silky smooth. Perfect for stuffing cupcakes, filling tarts and just eating by the spoonful.
Lemon curd was my favorite thing to eat growing up and I really need to make my own now as an adult. I can’t wait to try this.