Christmas Sprinkle Sugar Cookies
This post may contain affiliate links. Please read our disclosure policy.
No-roll, no-cut Christmas Sprinkle Cookies have a delightful sugar cookie texture and beautiful coatings of red and green. This recipe is fun and foolproof, and makes a festive addition to your holiday baking plans!
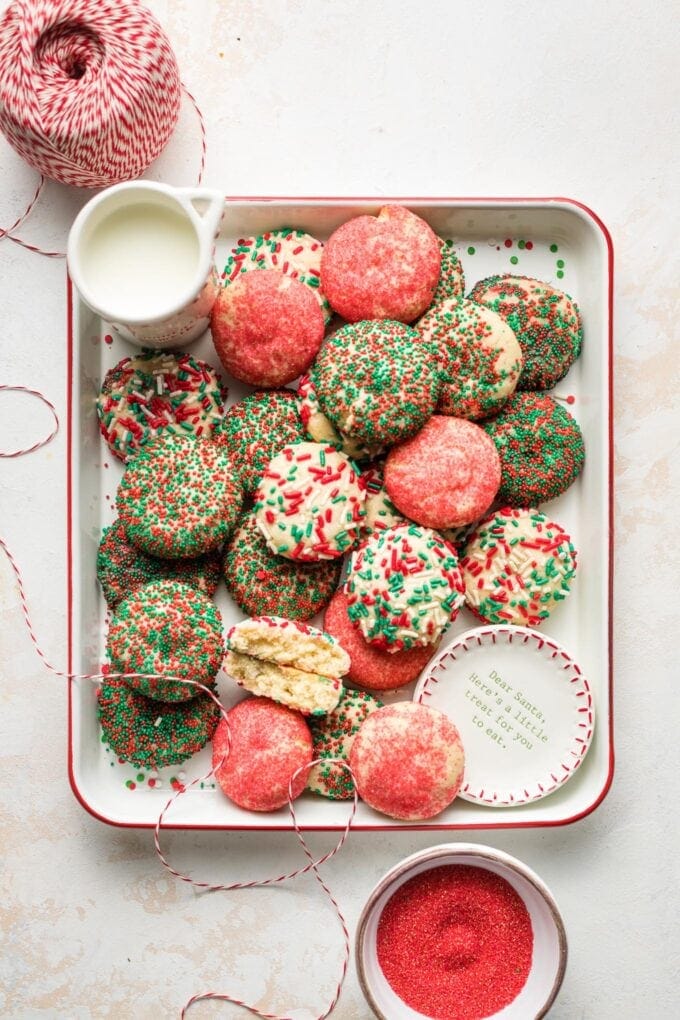
Sometimes the simple things are the best, and I firmly believe that’s the case with these cookies. They are perfect for baking with kids, and the very definition of no-fuss. Still, they turn out beautifully each and every time, with a classic vanilla-infused sugar cookie taste that everyone loves.
You can make these sugar cookies with any type of sprinkles you like, of course, but I always think of them as holiday cookies, hence the red and green. These are the cookies my son insists on leaving out for Santa, year after year.
Is it any wonder they have a special place in my heart?
2 secret ingredients make the best Christmas sprinkle cookies
The ingredients in these cookies are standard baking staples, with two small but mighty additions. Neither is strictly necessary, but each adds so much.
- Cream cheese. A smidge of cream cheese gives the inside of the cookies a tender, melt-in-your-mouth quality that perfectly contrasts the crackly exterior.
- Almond extract. The tiniest bit of almond extract complements the other flavors. This is the special something that makes your cookies stand out from the crowd.

How To Make Them
Begin by creaming together the butter, cream cheese, and sugar. This is easiest to do with an electric mixer, because you’ll want to get them fully mixed and whipped into an even, fluffy texture. You can do it by hand, but be prepared to exert some serious elbow grease.
You’ll then incorporate the wet ingredients: eggs, vanilla, and almond extracts. You can omit the almond extract if you don’t have any and don’t want to run to the store: it adds pleasant flavor and aroma, but leaving it out won’t hurt the cookies’ texture.
Sprinkle the dry ingredients — flour, baking powder, baking soda, and salt — over the dough and mix just until there are no streaks.
Do I need to chill the dough?
Yes, you’ll need to chill the dough for these sprinkle sugar cookies, but only for 15-20 minutes. Not bad at all.
Pro tip: Chill the dough before rolling it into balls. If you chill the shaped and smoothed cookie dough balls, the exterior will set, making it difficult to get the sprinkles to adhere.
What kind of sprinkles to use?
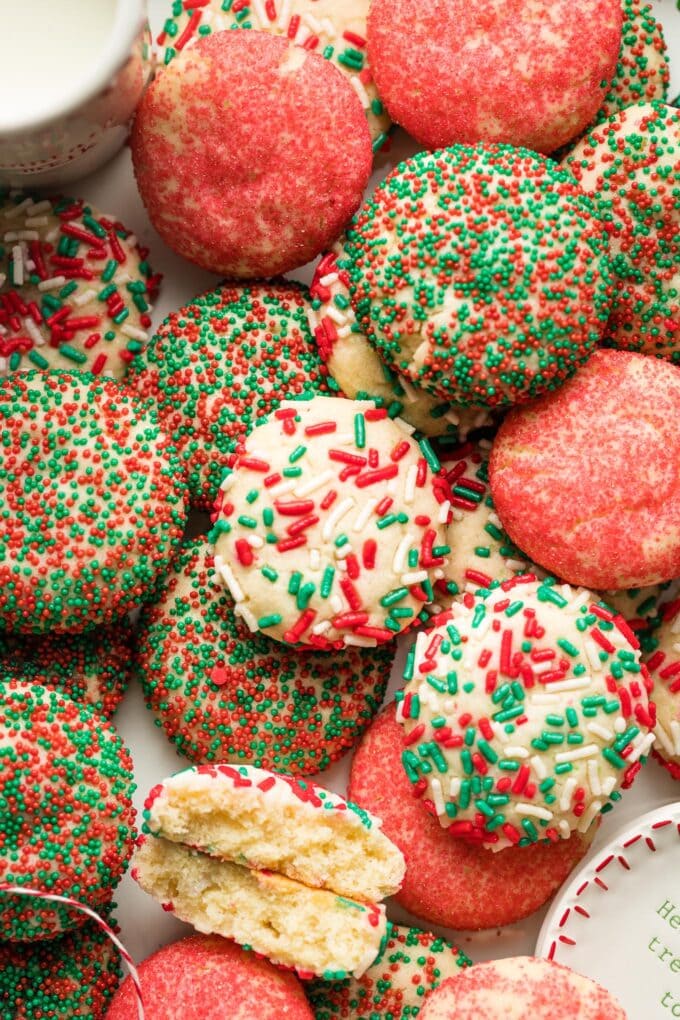
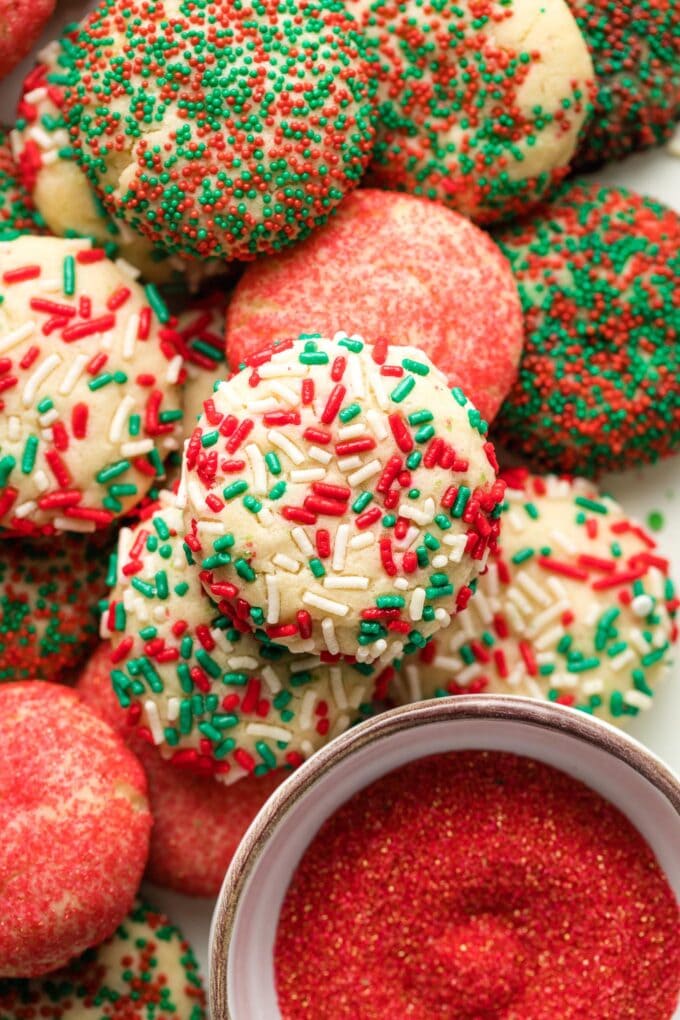
You can use pretty much any type of sprinkles you like for these cookies, which is one of the reasons they’re so convenient. Jimmies, nonpareils, and sparkling or sanding sugar all work well; those are the three used on the cookie tray shown here!
Using multiple types of sprinkles for a batch of these cookies is also a really quick and easy way to have some visual variety in your cookies with barely any extra work.
Of course you can make these with rainbow sprinkles for any time treat, themed colors for another holiday or school celebrations, or chocolate jimmies for the chocolate lover. There’s no wrong way!
Storage and Freezing
- Storage: Cookies keep well tightly covered or stored in an airtight container at room temperature for 3-4 days. The baked cookies do not need to be refrigerated unless you prefer it for taste and texture; according to LiveStrong: “baked items that are made with a small amount of cream cheese are considered low risk if left out at room temperature … the flour and sugar in the baked goods tend to absorb excess moisture, reducing the risk that bacteria can grow and multiply as quickly.”
- Freezing: Rolled but un-sprinkled, un-baked cookies can be stored in the freezer for up to 3 months. Place the rolled cookie dough balls on a cookie sheet or plate with space between them, then place in the freezer for 30-60 minutes to flash freeze. They can then be transferred to a freezer-safe storage container, touching each other, and stored until you wish to bake.
- To Bake From Frozen: Roll the frozen dough balls between the palms of your hands for a few seconds, until they are warm enough for the sprinkles to adhere. Bake as directed at 375 degrees F, adding 2-3 minutes to the baking time.
More Christmas Cookie Recipes
- Peppermint Bark Cookies
- Eggnog Sugar Cookies
- Chewy Ginger Molasses Cookies
- Gingerbread Star Cookies
- Chocolate Crinkle Cookies
- Chocolate-Dipped Almond Biscotti
- Toffee Chocolate Chip Shortbread
- Christmas Blondies
If you try these Sprinkle Sugar Cookies, don’t forget to rate the recipe and leave a comment below. I love hearing how recipes turn out in your kitchen, and it helps other readers, too.
You can also FOLLOW me on PINTEREST, INSTAGRAM, and FACEBOOK for more great recipes and ideas!
Christmas Sprinkle Sugar Cookies
Ingredients
- 1 cup (2 sticks) unsalted butter at room temperature
- 2 ounces cream cheese at room temperature
- 1 and 1/4 cups white granulated sugar
- 1 large egg
- 2 teaspoons vanilla extract
- 1/4 teaspoon almond extract optional
- 3 cups all-purpose flour
- 1 teaspoon baking powder
- 1/4 teaspoon baking soda
- 3/4 teaspoon table salt
- 1-2 cups assorted sprinkles see note
Instructions
- Using an electric mixer, combine the butter, cream cheese, and sugar. Beat on medium-high speed until the mixture is light and fluffy. Add the egg, vanilla extract, and almond extract, if using. Beat again until incorporated.
- Sprinkle flour, baking powder, baking soda, and salt on top of the dough. Beat on medium-low speed just until the streaks of flour disappear. Place dough in the refrigerator to chill for 15-20 minutes.
- Preheat oven to 375 degrees F. Prepare two baking sheets by lining with parchment paper or silicone baking mats. Pour sprinkles out into a small, shallow bowl.
- Once dough has chilled, scoop it out into balls of approximately 1 and 1/2 tablespoons each. Roll each scoop gently in your hands to make a smooth ball, then roll each in the sprinkles and turn to coat evenly. Arrange on the baking sheets, and use your hand or the bottom of a drinking glass to flatten each cookie slightly.
- Bake about 10 minutes for soft cookies, or about 12 minutes for a slightly more crisp texture. Let cool for 10-15 minutes on the baking sheets before transferring cookies to a wire rack. Enjoy!
Notes
- Sprinkles: You can use pretty much any type of sprinkles you like for these cookies, which is one of the reasons they’re so convenient. Jimmies, nonpareils, and sparkling or sanding sugar all work well.
- Storage: Cookies keep well tightly covered or stored in an airtight container at room temperature for 3-4 days. The baked cookies do not need to be refrigerated unless you prefer it for taste and texture; according to LiveStrong: “baked items that are made with a small amount of cream cheese are considered low risk if left out at room temperature … the flour and sugar in the baked goods tend to absorb excess moisture, reducing the risk that bacteria can grow and multiply as quickly.”
- Freezing: Rolled but un-sprinkled, un-baked cookies can be stored in the freezer for up to 3 months. Place the rolled cookie dough balls on a baking sheet or plate with space between them, then place in the freezer for 30-60 minutes to flash freeze. They can then be transferred to a freezer-safe storage container, touching each other, and stored until you wish to bake.
- To Bake From Frozen: Roll the frozen dough balls between the palms of your hands for a few seconds, until they are warm enough for the sprinkles to adhere. Bake as directed at 375 degrees F, adding 2-3 minutes to the baking time.
- Recipe: Adapted from King Arthur Flour and Smitten Kitchen.
Nutrition Estimate
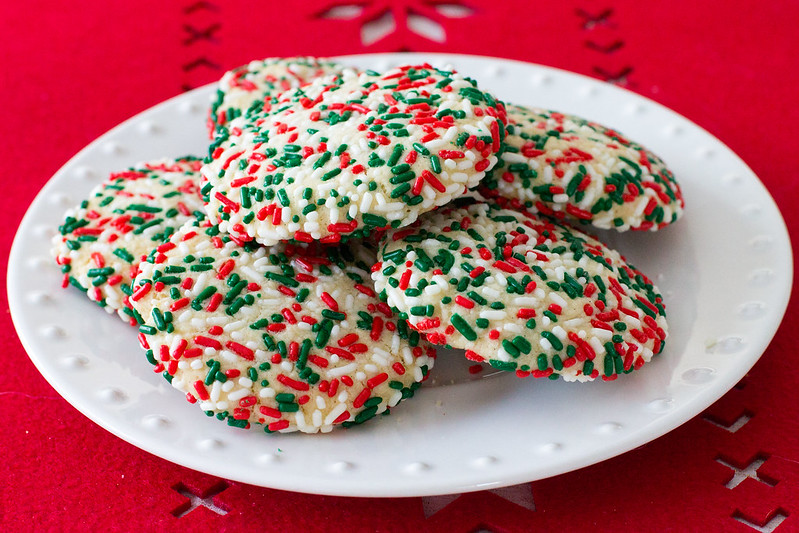
This post was originally published December 6, 2016, and has been updated to include new photos and more helpful recipe tips. Just for fun, here’s one of the old photos:








These are so yummy and super kid friendly. They loved rolling the balls in sprinkles. Will for sure make these again this year.