Chocolate Buttermilk Cupcakes
This post may contain affiliate links. Please read our disclosure policy.
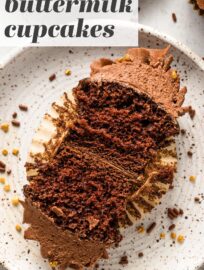
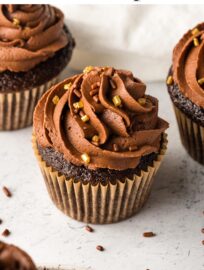
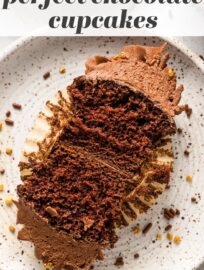
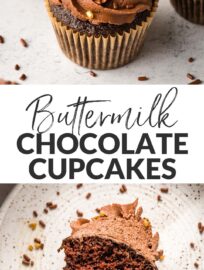
Rich, moist chocolate buttermilk cupcakes are a timeless classic. This recipe delivers tender cake, real chocolate flavor, and perfectly domed tops each and every time. Top with a luscious swirl of frosting to make the chocolate lover in your life swoon!
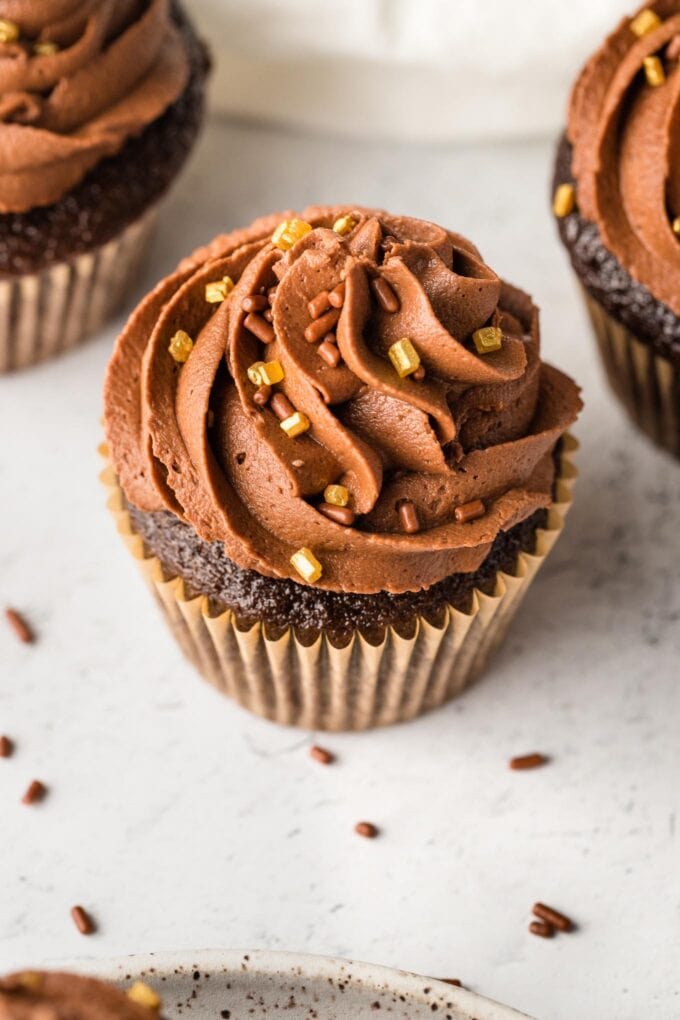
Chocolate cupcakes are classic; a foundational recipe every home baker should have at the ready. When you need a quick homemade treat, whether for the birthday, the bake sale, or an everyday celebration, chocolate cupcakes carry the day.
But! You don’t want just any old thing. I mean, have you ever had a disappointing cupcake? Dry, or worse, flavorless? The sadness!! You need a tried and true recipe, and this is it. An old faithful of our kitchen: old-fashioned chocolate buttermilk cupcakes.
These beauties are:
- Supremely moist.
- Full of intense chocolate flavor.
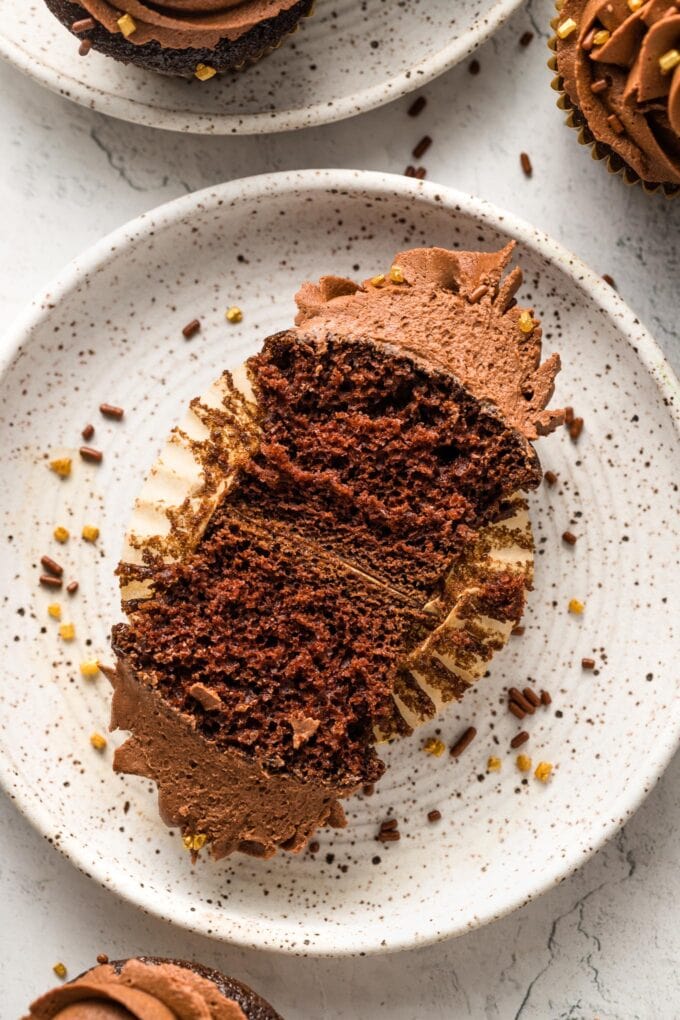
- Light and tender inside.
- Perfectly domed on top — ie., the perfect base for a swoop of frosting.
- Quick and easy to make.
- Irresistible!
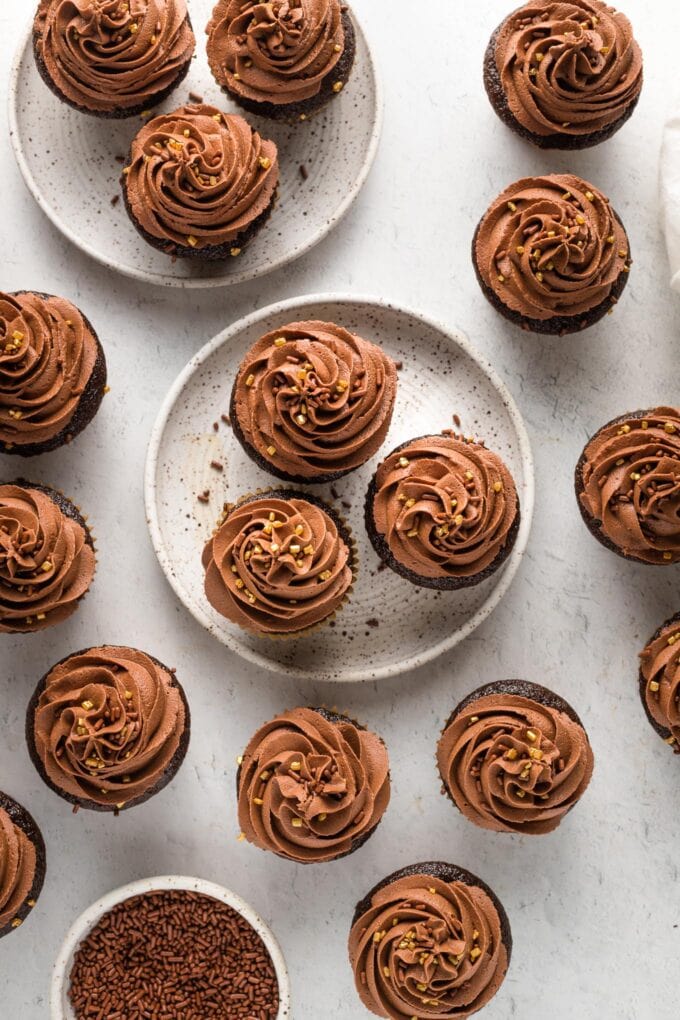
This is a hybrid of two recipes that we swear by: my late mother-in-law’s buttermilk chocolate cake recipe, and the classic Hershey’s “perfectly chocolate” chocolate cake. After baking many, many batches of cupcakes, I’ve found that the exact combination printed here delivers the best results without fail.
This hybrid is what I use specifically for cupcakes — the combination of buttermilk (rich flavor! tender crumbs!) with a bit of hot water to lighten and lift the batter is what gives you the perfect tiny cake.
Ingredients & Common Substitutions
Here’s the run down of what you will need and each ingredient’s purpose:
- Baking basics: all-purpose flour, white granulated sugar, baking soda and baking powder, salt. All pretty self-explanatory. The combination of baking soda and powder gives the cupcakes a bit of extra lift–always good!
- Unsweetened cocoa powder. You want to use regular unsweetened cocoa powder here: not Dutch-process. Deeply curious? Read more about the difference between Dutch-process and natural cocoa powder.
- Hot water. This yields slightly thinner, lighter batter, in turn yielding lighter, fluffier cupcakes.
- Eggs. A critical element of adding structure to cakes and other baked goods.
- Buttermilk. So important it gets its own Q&A!
Why add buttermilk to chocolate cupcakes?
Because buttermilk is not a staple for everyone, you may wonder exactly what purpose it serves in cupcakes and other baked goods. The short answer? In the words of Fine Cooking, “tang and tenderness.”
Buttermilk has a slight tartness that pleasantly complements the sugary sweetness of cakes and pastries. It’s also slightly acidic, which accomplishes two things: it helps break down gluten, leaving your baked goods more moist and tender on the inside, and it activates baking soda, leading to fluffy, well-risen treats. In the case of these cupcakes? Buttermilk is a key component to getting that moist interior and the pretty domed top.
What can I substitute for buttermilk?
In a pinch? Make a quick buttermilk substitute using lemon juice or white vinegar. The standard ratio for making a buttermilk substitute is 1 Tablespoon of white vinegar or lemon juice to 1 cup of milk. (Whole or 2% work fine.)
Because this recipe calls for 3/4 cup of buttermilk, you would measure out a scant 3/4 cup of milk, then stir in 2 and 1/4 teaspoons of lemon juice or white vinegar. Allow the mixture to stand for 5-10 minutes, stir again, and use as you would true buttermilk.
How To Make Chocolate Buttermilk Cupcakes
Now on the good stuff: making the chocolate cupcakes of your dreams!
First you will mix together the dry ingredients: flour, sugar, cocoa, baking soda and powder, salt. Then add the liquid ingredients to the bowl and mix well.
This is a cinch to do with an electric mixer, but can be done by hand as well. Just be sure to mix very well to remove any lumps. A whisk is helpful.
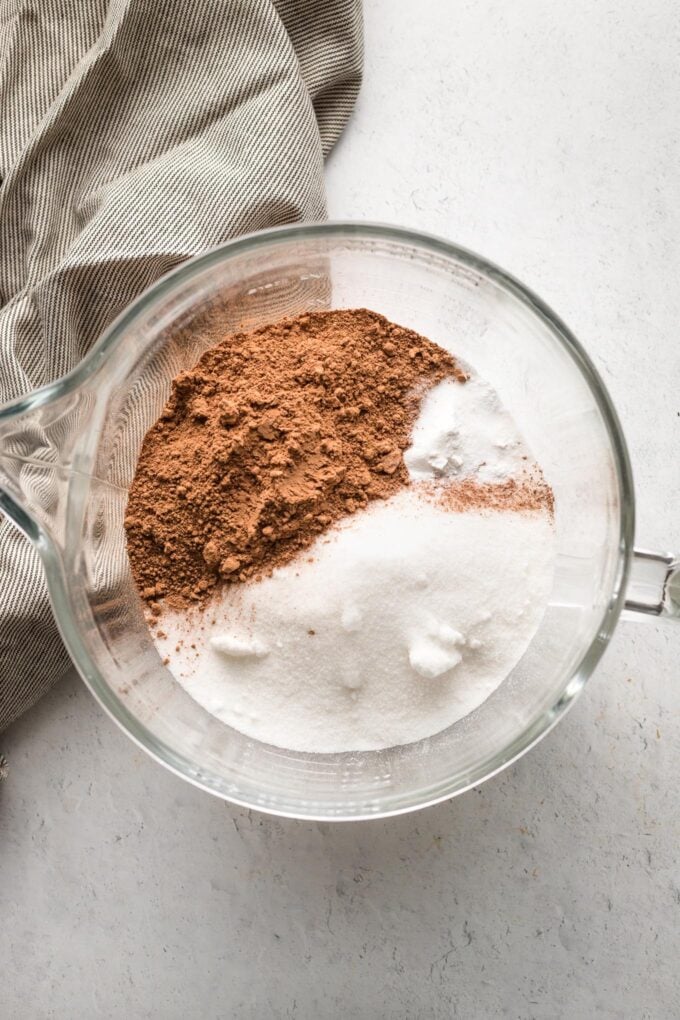
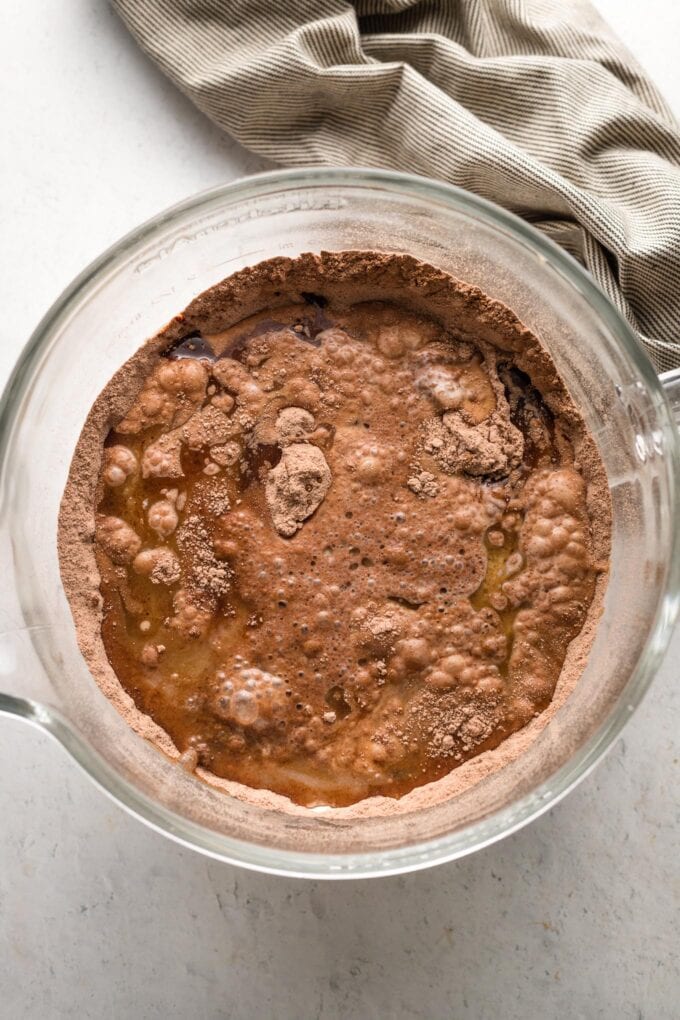
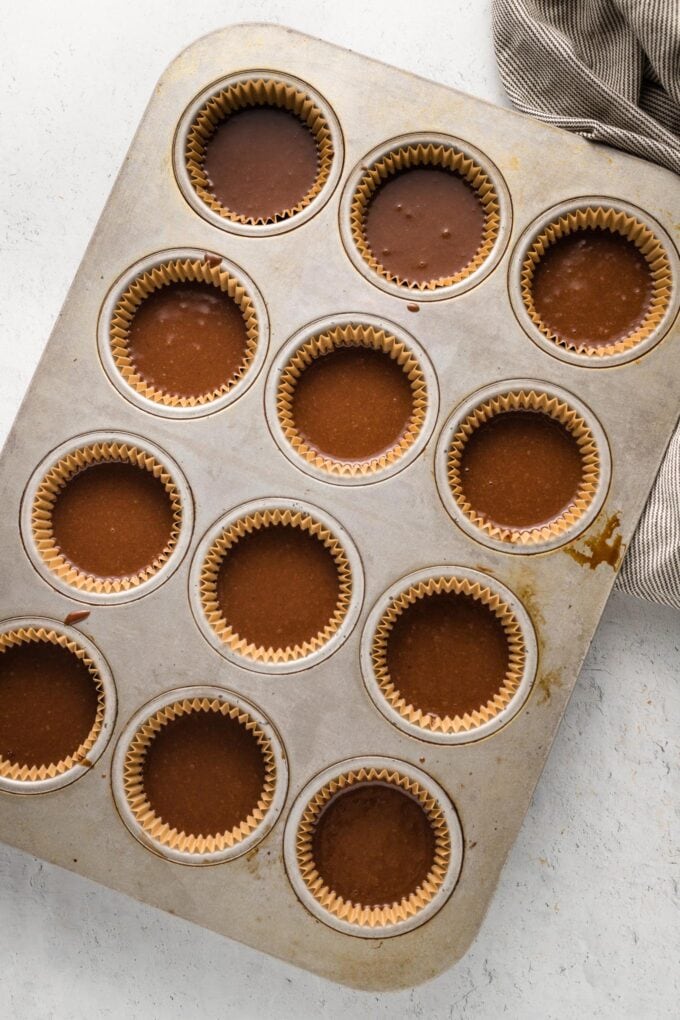
Divide the batter evenly among lined muffin tins. I swear by these baking cups — they are earth-friendly, attractive, and don’t stick to your cupcakes!
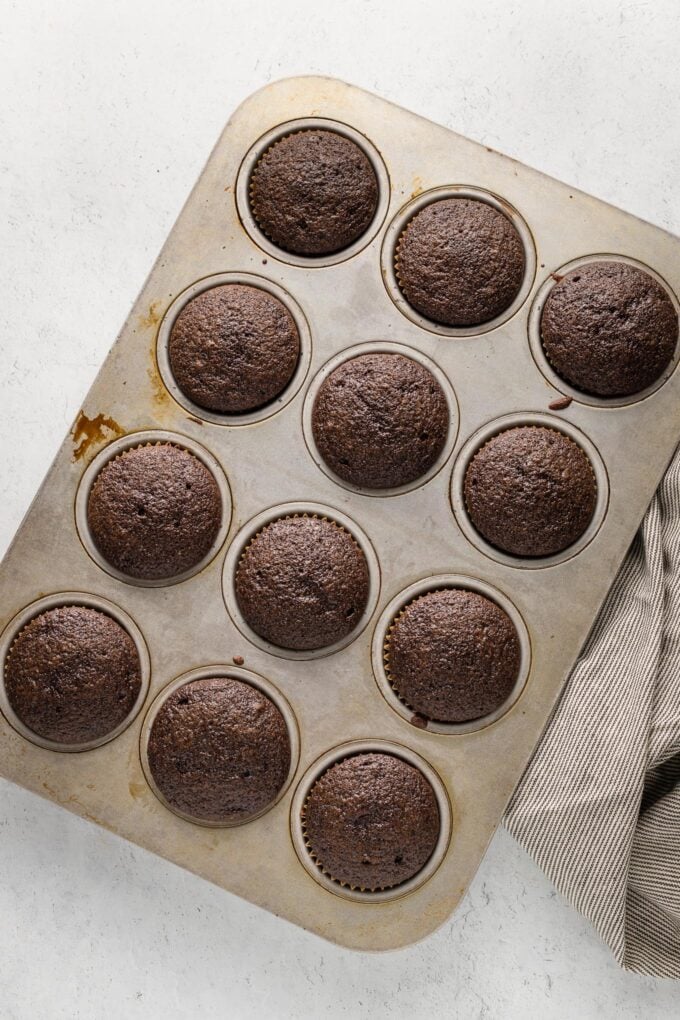
Bake for 18-22 minutes. The cupcakes are done when a toothpick poked into the middle comes out clean. I also love using a cake tester for this — another earth-friendly move, and cute besides!
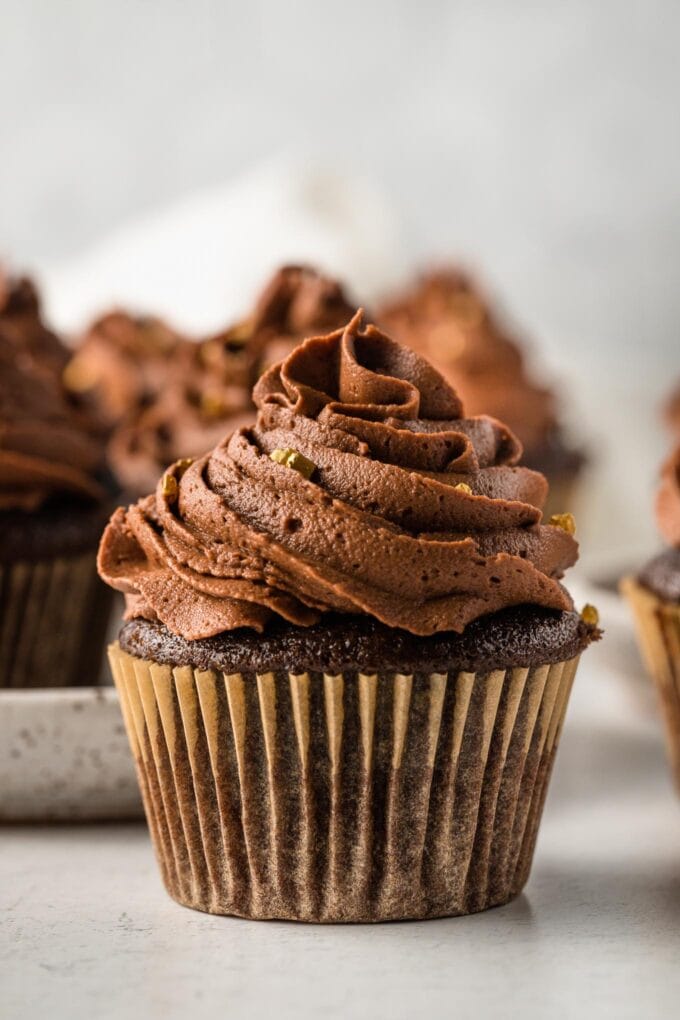
Frost cupcakes as desired! I’ve included the recipe here for my favorite everyday chocolate frosting, which is super simple to make and has a wonderful true chocolate flavor. Keep it simple and spread on a bit of frosting with the back of a spoon or a small spatula, or go fancy and pipe it on. The Wilton 1M star tip is a classic, and lets you pipe either rosettes or towering swirls with ease.
More Easy Cupcake Recipes
If you love making cupcakes, don’t miss these fan favorites:
- Chocolate Guinness Cupcakes – these also have incredible chocolate flavor and are so fun for St. Patrick’s Day
- Paloma Cupcakes or Mojito Cupcakes – perfect for a Mexican or Latin-themed dessert!
- Perfect Filled Lemon Cupcakes
- Strawberry Lemonade Cupcakes
- One-Bowl Red Velvet Cupcakes
- Easy Champagne Cupcakes – doctored cake mix recipe!
If you make these Chocolate Buttermilk Cupcakes, don’t forget to rate the recipe and leave a comment below. I love hearing how recipes turn out in your kitchen, and it helps other readers, too.
You can also FOLLOW me on PINTEREST, INSTAGRAM, and FACEBOOK for more great recipes and ideas!
Chocolate Buttermilk Cupcakes
Ingredients
For the Cupcakes:
- 1 and 1/2 cups all-purpose flour
- 1 and 1/2 cups granulated sugar
- 3/4 cup unsweetened cocoa powder
- 1 and 1/2 teaspoons baking soda
- 3/4 teaspoon baking powder
- 1/2 teaspoon salt
- 3/4 cup buttermilk
- 1/2 cup hot water
- 1/4 cup vegetable oil
- 2 large eggs
- 1 teaspoon vanilla extract
For the Frosting:
- 1 cup butter (2 sticks, 16 tablespoons), softened
- 3/4 cup unsweetened cocoa powder
- 3-4 cups powdered sugar
- 2-3 tablespoons milk any kind
- 1 teaspoon vanilla extract
- pinch of salt
Instructions
- Preheat oven to 350 degrees. Like two muffin tins with cupcake liners; set aside.
- Using an electric mixer, combine flour, sugar, cocoa powder, baking soda, baking powder, and salt. Mix on medium speed until well-combined.
- Add buttermilk, water, oil, eggs, and vanilla to the bowl. Mix on low speed for about 30 seconds, just until the liquids are somewhat incorporated, then increase the speed to medium-high and mix for 2-3 minutes. Scrape the sides of the bowl at least once to ensure everything is well combined.
- Divide the batter evenly among cupcake liners, filling each about 2/3 of the way full.
- Bake for 18-22 minutes, until the centers are set and a toothpick or sharp knife inserted into the middle comes out clean.
- Allow cupcakes to cool for 10-15 minutes inside the baking tins, then remove to a wire rack and let cool completely.
- To make the frosting, beat the softened butter using an electric mixer or vigorously by hand. Add cocoa powder and mix well. Add 2 cups of powdered sugar and beat well. Scrape down the sides of the bowl, add 2 tablespoons of the milk along with the vanilla and pinch of salt, and mix to incorporate. Add another 1 cup powdered sugar and beat on medium-high speed until light and fluffy. Add more powdered sugar and/or extra milk to thicken or loosen the consistency, as desired, or just to make a smidge more frosting if you plan to frost generously.
- Frost cupcakes as desired. You can simply use a knife or an offset spatula to sweep a layer on top of each cupcake, or scrape frosting into a piping bag and pipe into rosettes, crowns, or another design.
Notes
- Buttermilk Substitute: To make a substitute for the buttermilk, measure out a scant 3/4 cup of milk, then stir in 2 and 1/4 teaspoons of lemon juice or white vinegar. Allow the mixture to stand for 5-10 minutes, stir again, and proceed as you would with true buttermilk.

Thank you!! This is the best chocolate cupcakes recipe I’ve ever tried. It is the only recipe I use and I gave made them more times than I can count. I always get rave reviews and requests for the recipe. They are super moist and have a deep chocolate flavor. These cannot be beat!!!
Can these be frozen without frosting? Ziploc bag? Or freezer container? They look amazingly delicious and am excited to make these. Thanks for sharing.
Yes you can freeze them prior to frosting! I recommend a bag so that you can press out as much excess air as possible, and to defrost on the counter for 12-24 hours before you need to frost and serve.
Trying this recipe tomorrow. Will come back and let you know how it goes.