Old Fashioned Apple Crisp
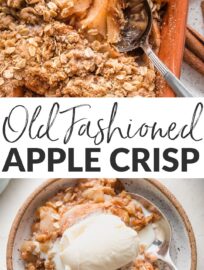
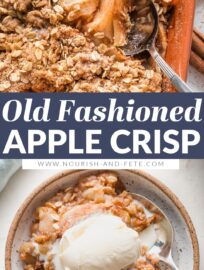
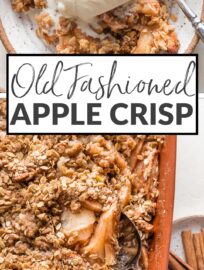
Everyone will love this old fashioned apple crisp! Tender baked apples, a crackly and buttery brown sugar oat topping, and the warmth of cinnamon and nutmeg add up to the ultimate fall dessert. Plus, it’s easy to make and absolutely fool-proof.
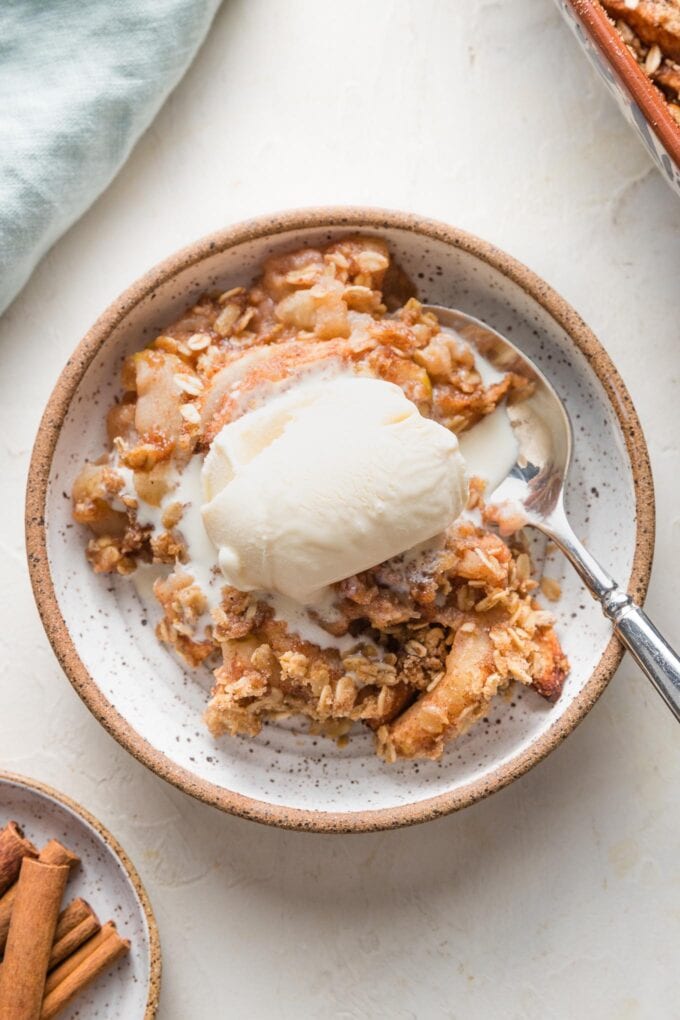
Classic apple crisp: there is nothing more cozy and reminiscent of good old fashioned home cooking! It’s the food equivalent of a warm hug or a loved one greeting you at the end of the day. Everyone should have a recipe they trust for homemade apple crisp, and this is the one our family has refined and relies on time and time again.
This old fashioned apple crisp checks lots of boxes in the dessert department. It is:
- Easy to make. Like an apple pie with a fraction of the work.
- Ideal for any occasion. And especially perfect with crisp fall apples.
- Fool-proof. No finicky pie crust, no guesswork when it’s done.
- Irresistibly delicious. Literally everyone loves a buttery brown sugar oat topping with hints of cinnamon and nutmeg.
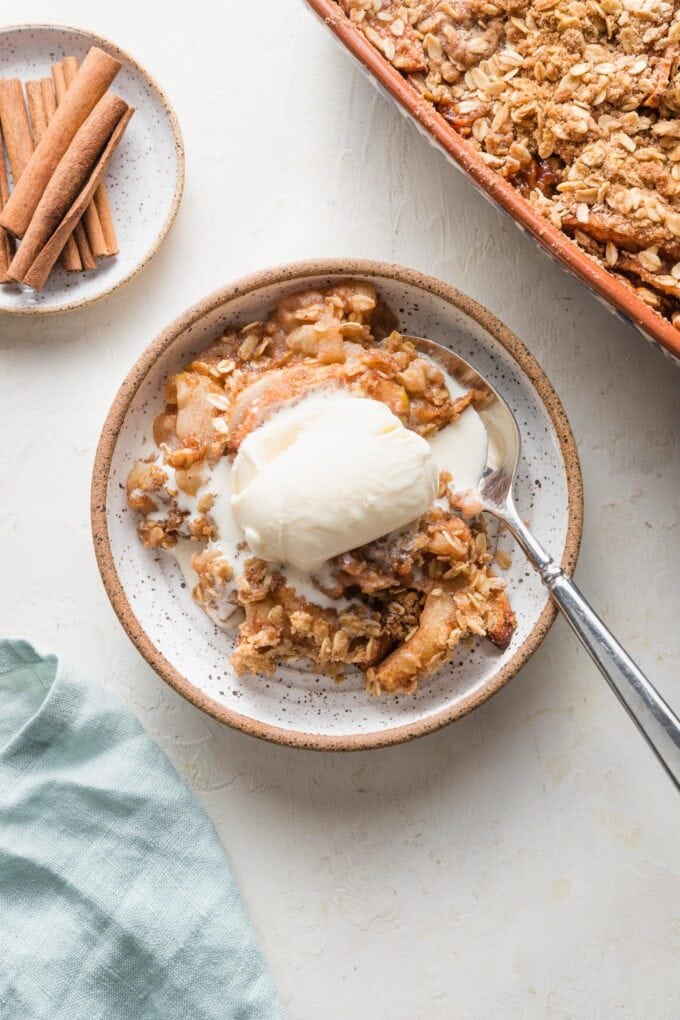
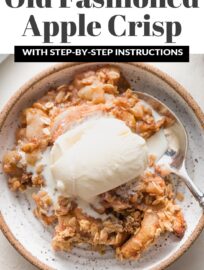
Even if you think you can’t bake, this dessert is guaranteed to have people sneaking seconds. It’s tender inside, a little crisp on top, and absolutely delicious throughout. Serve with a scoop of vanilla ice cream and a drizzle of caramel sauce for an epic fall dessert.
Related: Old Fashioned Blueberry Nectarine Crisp
Ingredients & Substitutions
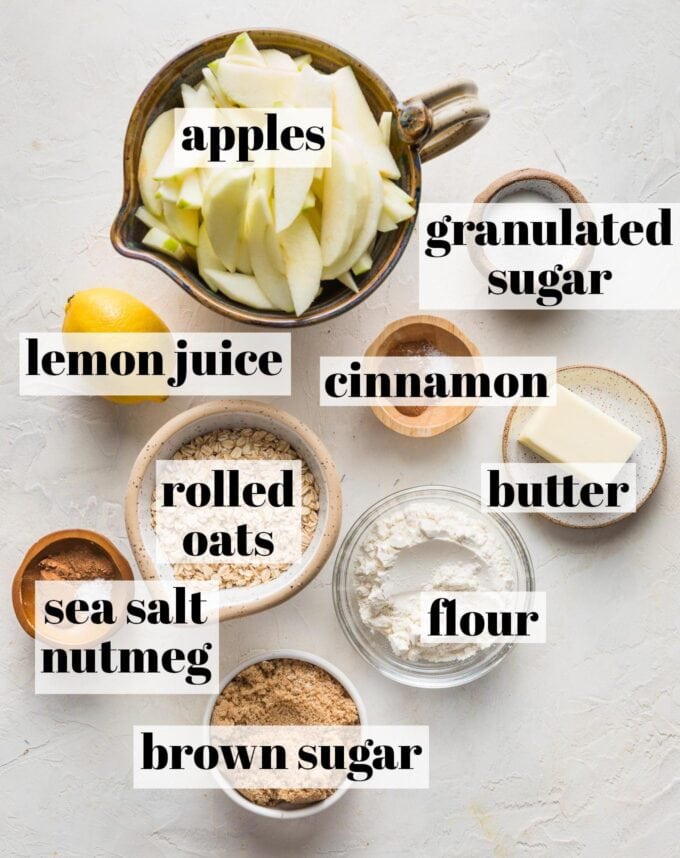
You’ll only need 10 ingredients to make this happen, many of which you probably already have. Here are a few notes and shopping tips about them, as well as possible substitutions. Find full amounts in the print-friendly recipe card below.
- Apples. Obviously!
- Old-fashioned rolled oats. I don’t recommend substituting quick oats or steel cut oats; they have a very different texture.
- Granulated white sugar and brown sugar. Either light or dark brown sugar is fine. You can substitute coconut sugar for either or both if you like.
- All-purpose flour. This can be left out or substituted with a gluten-free blend or oat flour.
- Lemon juice.
- Ground cinnamon, ground or grated nutmeg, and sea salt.
- Butter. I like to use unsalted butter, but if you usually stock salted butter by all means use it. Consider reducing the amount of added salt in the topping by a smidge.
What are the best apples to use in apple crisp?
In my opinion, Granny Smith apples are the absolute best. They’re reliably tart, crisp, and an all-around winner for baking. Good substitutes include Braeburn, Golden Delicious, Honeycrisp, and Fujis. If you use a relatively sweet apple, reduce the amount of added sugar in the filling, the crust, or both. You can also mix and match apple varieties for more depth of flavor.
One variety to avoid using for apple crisp is McIntosh. They make for great snacking, but are not firm enough to hold up well when baked, and the ideal dessert has apples that are tender, but not completely falling apart.
Epicurious has a great summary of common apple varieties and their best applications, if you are interested.
Are old fashioned oats the same as rolled oats?
Yes; rolled oats are also known as old-fashioned oats and are perfect for baking into apple crisp as well as other fruit crisps, crumbles, and desserts. They are available in nearly any grocery store, have fantastic texture and nutty flavor, and toast well in the oven.
How To Make Old Fashioned Apple Crisp
Another great thing about this recipe is that you can use one bowl to mix both the apple filling and the topping. No need to overcomplicate things!
This is a general overview. As always, you will find full instructions with exact ingredients and times in the print-friendly recipe card below.
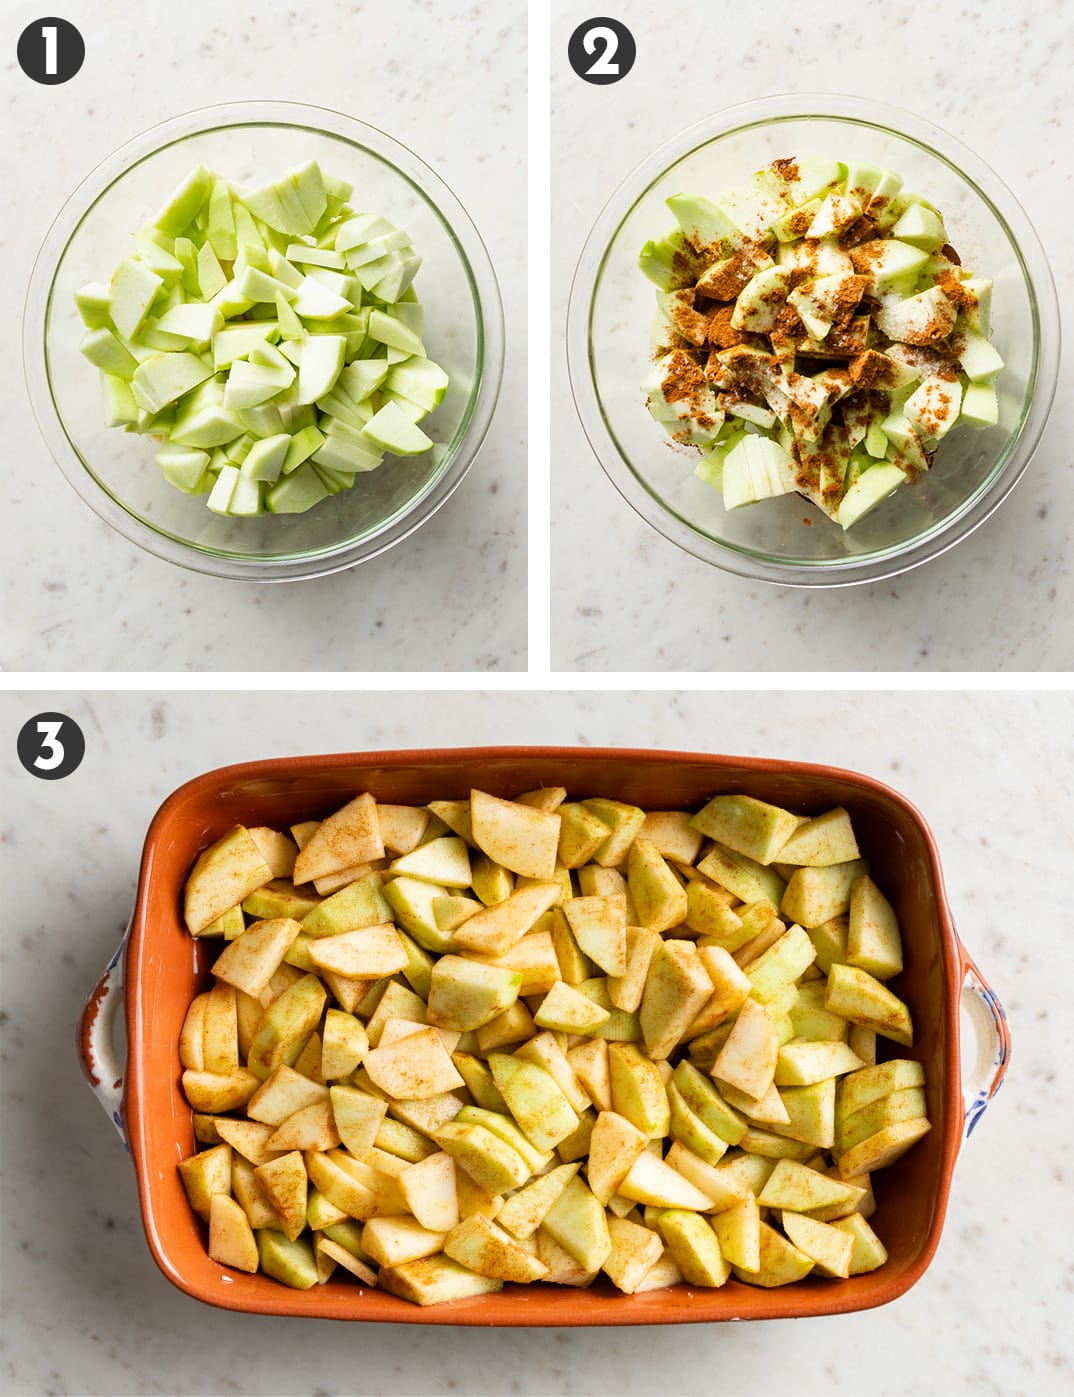
- Peel and chop your apples into bite-sized pieces, or into slices.
- Toss with sugar, cinnamon, lemon juice, and a pinch of salt.
- Spread them into a baking dish lightly coated with cooking spray. You can use a 8×8-inch, 9×9-inch, or any similarly sized pan. This recipe is very flexible!
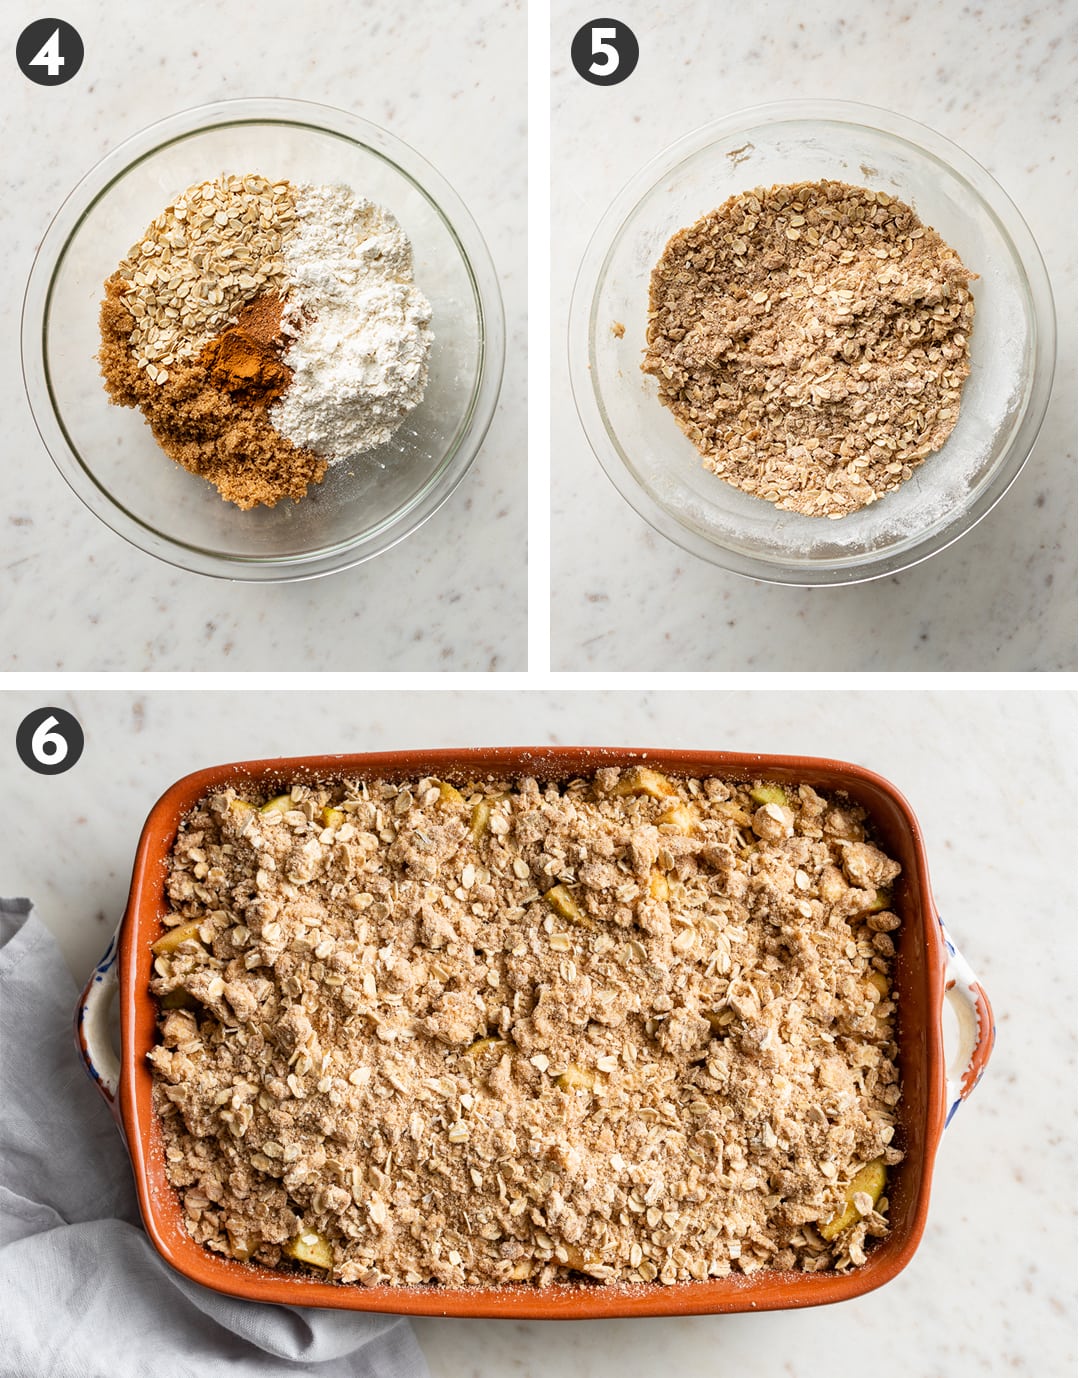
- Combine the topping ingredients in the very same bowl.
- Work the butter in until it’s incorporated and mostly pea-sized. An inexpensive pastry cutter comes in handy for cutting in the butter with no fuss, but forks or your fingers work fine.
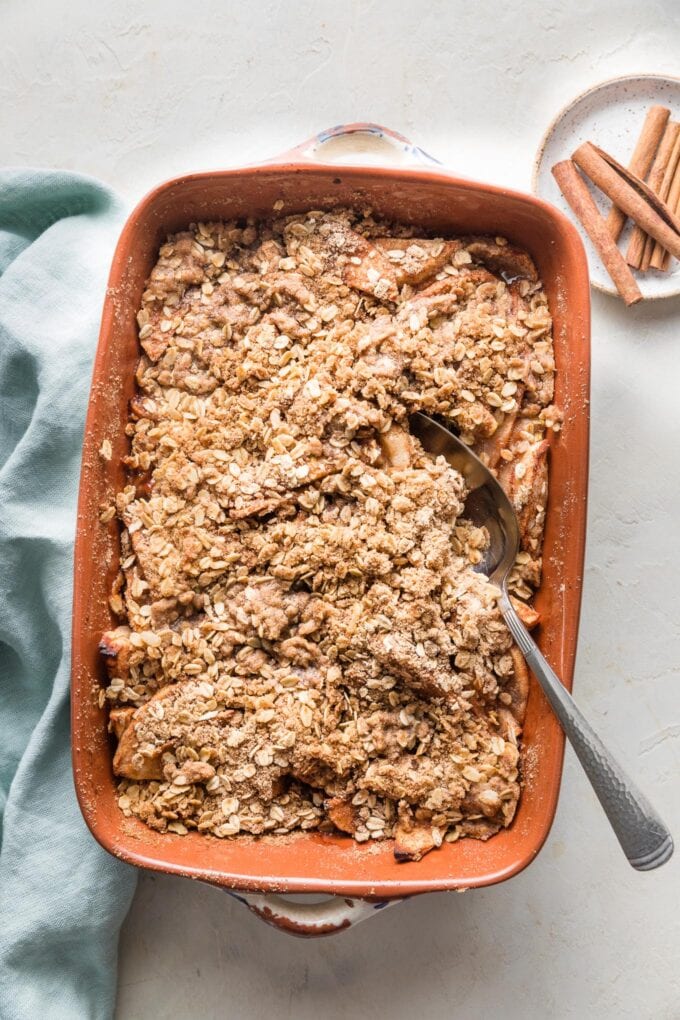
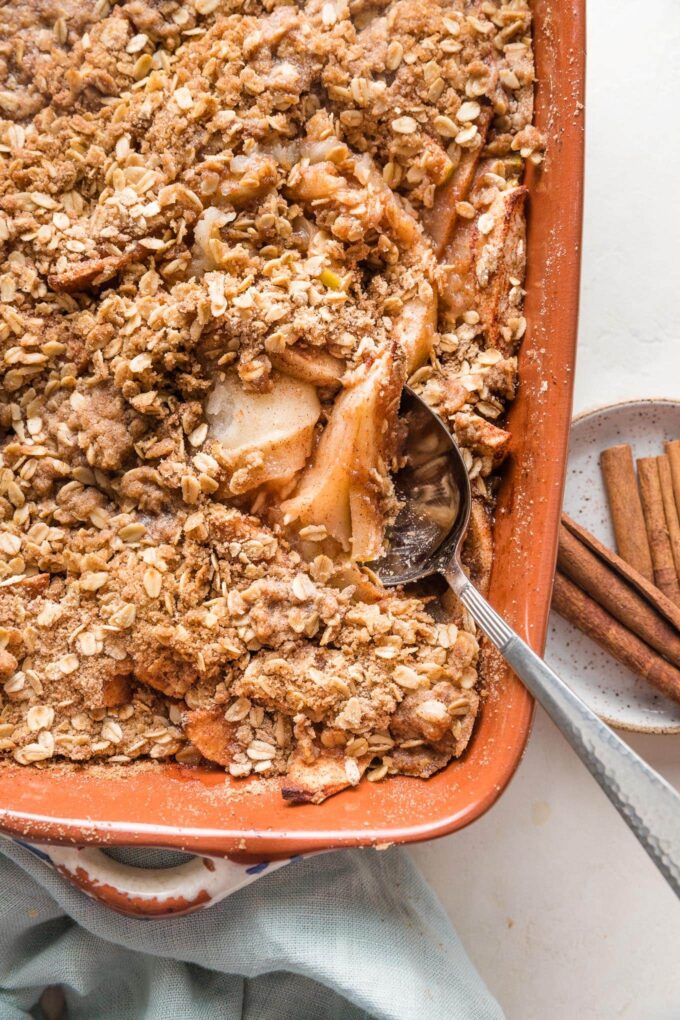
- Sprinkle the crumb topping over the apples and bake for 40-50 minutes at 350 degrees F, until the top is golden and the apples are tender enough to be easily pierced by a fork.
Who else is ready to dig in? Allow the crisp to cool for 5-10 minutes, then serve. Don’t forget some ice cream and caramel sauce to serve on top!
Make Ahead Tips
Apple crisp can be made ahead of time. Prepare the apple filling as directed, but double the amount of lemon juice to prevent browning on the apples. Store the filling in an airtight container in the refrigerator for up to 24 hours.
Prepare the oat crumble topping as directed. Store that in a separate airtight container, also in the fridge. When ready to bake, simply assemble and bake as instructed.
Recipe FAQs & Expert Tips
Should I peel apples for apple crisp?
Peeling is admittedly kind of a pain, but I do recommend it for the best and most crowd-pleasing apple crisp. Even after baking for a long time, apple skins remain very intact, and in my experience most people find the texture distracting or unpleasant. So go ahead and break out the peeler.
Pro Tip
If peeling is really a struggle, you probably need to replace or upgrade your peeler. It should be comfortable to hold and glide smoothly over apples, carrots, and other vegetables without catching frequently or much resistance. I use this simple swivel peeler: it’s affordable and has an average of five stars over more than 30,000 reviews.
Can I double this recipe?
Yes, and incidentally, this apple crisp makes a beautiful dessert for Thanksgiving or any fall gathering! When serving a crowd, simply double the entire recipe and use a large baking dish, 9×13-inches or similar. Because the filling is spread out over the extra area, the baking time should be about the same, 40-50 minutes, but always test the apple filling by piercing it with a fork just to be sure.
What is the difference between apple crumble and apple crisp?
The terms crisp and crumble are often used interchangeably for baked fruit desserts with a layer of topping, but traditionally, a crisp topping will include oats or nuts, while a crumble topping is more like a streusel, made primarily with butter, flour, and sugar.
Should I refrigerate leftover apple crisp?
Yes, store any leftover crisp in the fridge. If the topping starts to look soggy, never fear: reheat it briefly in the oven at 350 degrees F, and the topping will be regain some of its crunch.
Can I freeze apple crisp?
Yes! If you’re really thinking and planning ahead, prepare and bake this apple crisp just as directed, then allow it to cool completely to room temperature. Wrap the crisp tightly with a double layer of aluminum foil and freeze for up to 3 months. When ready to bake, defrost the pan overnight in the fridge, then warm it in the oven at 300 degrees F for about 20 minutes, until heated through.
Why does my apple crisp get soggy?
Apple crisp is most inviting when there’s contrast between the crisp topping and the tender apples underneath, so a soggy crisp is no one’s best friend. The topping should be nice and crisp when it first comes out of the oven, if baked for the full time, and can stay that way if you allow the crisp to cool fully to room temperature before storing in the refrigerator or the freezer, and use the oven to rewarm when needed.
The Perfect Fall Menu
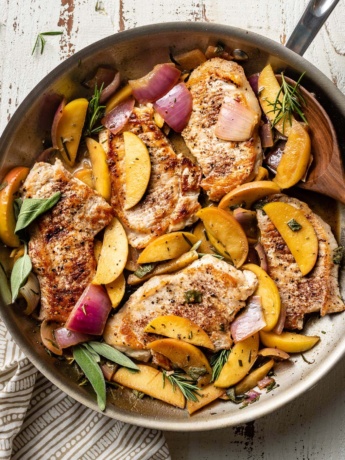
Planning a fall get-together, or just want to serve the most dreamy seasonal meal to your family? Begin with my fall harvest white sangria, then serve pork chops with apples as a main dish paired with cinnamon honey butter sweet potatoes and roasted garlic green beans. This apple crisp makes the perfect dessert!
Related Recipes
Can’t get enough apple desserts? You will love these apple cinnamon oatmeal cookies, slow cooker honey apple butter, and apple butter cinnamon rolls.
Looking for more simple fall treats? This slab pecan pie and a batch of pumpkin pecan streusel muffins always satisfy.
If you try this Old Fashioned Apple Crisp recipe, don’t forget to rate it and leave a comment below. I love hearing how recipes turn out in your kitchen, and it helps other readers, too.
You can also FOLLOW me on PINTEREST, INSTAGRAM, FACEBOOK, and TWITTER for more great recipes and ideas!
Old Fashioned Apple Crisp
Ingredients
Apple Filling
- 5 Granny Smith apples between 1.5-2 pounds, see note
- 2 Tablespoons granulated sugar
- 2 teaspoons lemon juice
- 1 teaspoon ground cinnamon
- pinch sea salt
Topping
- 3/4 cup old fashioned rolled oats
- 1/2 cup brown sugar light or dark
- 1/2 cup all-purpose flour
- 1 teaspoon ground cinnamon
- 1/2 teaspoon ground or grated nutmeg
- pinch sea salt
- 6 Tablespoons cold unsalted butter
For Serving (optional)
- Ice cream and caramel sauce
Instructions
- Preheat oven to 350 degrees. Lightly coat the inside of a 9×9-inch or similarly sized baking dish with cooking spray, then set aside.
- Peel and core the apples, then either slice or chop into bite-sized pieces. (I find the perfect thickness is about 1/2".) In a large mixing bowl, combine apples with granulated sugar, lemon juice, cinnamon, and a pinch of sea salt. Toss to coat, then spread the mixture in an even layer across the bottom of the baking dish.
- In the same mixing bowl, combine the oats, brown sugar, flour, cinnamon, nutmeg, and another pinch of sea salt. Whisk or stir with a fork to blend well.
- Cut the butter into small pieces. Using a pastry blender, two forks, or just your hands, cut and press the butter pieces into the oat-flour mixture, working until the entire mixture is crumbly and mostly pea-sized pieces of butter remain.
- Spread the topping evenly over the apples, then transfer to the oven and bake for 40-50 minutes. The topping should be golden brown and the apples should give way easily when pierced with a fork.
- Serve warm, with vanilla ice cream and caramel sauce if desired.
Notes
- Apples: You can sub a different apple variety, if you like, such as Golden Delicious or Fujis. Granny Smiths are reliably tart, which balances the recipe and keeps it from being too sweet overall. If you choose an apple variety known to be more sweet, you might reduce or omit the granulated sugar.
- Add Nuts: If you love the flavor and texture of nuts, toss 1/4-1/3 cup of chopped pecans or walnuts into the topping mixture.
- Pan Size: This can be made in either an 8×8 or a 9×9 pan, or anything else roughly equivalent. You can also use a round pan. It’s very flexible!
- To Make Ahead: Prepare the filling and topping separately, and store each in the fridge overnight. Double the amount of lemon juice in the filling and cover tightly to help minimize browning of the apples. When ready to bake, assemble and bake as directed.
- To Freeze / aka To Make WAY Ahead: This can also be baked in full and frozen for up to 3 months! Bake, cool completely, wrap tightly in a double layer of foil, and freeze. When ready, defrost in the fridge overnight, then bake again at 300 degrees F for about 20 minutes to warm through and re-crisp the top. Enjoy!







This makes a perfect apple crisp and it’s a hit every time I make it. I don’t peel the apples because we don’t mind the texture and it saves me a lot of time. I always make with salted butter and it still comes out perfect. I serve it with either vanilla ice cream or this amazing salted caramel cashew ice cream. Thank you for your recipe!!
That sounds amazing – thank YOU so much for leaving this helpful review! Salted caramel cashew ice cream sounds like a dream! 🙂